
Learn how to naturally dye eggs for Easter with this fun and easy technique which kids will enjoy helping with.

Naturally Dye Eggs for Easter
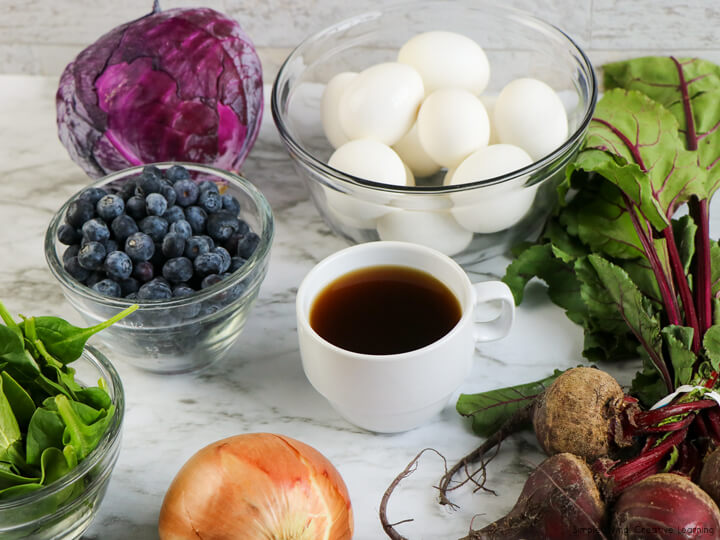
If you are looking to dye eggs this Easter without food colouring and the nasties that can be found it them, you will find that you probably have lots of natural food dyes in your pantry or fridge. Naturally dyeing eggs is quite a lengthy process, though not difficult. A lot depends on the tone of colour you want for your eggs. Using blueberries to dye eggs create the most gorgeous colour!
To dye eggs naturally, you will need:
- boiled eggs
- 1 tablespoon of vinegar for each colour you are going to make
- water
- a bowl and spoon for each colour
For the colours, some ideas are:
Blue Eggs
- Red cabbage leaves
- Blueberries
- Blackberries
- Hibiscus Tea
Red Eggs
- Beetroot
- Raspberries
Yellow / Green Eggs
- Spinach
- Parsley
- Kale
- Matcha Tea
- Green Tea
Brown Eggs
- brewed coffee
Orange / Yellow Eggs
- Brown / Yellow onion skins
- Turmeric
- Orange skins
Dye with Brewed Coffee
To dye eggs brown with brewed coffee, place the number of eggs you want brown in a jar. Pour over brewed coffee until the eggs are completely covered. Cover the jar and place in the fridge overnight. In the morning, carefully remove the eggs and transfer to a wire cooling rack, allowing to cool completely before touching.
Preparing the Dye using Vegetables and Spices
If you are using vegetables, wash and dry and cut up into small pieces.

Place 2 cups of water, 1 TBSP of vinegar and the selected vegetable or spice into a medium saucepan.
Bring to the boil over medium-heat.
Reduce heat and simmer for 20 minutes.
Remove from heat and allow to cool for 10 minutes.
Pour the dye into a large jug through a fine mesh strainer.
Dyeing the Eggs
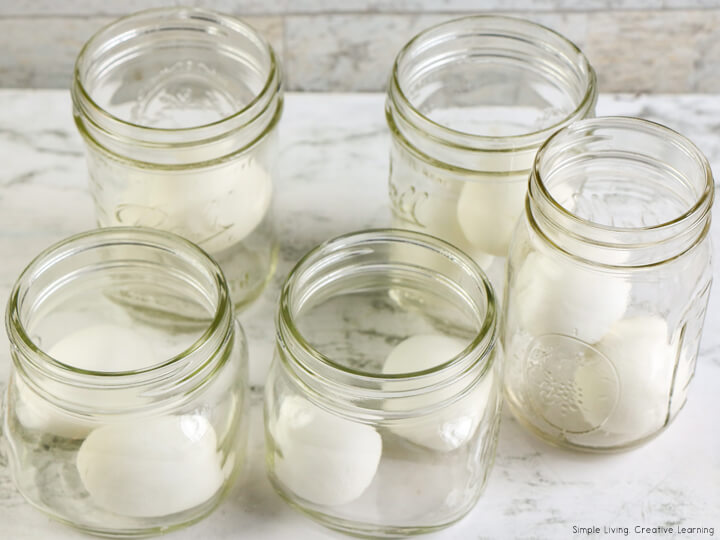
To dye the eggs, place the number of eggs you want in the particular colour into a jar. Pour the strained dye over the eggs until they are completely covered. Cover the jars and place in the fridge overnight. If you want a lighter colour, you can check them after a few hours.
When finished dyeing, carefully remove the eggs from the dye and transfer to a wire cooling rack, allowing to cool completely before touching.

Notes
Be very careful when removing your eggs from the jars. Some of the dyes may leave a film over the eggs which can be easily scratched off.
You will need at least 1 cup of vegetables and about 2 Tablespoons of spices to get a good colour.

Red cabbage makes lovely blue eggs!
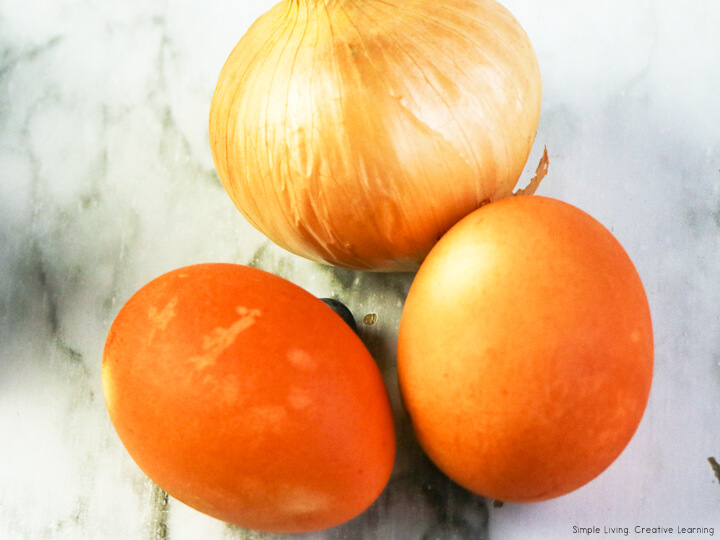
While brown onion skins make a lovely orange coloured egg.
STEM Activity
- Allow the children to guess the colors the eggs will be after dying with the different vegetables.
- Expand the activity by purchasing different fruits and vegetables to see which colours can be created.

Other Easter Themed Activities & Printables
- Easter Counting Cards
- Easter Rocky Road
- No Bake Bird’s Nest Treats
- Printable Easter Planner
- Easter Activity Grades 1 – 3
- Easter Tracing and Cutting Strips
- Dyeing Easter Eggs Sequencing Printables
- The Easter Story Printables
- Jesus is Alive! Printables
- Easter Activity Pack – Preschool
- Easter Multiplication Worksheets
- Easter Subtraction Worksheets
- Easter Addition Worksheets
- Easter CVC Baskets
- Make your own Blueberry Dyed Eggs

How to Naturally Dye Eggs
Equipment
- jar and spoon for each colour
- strainer
Ingredients
- boiled eggs
- water
- 1 TBSP white vinegar, for each colour
Blue - Choose One
- Red cabbage leaves
- Blueberries
- Blackberries
- Hibicus Tea
Red - Choose One
- Beetroot
- Raspberries
Green / Yellow - Choose One
- Spinach
- Parsley
- Kale
- Matcha Tea
Orange / Yellow - Choose One
- Brown / Yellow Onion Skins
- Turmeric
- Orange Skins
Brown
- Brewed Coffee
Instructions
Dye with Brewed Coffee
- To dye eggs brown with brewed coffee, place the number of eggs you want brown in a jar.
- Pour over brewed coffee until the eggs are completely covered. Cover the jar and place in the fridge overnight.
- In the morning, carefully remove the eggs and transfer to a wire cooling rack, allowing to cool completely before touching.
Preparing the Dye using Vegetables and Spices
- If you are using vegetables, wash and dry and cut up into small pieces.
- Place 2 cups of water, 1 TBSP of vinegar and the selected vegetable or spice into a medium saucepan. Bring to the boil over medium-heat.
- Reduce heat and simmer for 20 minutes. Remove from heat and allow to cool for 10 minutes.
- Pour the dye into a large jug through a fine mesh strainer.
Dyeing the Eggs
- To dye the eggs, place the number of eggs you want in the particular colour into a jar. Pour the strained dye over the eggs until they are completely covered.
- Cover the jars and place in the fridge overnight. If you want a lighter colour, you can check them after a few hours.
- When finished dyeing, carefully remove the eggs from the dye and transfer to a wire cooling rack, allowing to cool completely before touching.
Notes
- Be very careful when removing your eggs from the jars. Some of the dyes may leave a film over the eggs which can be easily scratched off.
- You will need at least 1 cup of vegetables and about 2 Tablespoons of spices to get a good colour.
STEM Activity
- Allow the children to guess the colors the eggs will be after dying with the different vegetables.
- Expand the activity by purchasing different fruits and vegetables to see which colours can be created.

 Easter Dessert Board
Leather Halters
Great Ideas For Coloring Something With Natural Things.