
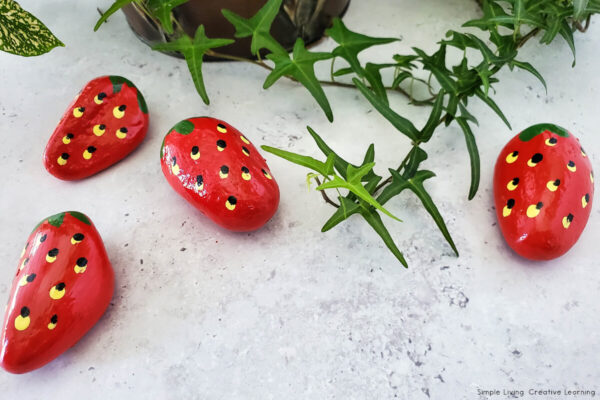
These fun, painted strawberry rocks are a great art activity for children that can be used as a decoration around the house or in the garden to help deter birds from eating your lovely, fresh strawberries.

Check out the list of materials that we use with these printables.
Strawberry Rocks Craft Activity
This fun project could be used as a craft activity for children who are learning about strawberries. They can create these lovely strawberry rocks, while learning about the life cycle of strawberries and completing the activities in this Strawberry Printable Pack. This Strawberry DNA Experiment is another fun way to learn with strawberries.
Once they have painted and sealed their rocks, children can use them in many games, such as:
- Counting Games
- Hopscotch
- Tic Tac Toe
- Hide and Seek
Strawberry Rocks in the Garden
Gardeners can use these rocks in their garden. It is said that rocks that are painted like strawberries that are placed in the strawberry patch, will help deter birds from eating your delicious, homegrown strawberries.
Just place these ‘fake’ strawberries around the plants, before your plants start fruiting, and birds will start pecking at these hard rocks. The hardness of the rocks will cause the birds to think that you aren’t the best gardener and this is not a place where they can get a feed, so they should move on.
By the time your lovely, fresh strawberries grow, the birds should be far away, pecking on something other than your strawberries.
Supplies for Strawberry Rocks
It only takes around 15 minutes to paint these rocks, though this does not include the drying time.
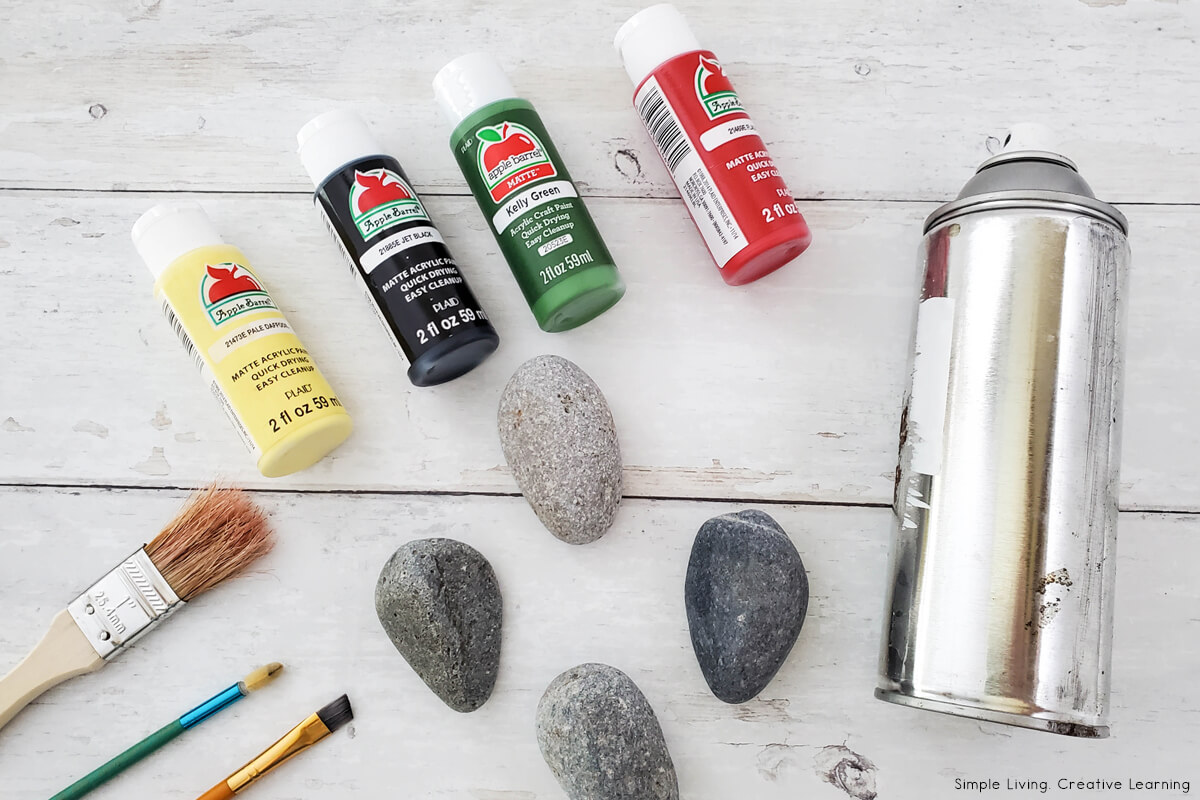
The supplies you will need are:
- River rocks – Flat, rocks that are shaped like strawberries – wider on the top and narrower on the bottom
- Craft Paint in four colours – red, green, yellow, and black
- Brushes – I used a 1 inch paintbrush, a ¼ inch flat angled artist brush, and a foam dabber
- A Clear Glaze – I used this Krylon Acrylic Spray Paint
Making Strawberry Rocks
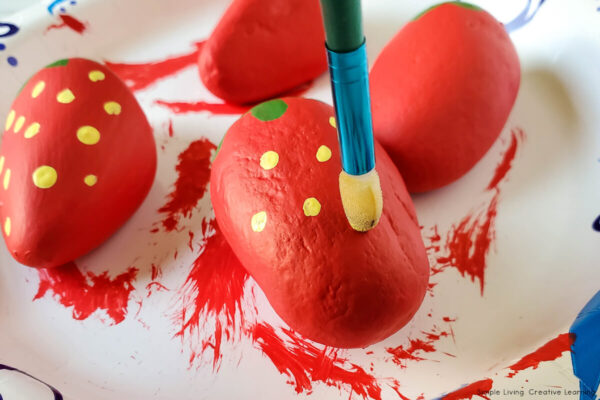
When making these painted strawberry rocks, the first thing to do is to paint the rocks red. Use the 1 inch paint brush to paint the rocks with 3 coats of paint. Allowing the paint to dry between each coat. To help speed up the drying process, try using a hair dryer to dry the paint.

Next, use the angled artist brush to paint green leaves on the wider, top part of the rock.

After this is dry, use the foam dabber to paint the yellow “seeds” on the rock. To do this, dab the foam dabber in the yellow paint and then on the rock.

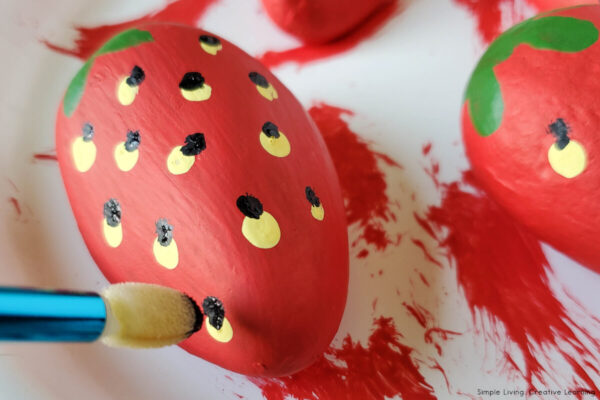
When the yellow paint is dry, make a tiny dab of black paint just above the yellow seed.

When this paint is dry, spray the rocks with glaze.

Allow the rocks to dry completely before using. This make take a couple of hours.


Other Craft Activities
- Fruit Paper Craft
- Vegetable Paper Craft
- Poinsettia Paper Craft
- Cicada Craft Activity
- Mother’s Day Card Craft
- Ant Craft Activity
- Scratch Art Eggs
- Gingerbread House Bookmark
- Craft Ideas for Preschoolers
- 100+ FREE Educational Printables for Home or Classroom Use
Other Fruit and Vegetable Activities
- Vegetable Garden Printable Pack
- Vegetable Cards
- Fruit Cards
- Fruit Paper Craft Activity
- Gardening Journal


How to Make Strawberry Rocks
Ingredients
- River rocks Flat, rocks that are shaped like strawberries - wider on the top and narrower on the bottom
- Craft Paint in four colours Red, green, yellow, and black
- Brushes I used a 1 inch paintbrush, a ¼ inch flat angled artist brush, and a foam dabber
- Clear Glaze I used this Krylon Acrylic Spray Paint
Instructions
- When making these painted strawberry rocks, the first thing to do is to paint the rocks red. Use the 1 inch paint brush to paint the rocks with 3 coats of paint. Allowing the paint to dry between each coat. To help speed up the drying process, try using a hair dryer to dry the paint.

- Next, use the angled artist brush to paint green leaves on the wider, top part of the rock.
- After this is dry, use the foam dabber to paint the yellow “seeds” on the rock. To do this, dab the foam dabber in the yellow paint and then on the rock.
- When the yellow paint is dry, make a tiny dab of black paint just above the yellow seed.
- When this paint is dry, spray the rocks with glaze.
- Allow the rocks to dry completely before using. This make take a couple of hours.


 Salt and Pepper Chicken