
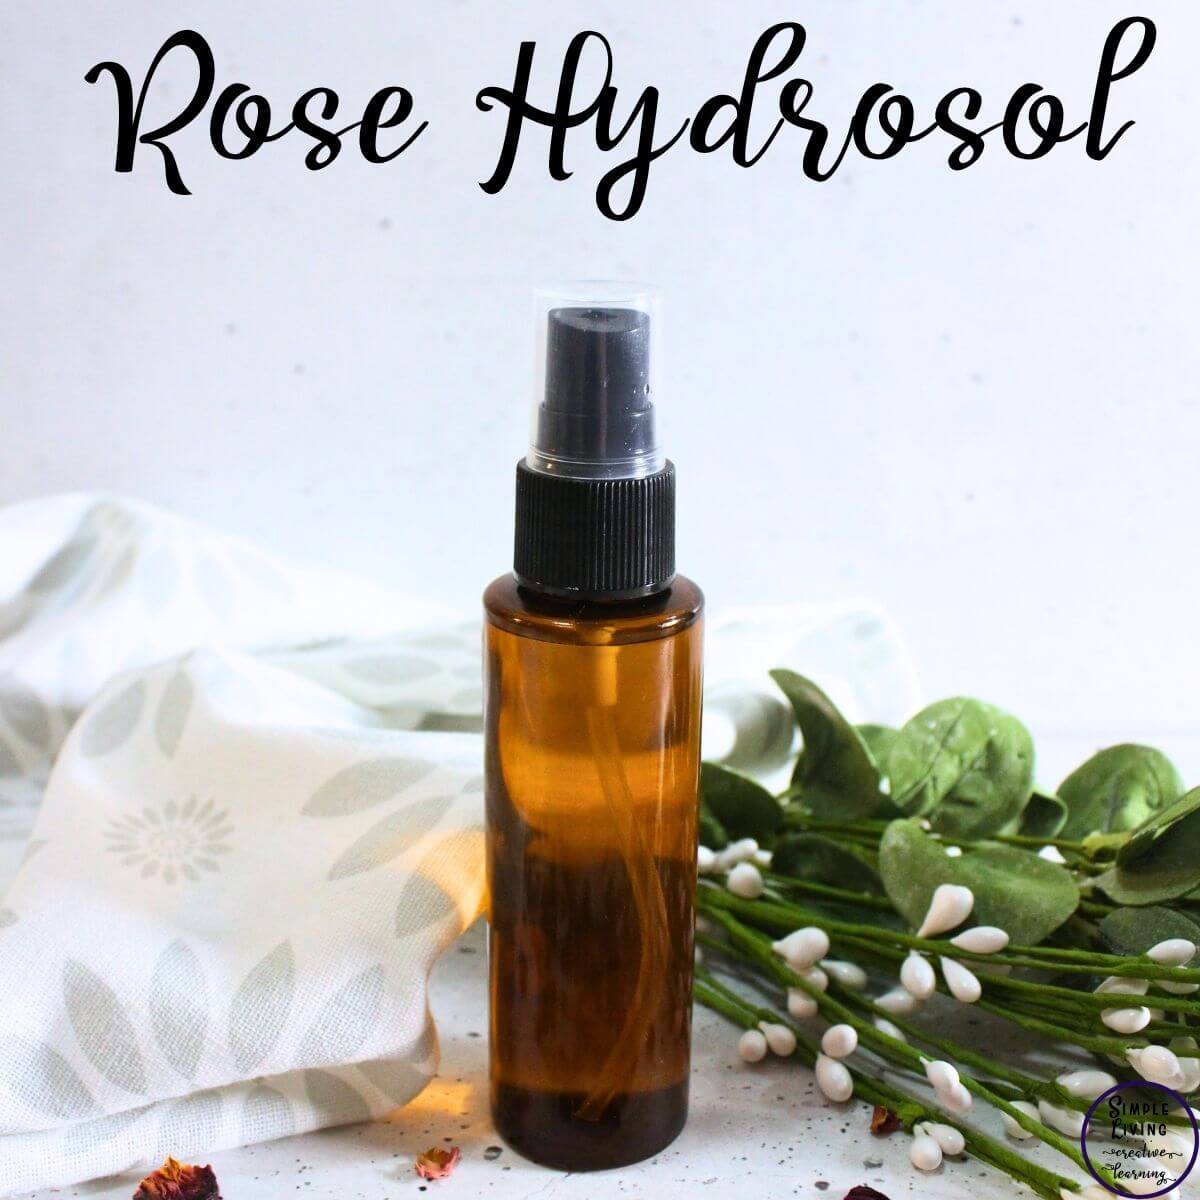
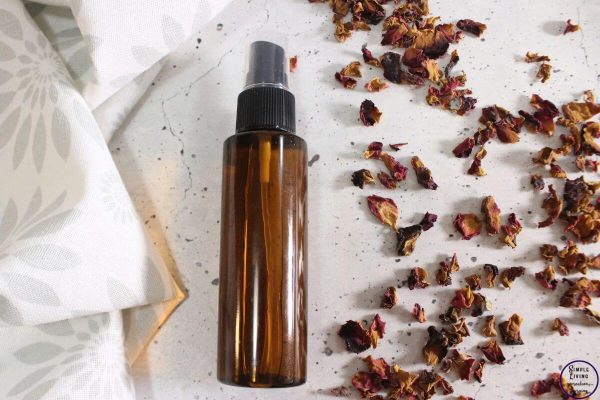
This rose hydrosol is simple enough to make, hydrating and refreshing on your skin.
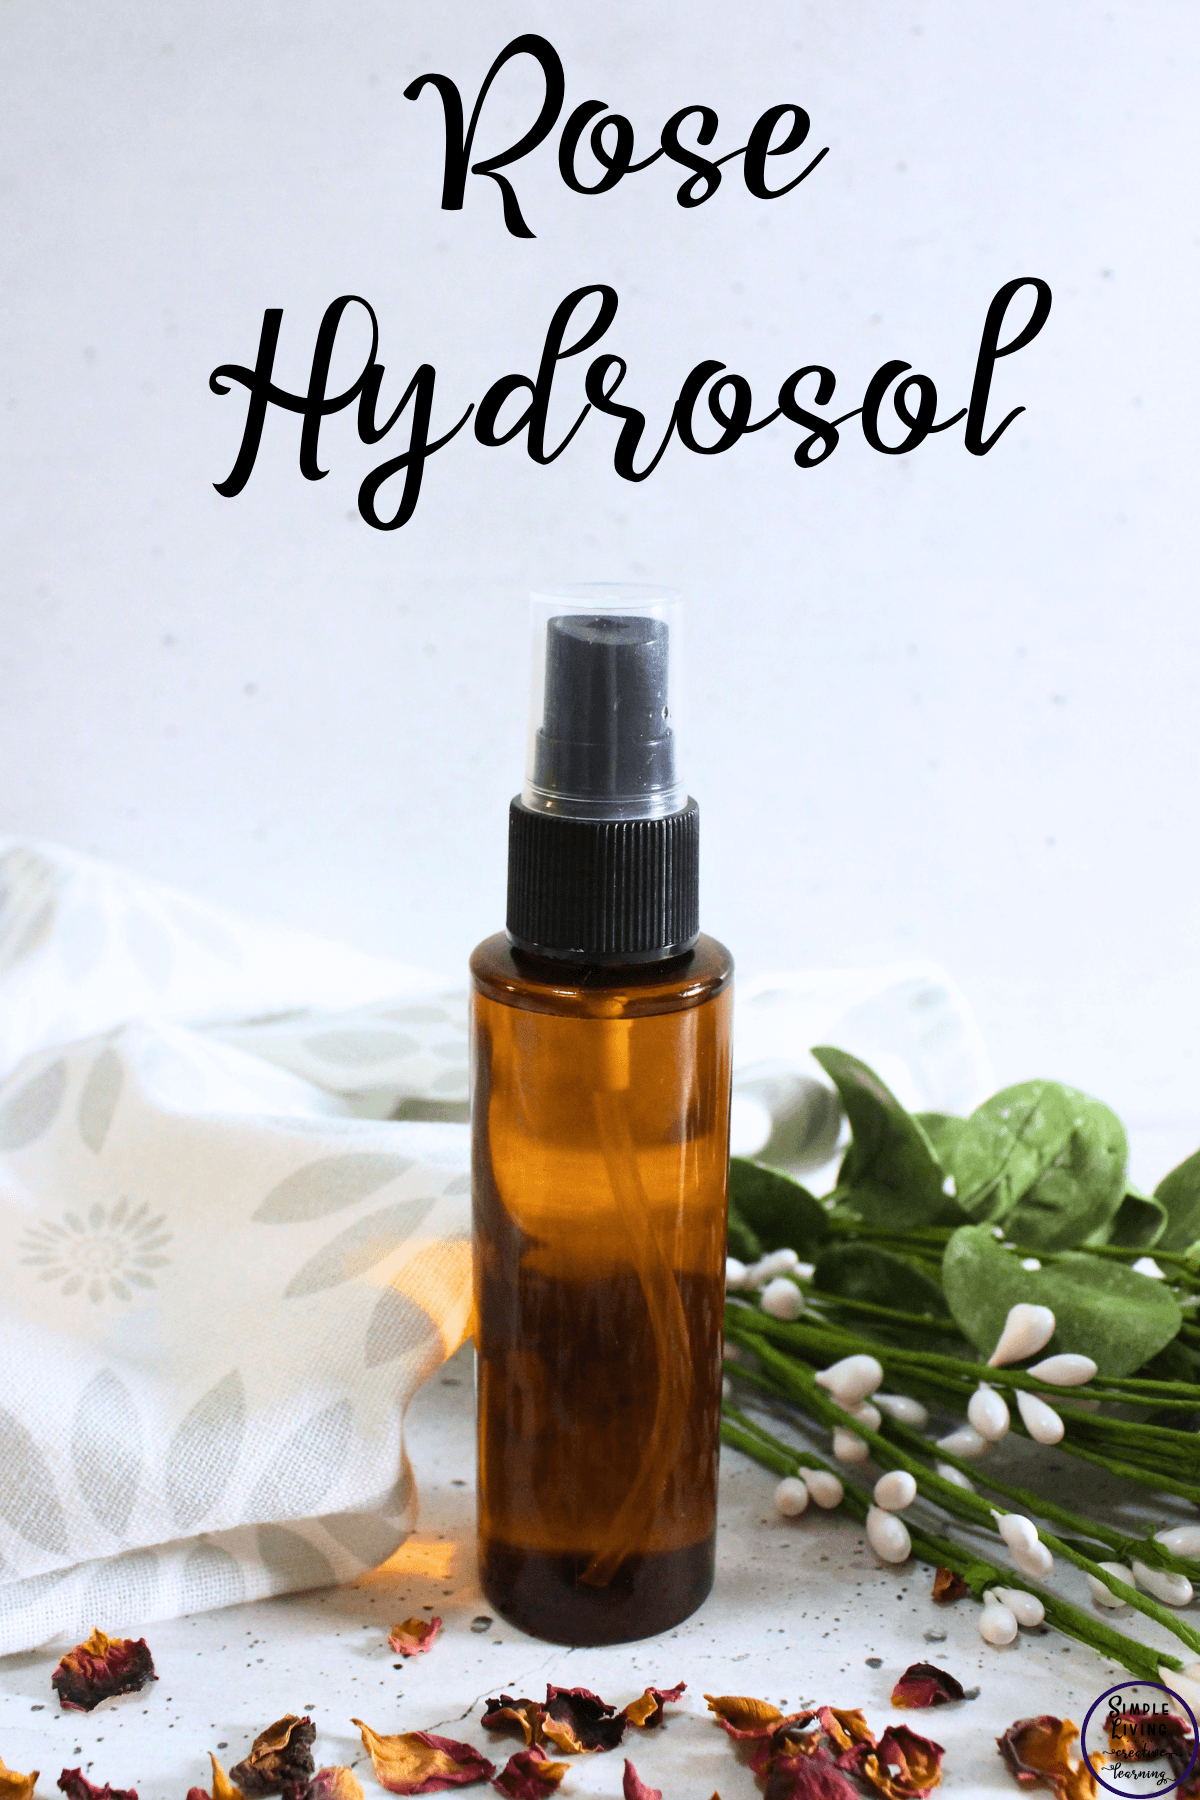
Rose Hydrosol
A hydrosol is a water-based solution that is produced during the steaming of plant materials like flowers and leaves. Also known as floral water, hydrosols are gentle enough to be used as:
- Facial Toners
- Cleanser
- Hydrating Mist
- Delicate Body Sprays
- Refreshing Room Mist
- In a Relaxing Bath – add 1 Cup of Rose Water to a Warm Bath
- As a Moisturising Leave-In Hair Conditioner
- Soothe Skin Irritations
This rose hydrosol is simple enough to make, hydrating and refreshing on your skin.
Just keep in mind, some people may be allergic to roses, so make sure to patch test before use.
Also, NEVER use rose petals that have been sprayed or grown in an area when sprays have been used.
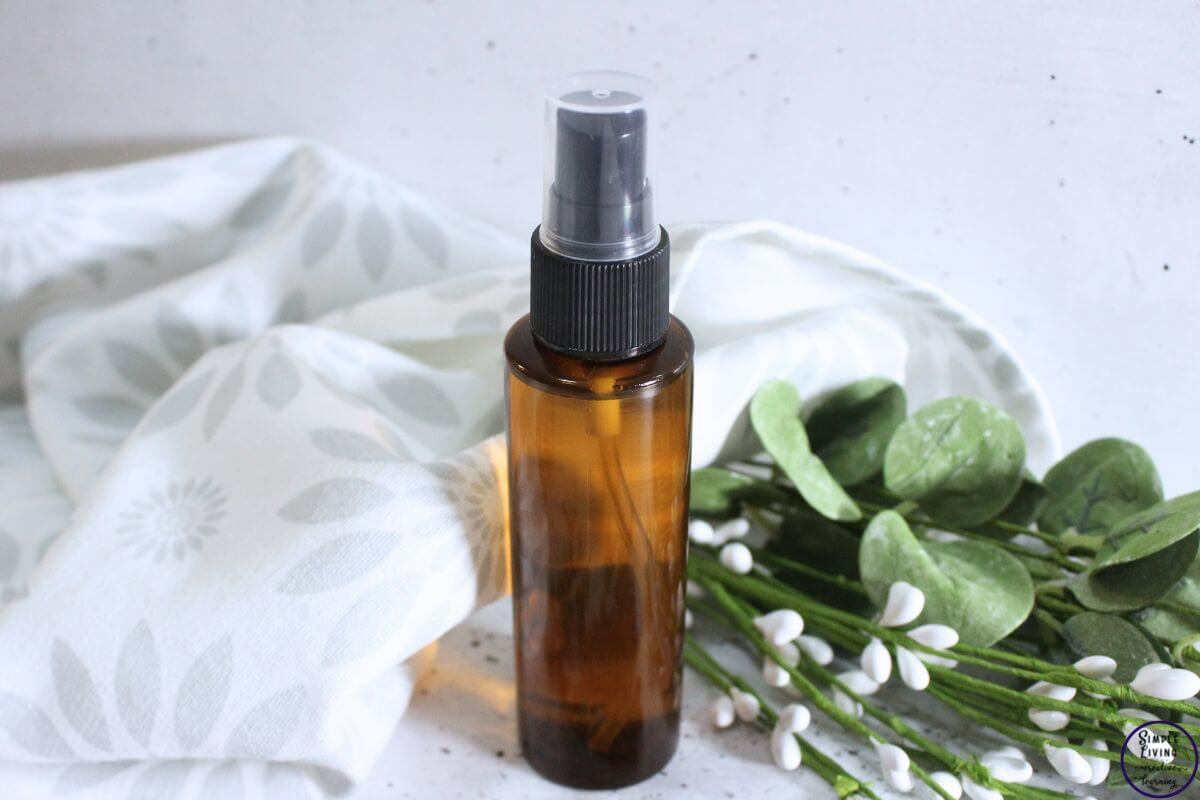
Ingredients for Making Rose Hydrosol
To make around 2 cups of Rose Hydrosol, you will need:
- 1-2 Cups Fresh Rose Petals, Or ½ Cup dried rose petals
- 1 ½ to 2 Cups Distilled Water – just enough to cover the petals
- Ice Cubes – for Condensing Steam
- Large pot with a lid – I prefer to use glass or stainless steel. A trivet can also be used if you wish.
- Heat-proof bowl to collect the hydrosol
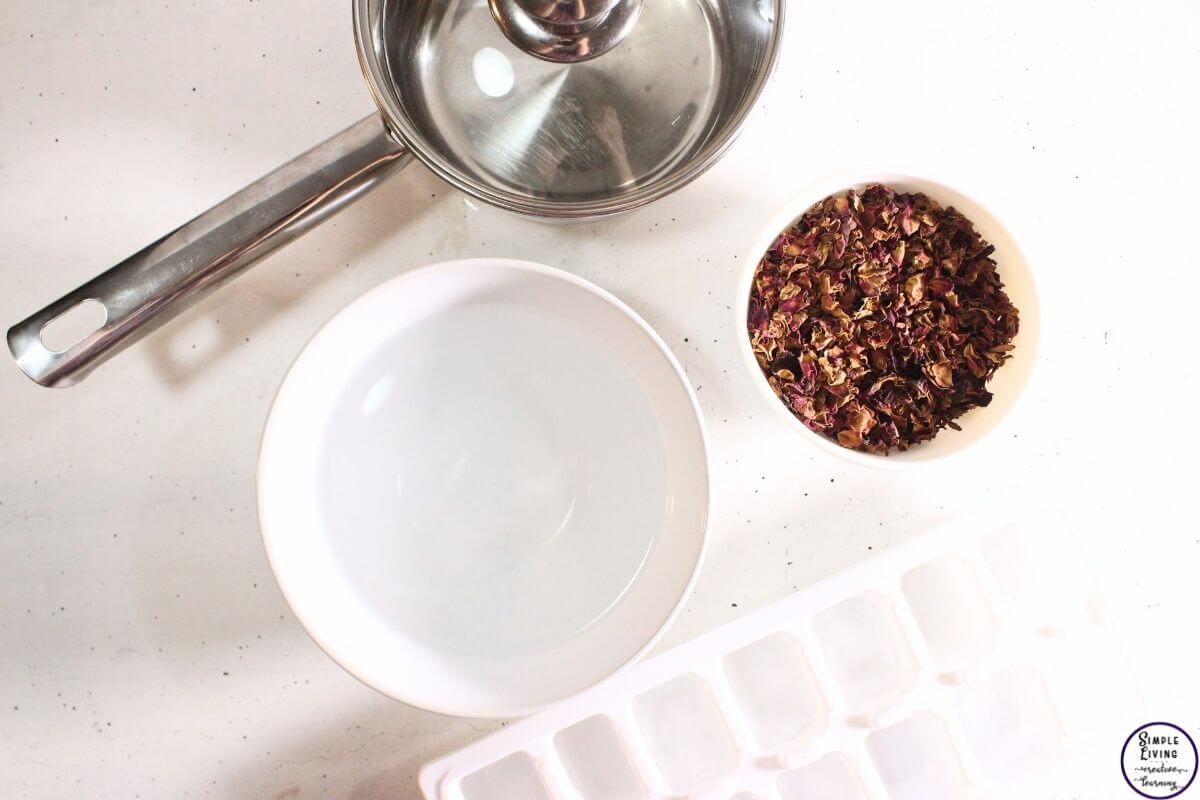
Making Rose Hydrosol
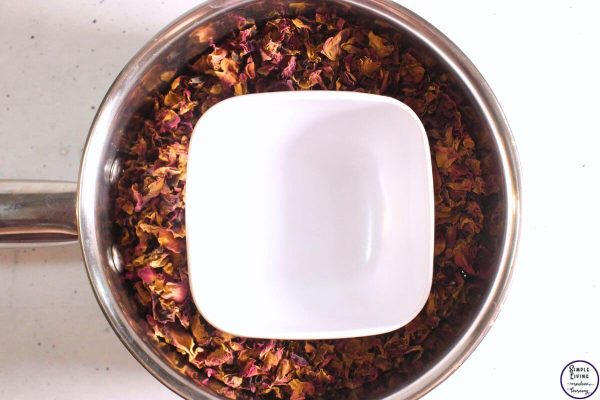
Scatter the rose petals in the pot, over the trivet if using.
Set the heat-proof bowl on top to collect the rose hydrosol.
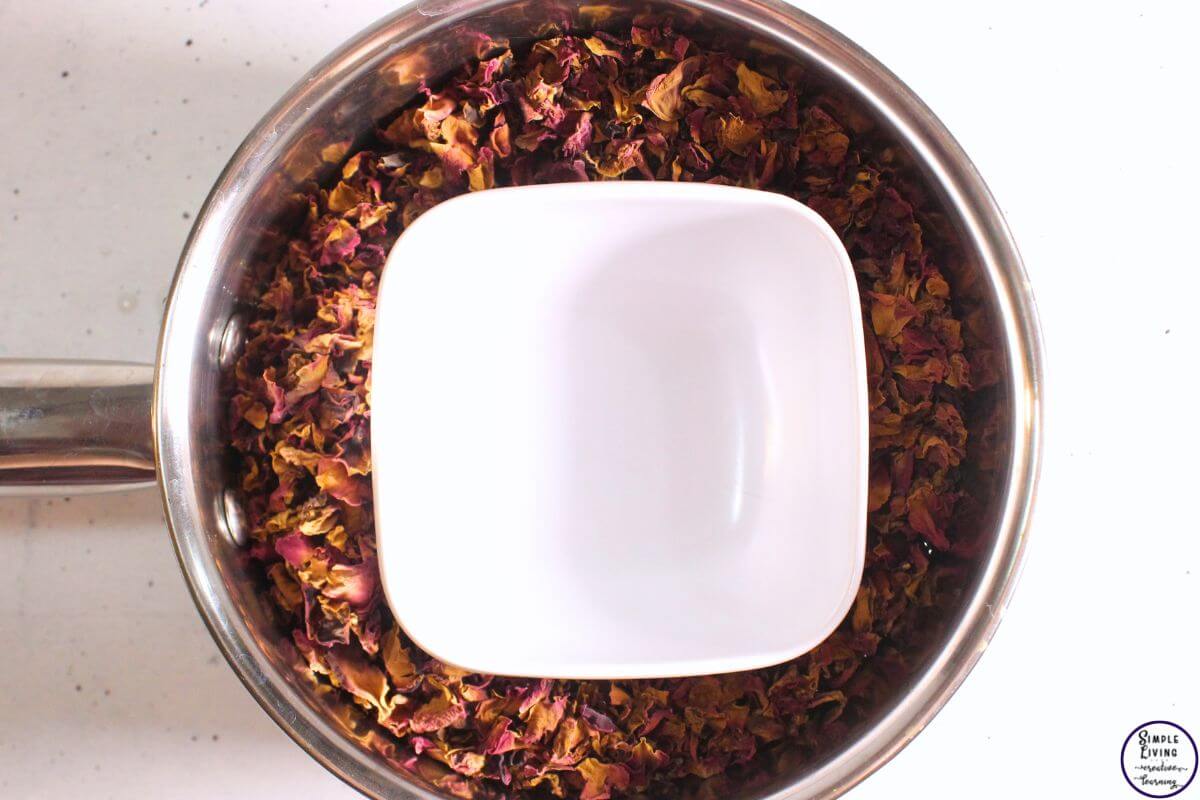
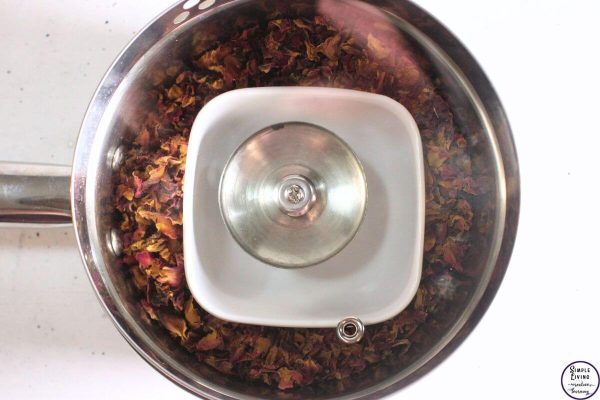
Pour enough distilled water over the petals to submerge them.
Place the lid of the pot on upside down. This will allow the steam to condense on the lid and drip into the collection bowl.
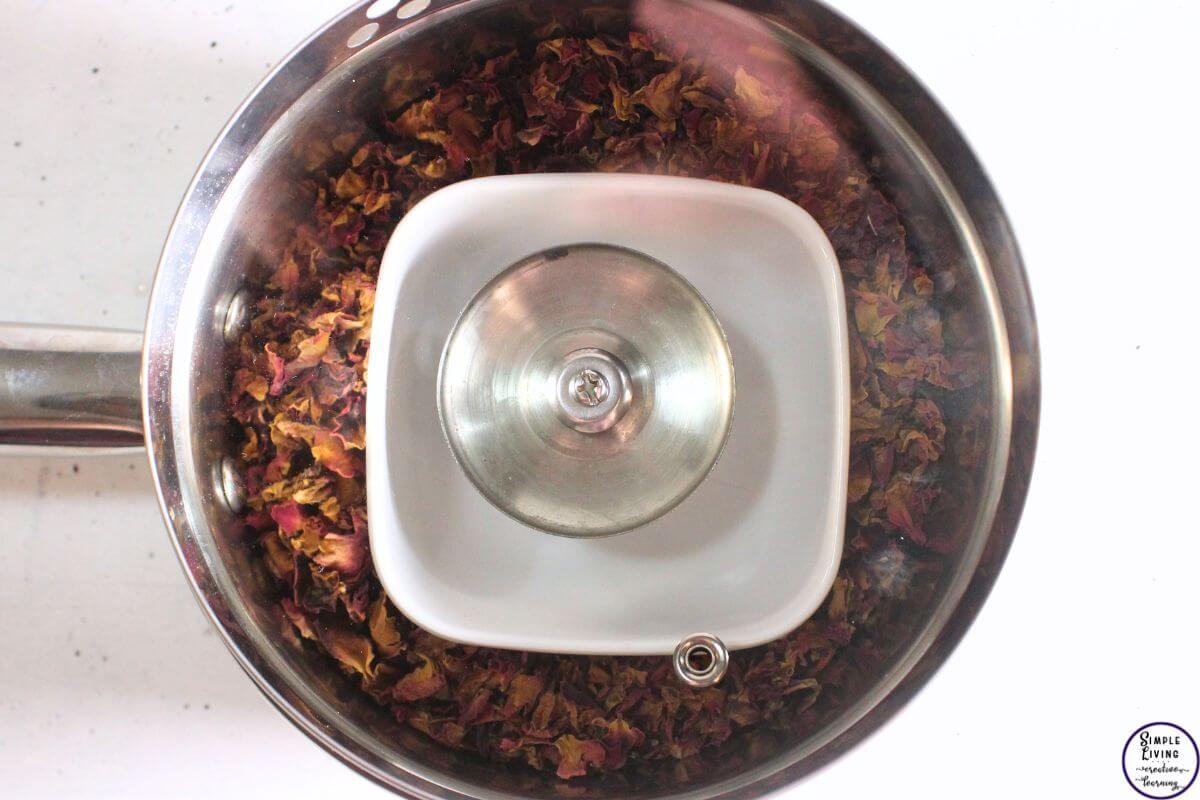
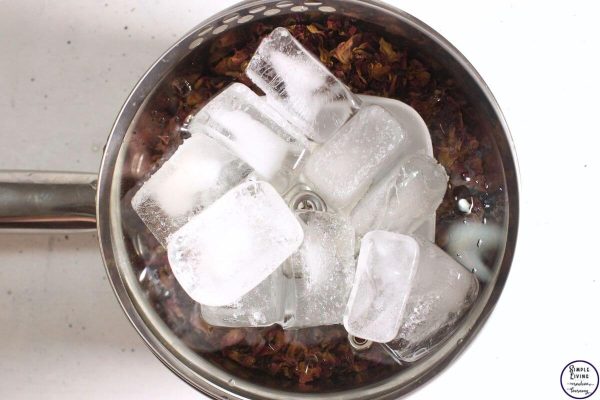
Fill the inverted lid with ice cubes to help create condensation as the water heats.
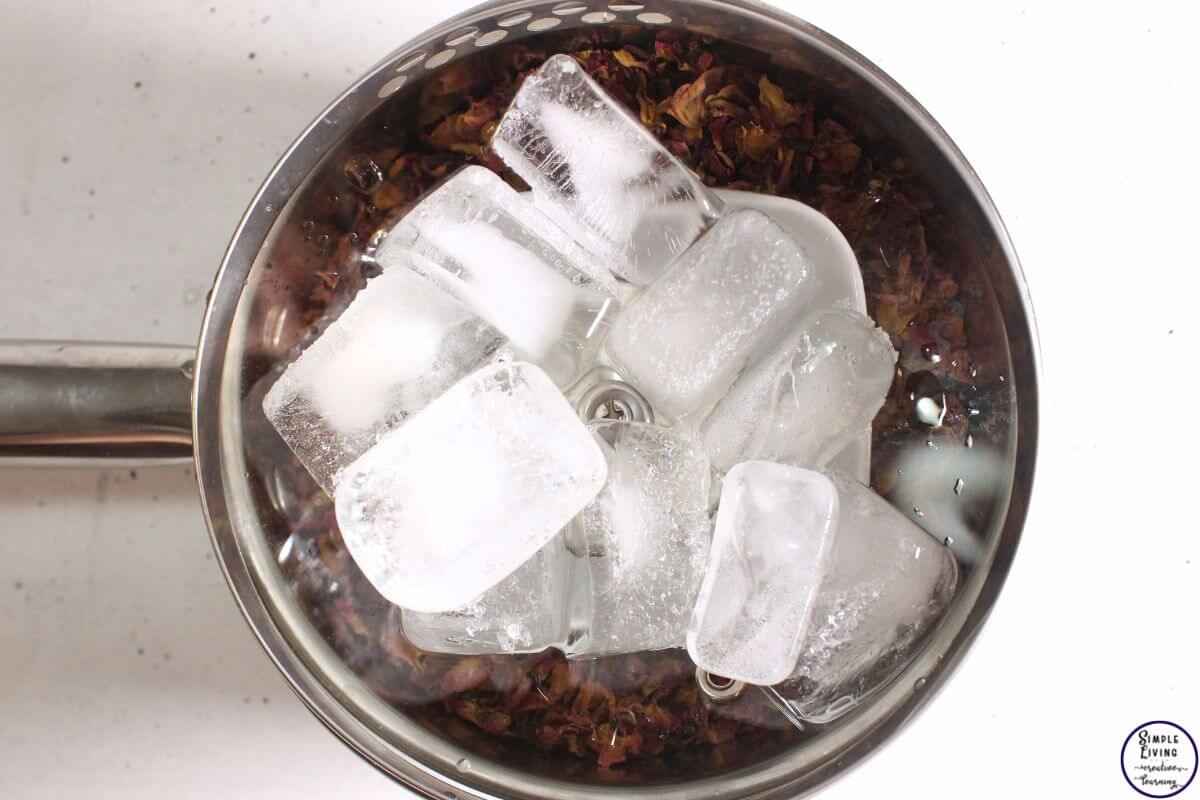
Turn on the heat to low and let the petals steam gently for around 30 minutes. Do not allow the water to bowl. Replace the ice as it melts.
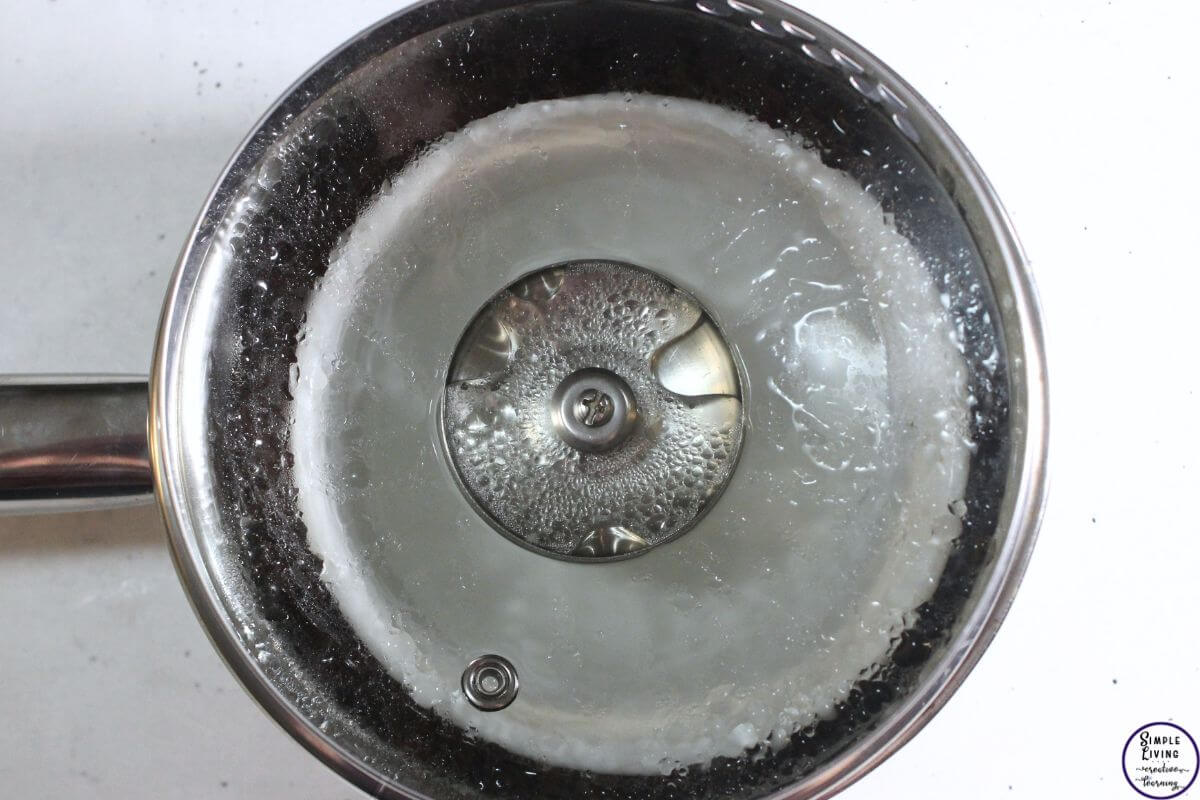
When done, carefully remove the bowl with the rose hydrosol inside.
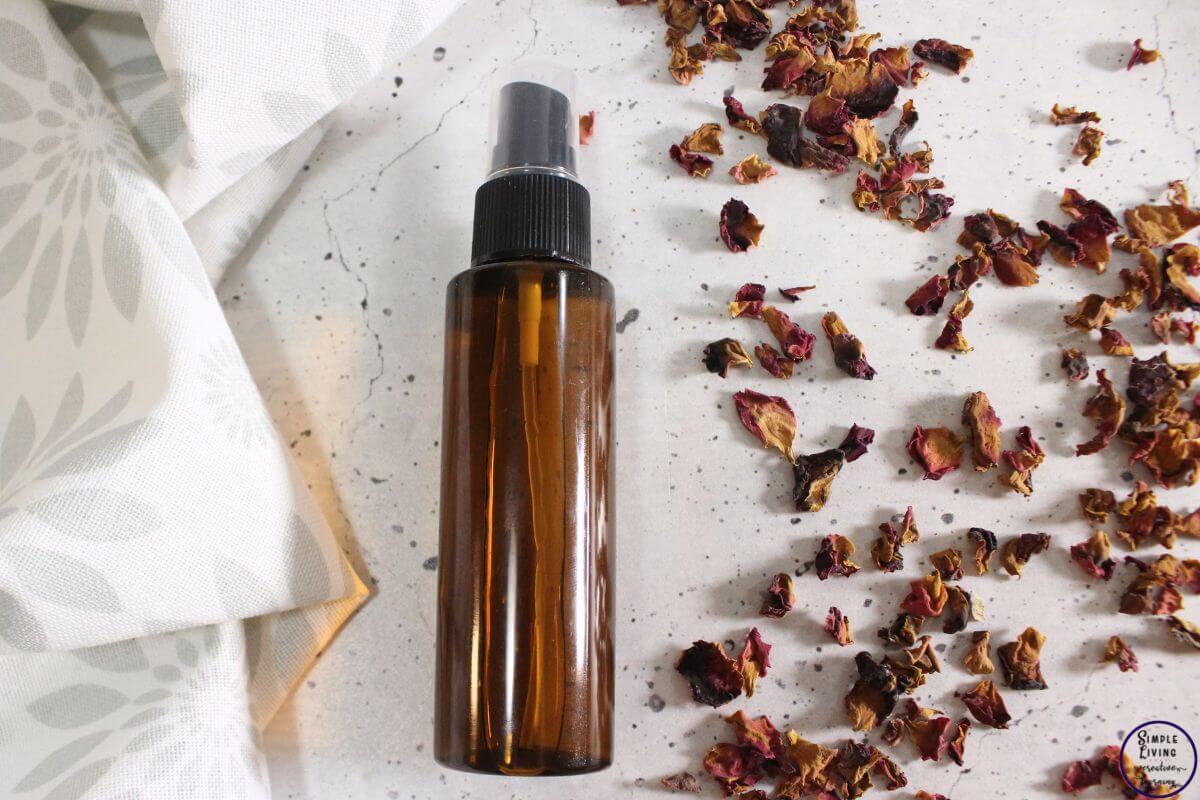
Gently pour into a sterilised glass jar or spray bottle.
Store in the fridge for up to 6 months to keep if fresh.
You could also freezer the extra rose water in an ice cube tray to store it for up to 12 months.
More Homemade Recipes!
- Rose Lotion Bars
- Rose Salve
- Homemade Calendula Oil
- Homemade Vapour Rub
- 35+ Self Care Products to Make
- Make Healing Calendula Salve
- What are Carrier Oils and How do you use them?
- Homemade Dishwasher Tablets
- Essential Oil Binder
- Magnesium Body Lotion
- Cracked Foot & Heel Balm
- Herbal Muscle Salve
- Sore Muscle Salve
- Rosemary Salve
- Comfrey Salve
- Make a Herb Infused Oil
Homemade Rose Hydrosol
Equipment
- Large Pot with Lid Stainless steel or glass is best
- Trivet Optional
- Heat-proof bowl
Ingredients
- 2 Cups Fresh Rose Petals, Or ½ Cup Dried Rose Petals
- 2 Cups Distilled Water Enough water to cover the petals
- Ice Cubes For Condensing Steam
Instructions
- Scatter the rose petals in the pot, over the trivet if using.
- Set the heat-proof bowl on top to collect the rose hydrosol.

- Pour enough distilled water over the petals to submerge them.
- Place the lid of the pot on upside down. This will allow the steam to condense on the lid and drip into the collection bowl.
- Fill the inverted lid with ice cubes to help create condensation as the water heats.
- Turn on the heat to low and let the petals steam gently for around 30 minutes. Do not allow the water to boil.
- Replace the ice as it melts.
- When done, carefully remove the bowl with the rose hydrosol inside.
- Gently pour into a sterilised glass jar or spray bottle.
- Store in the fridge for up to 6 months to keep if fresh.
Disclaimer: These statements have not been evaluated by the Food & Drug Administration. The information on this site is not intended or implied to be a substitute for professional medical advice, diagnosis or treatment. Never disregard professional medical advice or delay seeking medical treatment because of something you have read on this website.
 Pumpkin Banana Bread with Chocolate Chips