
With only three ingredients, you will be able to make creamy homemade ricotta in less than an hour. I mean, who doesn’t like ricotta? This lovely, creamy soft cheese can be used in cannoli, cheesecake or even pies.

Homemade Ricotta
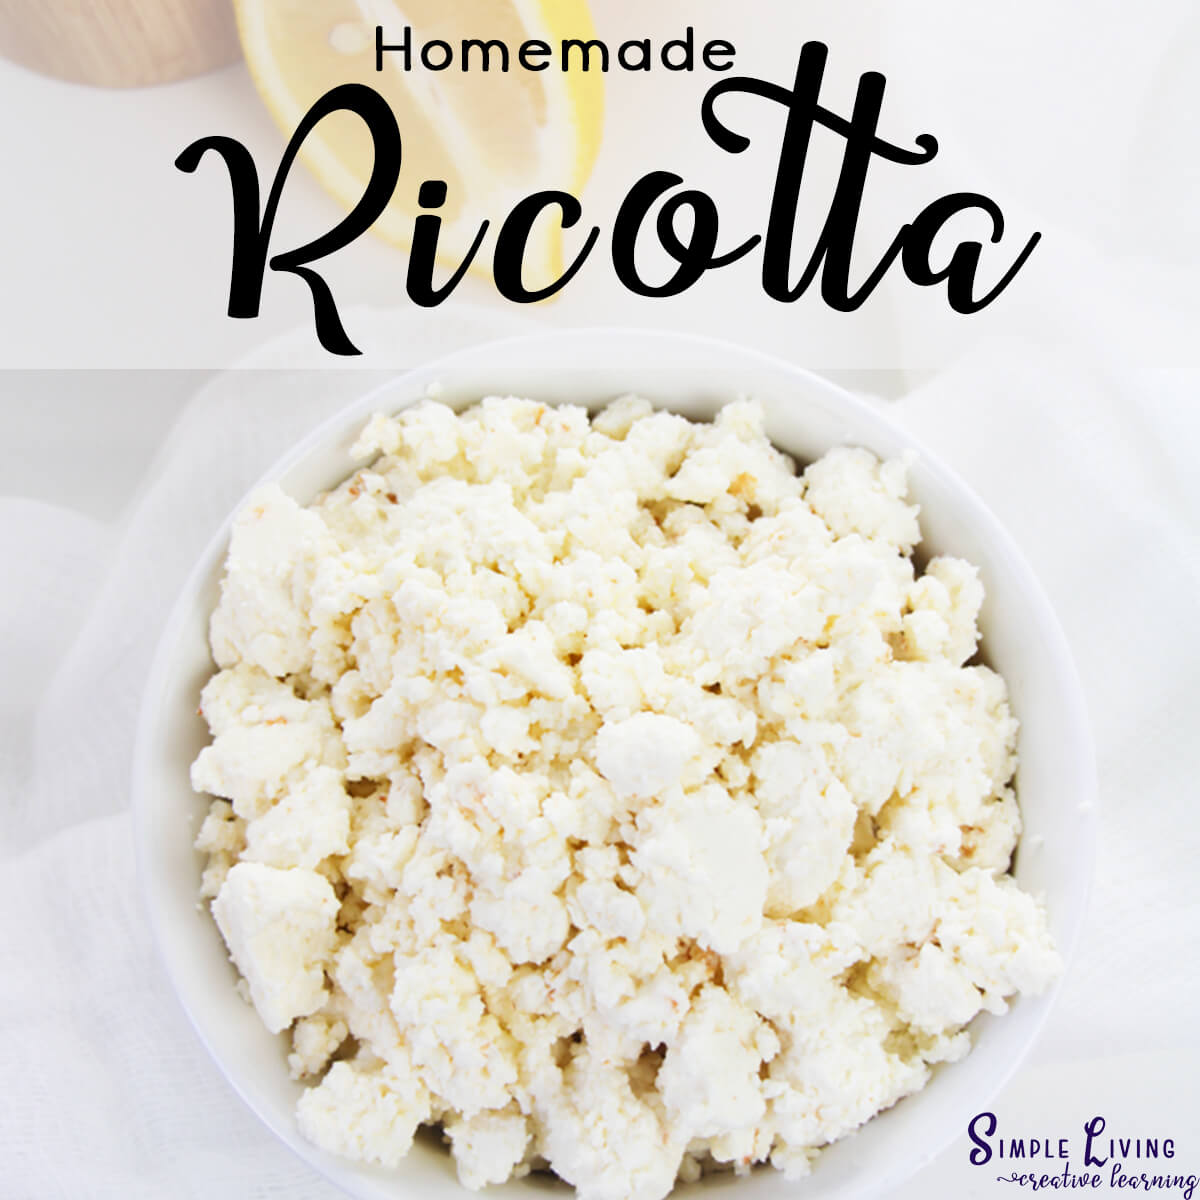
This ricotta recipe is so creamy, light and delicate with a lovely texture that you will totally enjoy.
If you haven’t made ricotta before, then don’t worry. With this simple step-by-step recipe, you will learn how easy it is to make and never have to purchase ricotta again.
You don’t need anything fancy to make it, only a piece of cheesecloth and a fine mesh sieve and a stockpot are needed.
Forming the Curds
Ricotta needs a source of acidity to form the curds. This can be achieved using lemon juice or white vinegar. The results of this can differ depending on the types of lemons used and their acidity. An extra tablespoon or two of lemon juice may be required if your milk does not curdle immediately.
Do not use the lemon juice from Meyer lemons as it does not have the same acidity as regular lemons.

What do you need?
- Full cream milk – You cannot make ricotta with ultra-pasteurised milk as it doesn’t curdle properly. Some or all of the milk can be replaced with cream to create a creamier ricotta.
- Salt – You can adjust the salt to your personal taste
- Lemon Juice – The acidity of the lemon juice will create the curds. White vinegar could also be used.
The accessories that you will need are:
- Large saucepan and lid
- Wooden Spoon
- A slotted ladle
- A bowl or a ricotta basket
- Fine Mesh Strainer
- Cheesecloth – can be reused, just wash in mild, soapy water and rinse clean. Then air-dry.
- Colander
How to Make Homemade Ricotta
First, you will need to line your bowl or ricotta basket. To do this, grab a large piece of lightly dampened cheesecloth and fold it over itself 3 to 4 times.

Place the cheesecloth in the colander and the colander in the bowl. If you have a ricotta basket, you can use that instead. Set this aside while making the cheese.
Place the milk in a large saucepan and stir in the salt. If you have a candy thermometer, clip it to the side of the pot to help you keep an eye on the temperature.

Over medium heat, heat the milk until it reaches 85˚C or 185˚F. Small curds should begin to form. Make sure to stir the mixture occasionally with a wooden spoon.
If you don’t have a thermometer, heat the milk until it reaches a stage where there is a lot of steam, and little bubbles are forming close to the edge of the pot. A slight film will appear over the milk as well. Usually, it takes around 20 minutes to get to this stage.
Reduce the heat to low and stir in the lemon juice. The mixture should immediately begin to curdle. Stir it twice and turn off the heat. Allow the saucepan to stand on the burner for 10 minutes.

Ladle the ricotta from the saucepan into the prepared cheesecloth-lined colander.

Drain over the bowl at room temperature. The consistency of the ricotta depends on the time it is left to drain. For a light, fluffy ricotta, drain for around 10 to 15 minutes. For a drier and firmer ricotta, strain for longer. The consistency you desire is up to you.
When finished draining, use right away, or transfer to an air-tight container and place in the fridge.

Whey
The whey is the liquid that is in the bowl after you drain your ricotta. True ricotta is made from the leftover whey of cheese production, hence the name ‘ricotta’ which means ‘recooked.’
This whey can be discarded or you can use it when making bread, pizza, pasta, sourdough bread, focaccia, pizza crust or even add it to soups. It can also be used in smoothies and to ferment vegetables. Taste it first as it will be a little tangy and salty.
It can also be used to store the ricotta curds in.
Whey can be stored in the fridge or the freezer.
Storing Homemade Ricotta
Ricotta can spoil quickly, so make sure to use it up as soon as you can.
It can be stored in an airtight container in the fridge for up to 2 days.
It can also be frozen, though the texture will change. It will no longer taste like fresh ricotta and will be crumbly when thawed. Even so, it can still be used in recipes when it is cooked or baked with other ingredients. Store in an airtight container in the freezer for up to 3 months. To use, thaw in the fridge overnight then mix well before using.

More Recipes
- Sourdough Discard Pancakes
- Pancake Entertaining Board
- Easy Chocolate Waffles
- Waffle Board
- Banana Waffles
- Strawberry Syrup
- Blueberry Syrup
- Mulberry Syrup
- Ma’s Pancake Men (Little House)
- Kitchen Conversion Charts
How to Make Ricotta
Equipment
- Large Saucepan with Lid
- Wooden spoon
- Slotted Ladle
- Large Bowl or Ricotta Basket
- Fine Mesh Strainer
- Colander
Ingredients
- 8 Cups Full Cream Milk
- 1/4 tsp Salt
- 2 TBSP Lemon Juice or White Vinegar
Instructions
- First, you will need to line your bowl or ricotta basket. To do this, grab a large piece of lightly dampened cheesecloth and fold it over itself 3 to 4 times.
- Place the cheesecloth in the colander and the colander in the bowl. If you have a ricotta basket, you can use that instead. Set this aside while making the cheese.

- Place the milk in a large saucepan and stir in the salt. If you have a candy thermometer, clip it to the side of the pot to help you keep an eye on the temperature.
- Over medium heat, heat the milk until it reaches 85˚C or 185˚F. Small curds should begin to form. Make sure to stir the mixture occasionally with a wooden spoon.
- If you don't have a thermometer, heat the milk until it reaches a stage where there is a lot of steam, and little bubbles are forming close to the edge of the pot. A slight film will appear over the milk as well. Usually, it takes around 20 minutes to get to this stage.
- Reduce the heat to low and stir in the lemon juice. The mixture should immediately begin to curdle. Stir it twice and turn off the heat. Allow the saucepan to stand on the burner for 10 minutes.
- Ladle the ricotta from the saucepan into the prepared cheesecloth-lined colander.
- Drain over the bowl at room temperature. The consistency of the ricotta depends on the time it is left to drain. For a light, fluffy ricotta, drain for around 10 to 15 minutes. For a drier and firmer ricotta, strain for longer. The consistency you desire is up to you.
- When finished draining, use right away, or transfer to an air-tight container and place in the fridge.


Nutrition
Nutritional information is an estimate and provided as a courtesy. The values may vary according to the ingredients and tools that are used. Please use your preferred nutritional calculator for more detailed information.
 Zoo Animal Clip Cards