
The smell of fresh bread baking is just so good! The smell of this delicious Homemade Honey Molasses Bread baking is one that is not to be missed. Especially good with savoury dishes, soups and stews, this yummy homemade bread is one that you just need to try.

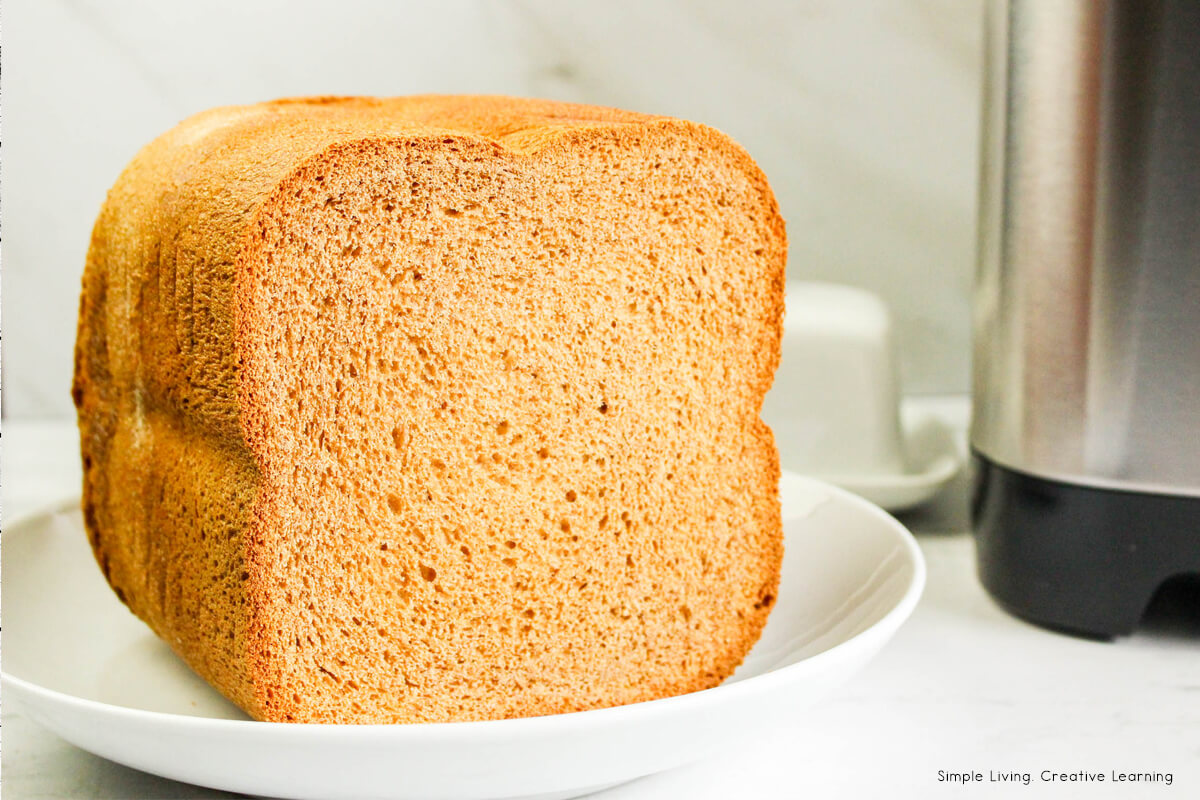
Homemade Honey Molasses Bread
This delicious bread goes well with butter, jam or a hearty soup or stew. This is an amazing recipe to make, either in a bread machine or by hand.
Working with Yeast
If you haven’t worked with yeast before, it can be a little daunting. It is hard to know whether the yeast that you have is going to work or not, so it is better to check it out first, before heading into making your loaves of bread.
To ‘proof’ the yeast, add around 2 ¼ teaspoons of yeast into a bowl with a small amount of warm water and a little sugar or honey. The yeast will feed on the sugar and you should see it activate- becoming foamy. This is when you know that your yeast is active and your loaf of bread will rise when using it.
What is Molasses?
Molasses is a liquid that will add moisture and a darker shade to your bread. There are three basic varieties of molasses. You can use the one you prefer.
- Light molasses – This molasses is lighter in flavour and colour. It is great for baking.
- Dark molasses – The darker molasses is stronger in flavour and darker in colour. It can be used interchangeably with light molasses. This is the molasses that is used for gingersnap recipes.
- Blackstrap molasses – This molasses is very dark in colour and has a strong flavour. It also has a slight bitterness to it. It is mostly used in barbecue or baked bean recipe.
Storing Homemade Bread
One of the best ways to store homemade bread is in a bread bag. Due to the hot temperatures and humidity here, we need to store it in the fridge or the freezer, otherwise it will go off rather quickly.
If you are in a cooler climate, you can store in a bread bag on the bench for up to four days.
Bread will keep in the freezer for up to four months. If you don’t have a bread bag, try wrapping your cold loaf in plastic wrap, then in aluminium foil before placing in a freezer-safe bag.
Getting Bread Dough to Rise
This bread dough needs time to rise on two separate occasions – once right after mixing and once after the dough is divided. The bowl or pans can be covered with a towel or plastic wrap and placed in a warm place.
If you don’t have a warm place such as a sunny place on your counter or a table that is sitting in a spot of sun, then you can turn the oven onto the lowest temperature setting for one or two minutes, just to slightly warm the oven. Then, turn the oven off, and place the dough in. Close the door and allow to rise.
Substitutes
You can substitute molasses for dark corn syrup.
You can also use maple syrup instead of honey, but the recipe will lose in colour and flavour, though it may be a little sweeter.
Ingredients for Honey Molasses Bread
To make this Honey Molasses Bread, you will need:
- ¾ cup warm water
- ⅓ cup milk
- 3 tablespoons melted butter
- 3 tablespoons molasses
- 3 tablespoons honey
- 1 teaspoon salt
- 1 ¾ cups whole wheat flour
- 2 cups bread flour
- 2 ¼ (1 packet / 7g) teaspoons fast acting yeast or instant yeast

Using a Bread Machine
You can use a bread machine to make this bread from start to finish. Just place all the ingredients into the bread machine in the order listed or according to your manufacturer’s recommendations.

Then, using the white bread cycle and the medium crust setting, start the bread.

When done, allow to cool in the pan for ten minutes before removing and cooling completely on a wire rack.

Kneading the Dough
This dough can be kneaded in a bread machine or a stand mixer with a dough hook and then finished off by hand if you don’t have or don’t want to use a bread machine.
Making Honey Wheat Bread
To make this bread, combine the yeast with ¼ cup of the warm water and ½ teaspoon of the honey in a small bowl. Let it proof – wait until it is bubbly – to make sure the yeast is active.
While the yeast is proofing, add the rest of the water, the rest of the honey, the butter, milk, molasses, salt and flour to the bowl or the bowl of a stand mixer if using.
Once the yeast is ready, add it to the remaining ingredients and slowly begin mixing. If using a stand mixer, make sure to use the dough attachment.
When the ingredients are all combined, knead the dough for 5 minutes. The dough may be sticky, but not so sticky that you can’t roll it into a ball. If it is too sticky, add a little extra flour.
Once rolled into a ball, spray a bowl with a little oil and place the dough in the bowl. Cover with plastic wrap and let rise in a warm place for at least one hour, or until doubled in size.
After it has risen, take the dough out of the bowl and shape into two loaf shapes. Tuck in the ends and place in a lightly greased loaf pan or on a lined baking tray.
Cover with plastic wrap and rise again for 30 minutes.
Preheat the oven to 375˚F or 190˚C.
Remove the plastic wrap and place the loaf pans or baking tray in the oven and bake for 25 to 30 minutes.
Brush to tops with a little melted butter during the last five minutes of baking, if desired.
When finished, remove from oven and let cool for 15 minutes before slicing.
Other Bread and Spread Recipes
- Milk Bread Rolls
- Homemade Outback Honey Wheat Bread
- Homemade Bread
- Pumpkin and Blueberry Bread
- Strawberry Jam
- Rosella Jam
- Mulberry Jam
- Slowcooker Apple Butter
- Orange and Lemon Marmalade
- Lemon Curd
- Blueberry Jam
- Passionfruit Curd
- Apple Scrap Jelly
- Garlic Bread Seasoning


Homemade Honey Molasses Bread
Ingredients
Instructions
Bread Machine Instructions
- You can use a bread machine to make this bread from start to finish. Just place all the ingredients into the bread machine in the order listed or according to your manufacturer’s recommendations.
- Then, using the white bread cycle and the medium crust setting, start the bread.
- When done, allow to cool in the pan for ten minutes before removing and cooling completely on a wire rack.
Honey Molasses Bread without a Bread Machine
- This dough can be kneaded in a bread machine or a stand mixer with a dough hook and then finished off by hand if you don't have or don't want to use a bread machine.
- To make this bread, combine the yeast with ¼ cup of the warm water and ½ teaspoon of the honey in a small bowl. Let it proof - wait until it is bubbly - to make sure the yeast is active.
- While the yeast is proofing, add the rest of the water, the rest of the honey, the butter, milk, molasses, salt and flour to the bowl or the bowl of a stand mixer if using.
- Once the yeast is ready, add it to the remaining ingredients and slowly begin mixing. If using a stand mixer, make sure to use the dough attachment.
- When the ingredients are all combined, knead the dough for 5 minutes. The dough may be sticky, but not so sticky that you can't roll it into a ball. If it is too sticky, add a little extra flour.
- Once rolled into a ball, spray a bowl with a little oil and place the dough in the bowl. Cover with plastic wrap and let rise in a warm place for at least one hour, or until doubled in size.
- After it has risen, take the dough out of the bowl and shape into two loaf shapes. Tuck in the ends and place in a lightly greased loaf pan or on a lined baking tray.
- Cover with plastic wrap and rise again for 30 minutes.
- Preheat the oven to 375˚F or 190˚C.
- Remove the plastic wrap and place the loaf pans or baking tray in the oven and bake for 25 to 30 minutes.
- Brush to tops with a little melted butter during the last five minutes of baking, if desired.
- When finished, remove from oven and let cool for 15 minutes before slicing.
Nutrition
Nutritional information is an estimate and provided as a courtesy. The values may vary according to the ingredients and tools that are used. Please use your preferred nutritional calculator for more detailed information.
 Aesop’s Fables Printables: The Goose Who Laid Golden Eggs Printables