
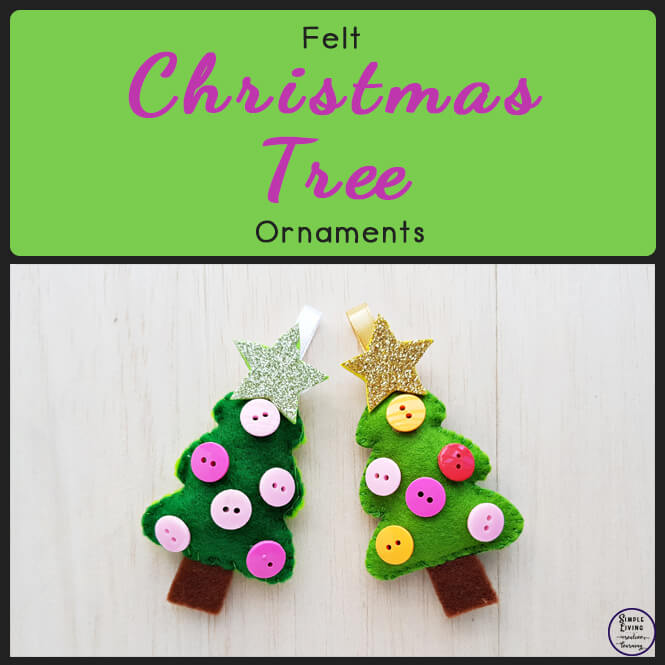
These gorgeous DIY Felt Christmas Tree Ornaments are a fun craft to complete this Christmas. They would make lovely homemade decorations for your Christmas, beautiful tags for gifts or even gorgeous decorations for your table this Christmas.

Check out the list of materials that we use with these printables.
Felt Christmas Tree
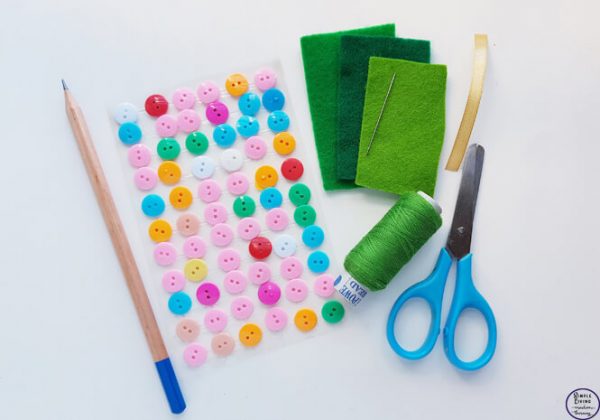
Supplies you will need:
- Felt Fabric for tree and scraps for filling
- Colourful Buttons
- Satin Ribbon
- Needle and Thread
- Pencil
- Scissors
- Glue to attach the buttons
- Template

To make your Felt Christmas Tree
- Print and cut out the template – this is a free download. On the template you will find two different sizes, choose the size you want, cut it out, place on the felt and trace. You will need 2 parts for the tree (back and front), 1 rectangle for the trunk and a star shape.

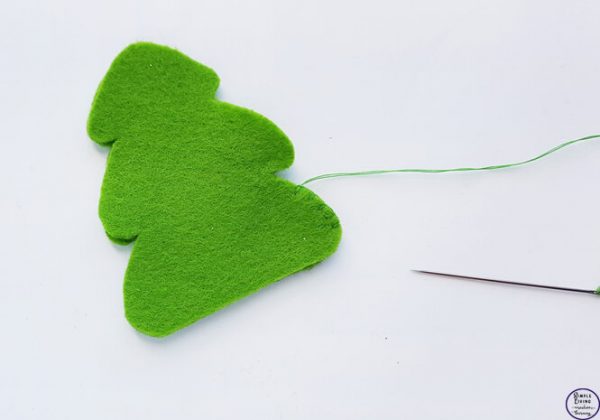
- To make the tree leaves part, prepare the needle with thread. Hold the 2 tree cutouts together, starting from the side, stitch them together with flat, blanket stitches.

- Pause stitching when you reach near the top of the tree. This is where the ribbon will be inserted.

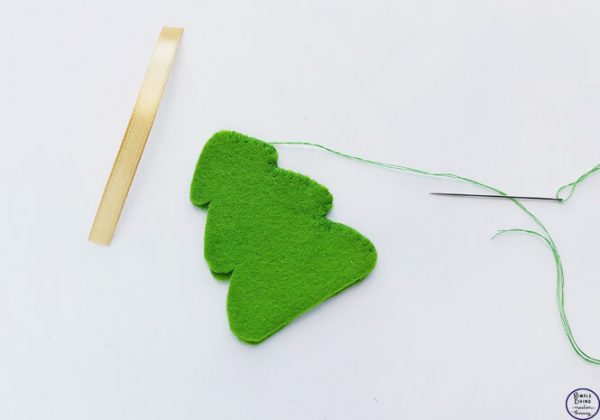
- Cut a piece of satin ribbon to the size you want then fold it in half. Insert the open ends of the ribbon between the 2 tree patterns, on the top end. Start to stitch again, making sure to catch this ribbon and continue to stitch down the other side of the tree.

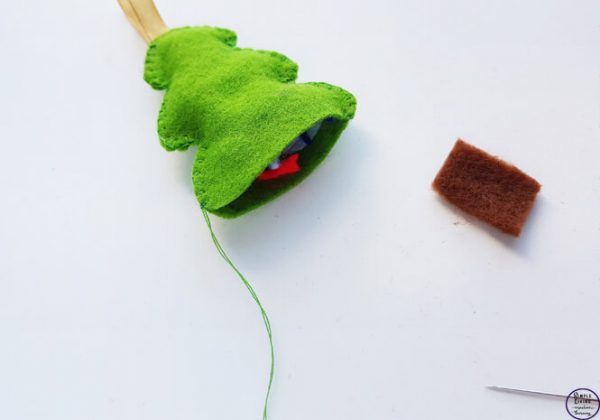
- Pause again when you reach the bottom of the tree. This is where the tree needs to be filled.

- Using your scrap felt pieces, stuff the tree inserting through the bottom opening. Once the tree has been filled, grab your square piece of felt.

- Insert about 1 cm of the rectangular felt piece between the tree parts, in the middle part of the bottom end. Continue to stitch along the bottom side to secure the stuffing and the tree base in place. Secure the ends of the thread and cut off any excess.

- Attach colorful buttons to decorate the felt tree.

More Christmas Resources
- Christmas Cards
- Christmas Bible Verses Copywork
- Christmas Counting Cards
- Christmas 2D Shape Puzzles
- Christmas Preschool Printables
- 100+ Christmas Activities & Printables for Kids
- The Night Before Christmas Printable Pack
- Christmas Playdough Mats
- Christmas Colour by Code Printables
- Christmas Bingo
- 12 Days of Christmas Lapbook
Ingredients
- Felt Fabric for tree and scraps for filling
- Colourful Buttons
- Satin Ribbon
- Needle and Thread
- Pencil
- Scissors
- Glue to attach the buttons
- Template
Instructions
- Print and cut out the template - this is a free download.

- On the template you will find two different sizes, choose the size you want, cut it out, place on the felt and trace. You will need 2 parts for the tree (back and front), 1 rectangle for the trunk and a star shape.
- To make the tree leaves part, prepare the needle with thread. Hold the 2 tree cutouts together, starting from the side, stitch them together with flat, blanket stitches.
- Pause stitching when you reach near the top of the tree. This is where the ribbon will be inserted.
- Cut a piece of satin ribbon to the size you want then fold it in half. Insert the open ends of the ribbon between the 2 tree patterns, on the top end. Start to stitch again, making sure to catch this ribbon and continue to stitch down the other side of the tree.
- Using your scrap felt pieces, stuff the tree inserting through the bottom opening. Once the tree has been filled, grab your square piece of felt.
- Using your scrap felt pieces, stuff the tree inserting through the bottom opening. Once the tree has been filled, grab your square piece of felt.
- Insert about 1 cm of the rectangular felt piece between the tree parts, in the middle part of the bottom end. Continue to stitch along the bottom side to secure the stuffing and the tree base in place. Secure the ends of the thread and cut off any excess.
- Attach colorful buttons to decorate the felt tree.


Tried this recipe?Check out Share a pic on Instagram!
Enjoy!
 Rocky Road Christmas Trees