
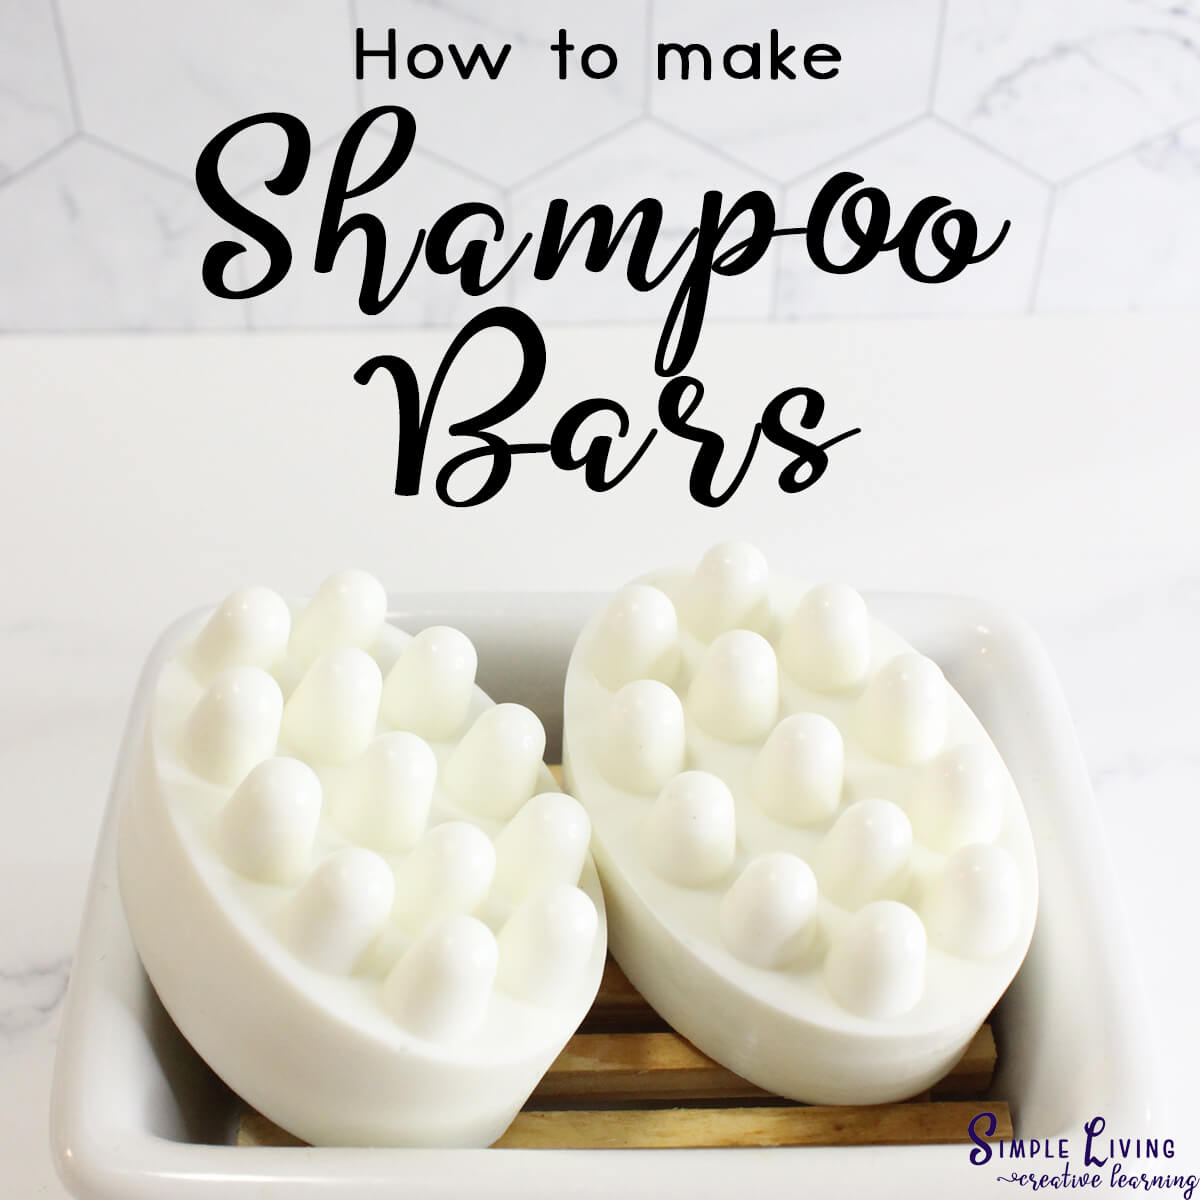
These easy to make homemade shampoo bars will leave your hair feeling soft and shiny. Though you can make these bars from scratch using lye, this shampoo bar recipe simple recipe using your choice of melt-and-pour soap base to create an quick and easy bar to begin your shampoo bar journey.

Solid Shampoo Bars
Using solid shampoo bars instead of liquid shampoo, does have its advantages. They are easy to take when travelling, as you don’t have to worry about shampoo spilling all over the contents of your bag, and they take up less room. They also take up less room in the shower as well as save you money.
For someone with hand or arm difficulties, they may find it easier to use a shampoo bar over a heavy bottle. Furthermore, if you make them yourself, you know exactly what is going into them and can leave out all the nasties.
NOTE – If you haven’t used a homemade, natural shampoo or conditioner before, your hair may need some time to adjust. It may take some time to notice the benefits of using a shampoo bar as it reduces the build up from previous products and helps increase volume and leave you with healthier looking hair.
On another note, these simple DIY melt and pour shampoo bars would make the perfect gift for friends and family or as a great little stocking stuffer.
Using Homemade Shampoo Bars
To use your shampoo bar, first you need to thoroughly wet your hair.
Gently rub the bar between your hands to create a lather before working in into your hair. Start at your scalp, gently massage as you go and work your way through to the ends of your hair.
Rinse thoroughly when done and follow with conditioner or an apple cider vinegar rinse.
After using your bar, place it in a well-draining soap dish to dry. By allowing it to dry, it will prevent the bar from becoming too soft, extending its lifespan.

Essential Oils
Essential oils are potent, and need to be diluted. As this soap is being used on your skin, you will need to use essential oils that are gentle enough to be applied to your skin – and used in the correct quantities.
Just be careful using some essential oils such as tea tree and peppermint, around children and pregnant women, making sure to do your research before using.
Making Shampoo Bars
To make these melt and pour shampoo bars, you will need:
- 1 lb (450g) melt and pour soap base – I like to use a goat milk’s soap base
- 1 TBSP cocoa butter, mango butter or shea butter
- 2 TBSP calendula infused oil
- 1 tsp Vitamin E oil
- up to 20 drops essential oil (optional)
- The soap mould used

Cut up the melt and pour soap base into small squares and place in a microwavable jug.

Add the cocoa butter or shea butter to the jug and heat in the microwave for 30 seconds. When done, remove and stir.

Continue heating for 30 second intervals, stirring between each interval, until the soap base is melted. Stir thoroughly.

Once the soap base has been completely melted, let cool for a few minutes then add in the infused oil and stir again.
If using, carefully add the essential oils and mix through.

Pour into the moulds.

Leave to set for at least 6 hours or overnight.

Remove from mould and it is ready to use.

Store at room temperature in a dark, cool location.
Stored correctly, the soap bars should last for around 12 months.

More Soap Recipes
Variations
- The oil that your herbs are infused in also help nourish your hair. Aloe vera oil, jojoba oil and castor oil are all great for keeping your hair soft and silky.
- Other herbs that can be infused and used in these bars include: rosemary, sage, stinging nettle and arnica. Rosemary is known for helping stimulate hair growth and to help prevent dandruff. Calendula is known to bring out highlights in both blonde and brown hair as well as help prevent dandruff. You can easily make your own infused oils to use in these bars.
- The essential oils that could be used in these bars include orange, peppermint, clary sage, rosemary, frankincense, rose, geranium, sandalwood, bergamot, grapefruit, lavender, eucalyptus, cedarwood and lemon, though do your research before using an essential oils.
- Solid shampoo bases are available. So if you are able to get one of these, you can use it instead of the goat’s milk soap melt and pour.

How to Make Shampoo Bars
Equipment
Ingredients
- 1 lb Melt and Pour Soap Base Goat's Milk, Shea butter, Honey or Clear Glycerin
- 1 TBSP Cocoa butter or Mango butter or Shea Butter
- 2 TBSP Infused Oil Calendula, Rosemary or Basil
- 1 tsp Vitamin E Oil
- 20 drops Essential Oil
Instructions
- Cut up the melt and pour soap base into small squares and place in a microwavable jug.

- Add the cocoa butter or shea butter to the jug and heat in the microwave for 30 seconds. When done, remove and stir.
- Continue heating for 30 second intervals, stirring between each interval, until the soap base is melted. Stir thoroughly.
- Once the soap base has been completely melted, let cool for a few minutes then add in the infused oil and stir again.
- If using, carefully add the essential oils and mix through.
- Pour into the moulds.
- Leave to set for at least 6 hours or overnight.
- Remove from mould and it is ready to use.
- Store at room temperature in a dark, cool location. Stored correctly, the soap bars should last for around 12 months.


DISCLAIMER: THESE STATEMENTS HAVE NOT BEEN EVALUATED BY THE FOOD & DRUG ADMINISTRATION. THE INFORMATION ON THIS SITE IS NOT INTENDED OR IMPLIED TO BE A SUBSTITUTE FOR PROFESSIONAL MEDICAL ADVICE, DIAGNOSIS OR TREATMENT. NEVER DISREGARD PROFESSIONAL MEDICAL ADVICE OR DELAY SEEKING MEDICAL TREATMENT BECAUSE OF SOMETHING YOU HAVE READ ON THIS WEBSITE.
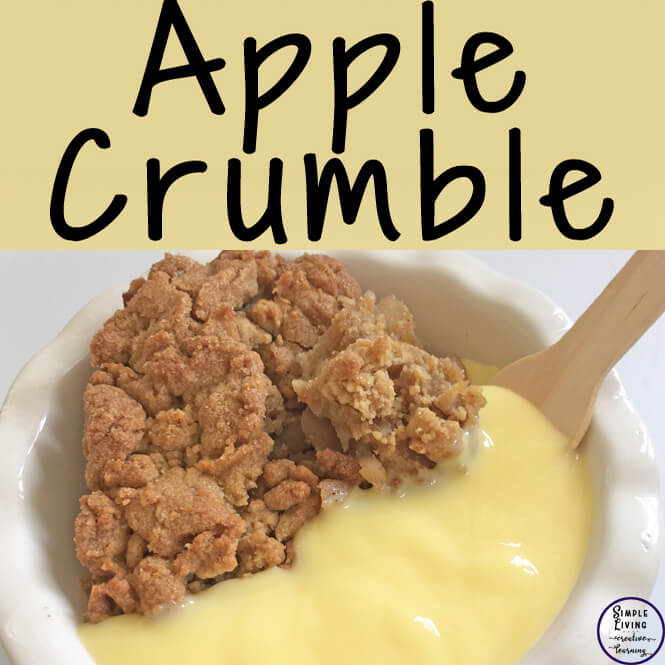 Apple Crumble Recipe