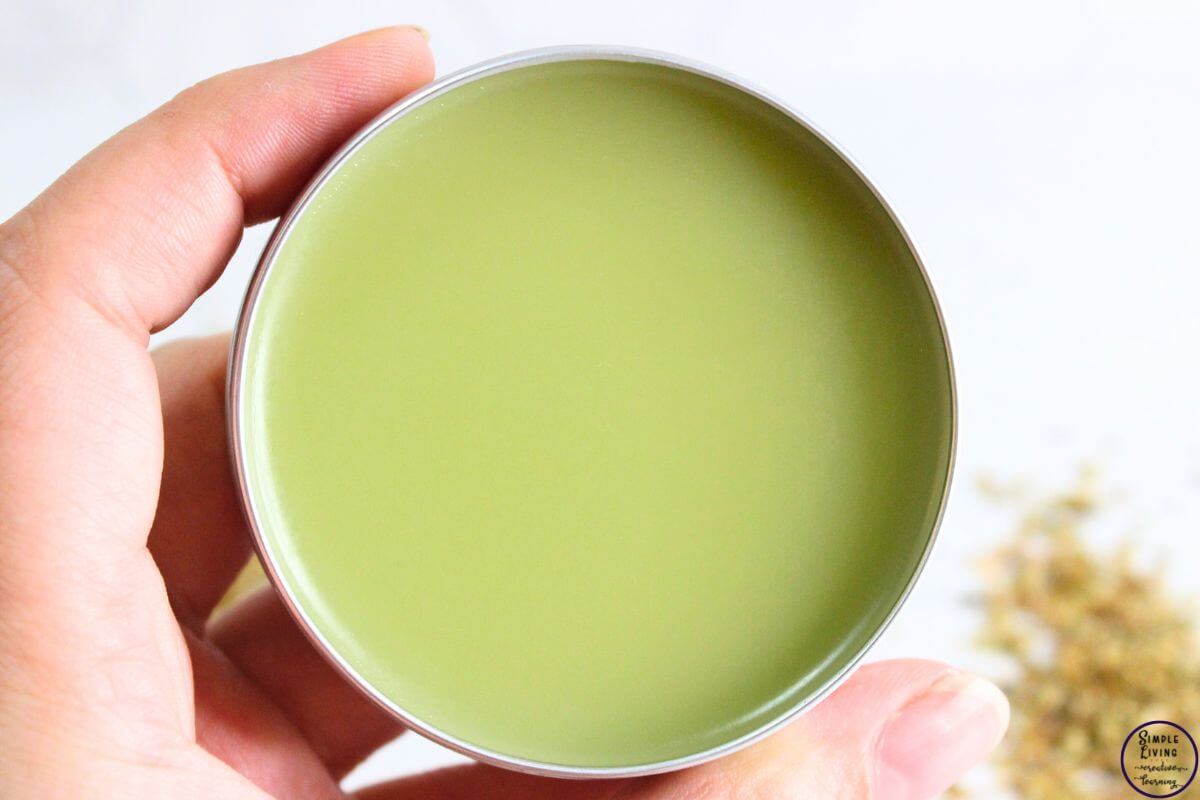
This homemade oregano salve is an easy to make, natural remedy that can help reduce inflammation and redness, support wound healing and help with bug bites, rashes and dry skin.

Homemade Oregano Salve
With its antibacterial and anti antifungal properties, this oregano salve is great for minor skin issues as it can help reduce inflammation, redness and irritation.
Known for helping fight bacteria, reducing inflammation and dryness, promoting healing and relieving sore muscles, this oregano salve is a great addition to add to your herbal medicaine kit.
Carrier Oils
When making a salve, choosing the correct carrier oil can improve the impact of the salve as each carrier oil has its own set of distinct properties. Blending a couple of carrier oils can also help maximise their benefits.
With this salve recipe, there are multiple carrier oils that could be used including:
- Avocado Oil
- Sweet Almond Oil
- Argan Oil
- Rosehip Oil
- Hemp Oil
- Safflower Oil
You can learn more about carrier oils here.

Before Using this Salve
Before using this rub, you will need to understand a few things.
- Don’t use on skin with open wounds or cuts.
- Test on small area of skin before using. If there’s any irritation, dilute with more carrier oils.
- Wash hands well after using.
Using this Salve
Using clean hands, rub a small amount of the salve onto your fingers, then rub it in the intended site.
- For inflamed or red or irritated skin, massage a small amount onto the affected area
- For bug bites, apply a thin layer of the salve to soothe the area
- To help aid in healing of cuts, scrapes and burns, apply a small amount onto the area
- Massage a small amount on cold sores to help soothe them
- Apply as a moisturiser to dry, cracked skin on the hands and feet
Ingredients for Making Oregano Infused Oil
- Dried Oregano Leaves
- Carrier Oil
To make Oregano Infused Oil, follow these instructions.
Ingredients for Making Oregano Salve
To make around 12 ounces of this salve, you will need:
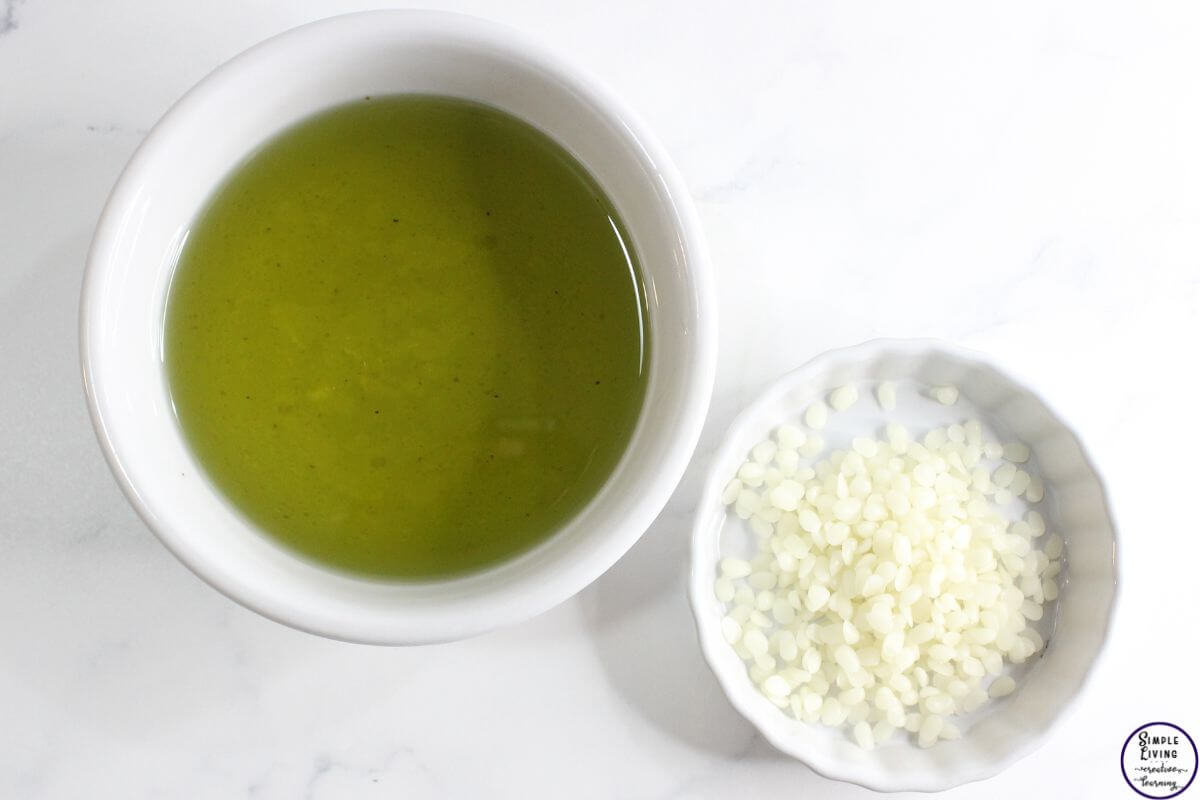
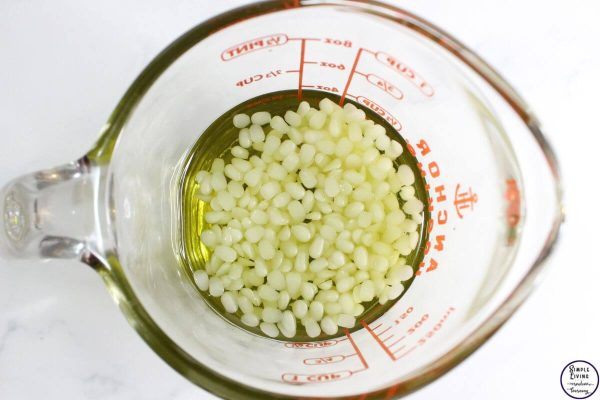
- 2 Cups of Oregano Infused Oil
- ½ Cup Beeswax
- 20 drops Essential Oils, optional
- 2 oz Containers
TIP – When using beeswax in your products, just note that it does harden very quickly as it cools. This means that it can be quite difficult to remove from the dishes and cutlery that is used. For this reason, I have dedicated bowls and cutlery that is only used for making homemade products, especially ones that contain beeswax.
Making Oregano Salve
Combine the beeswax and the infused oil in a microwaveable container and heat for 30 seconds at a time in the microwave until the beeswax is completely melted. Stir in between each heat burst.
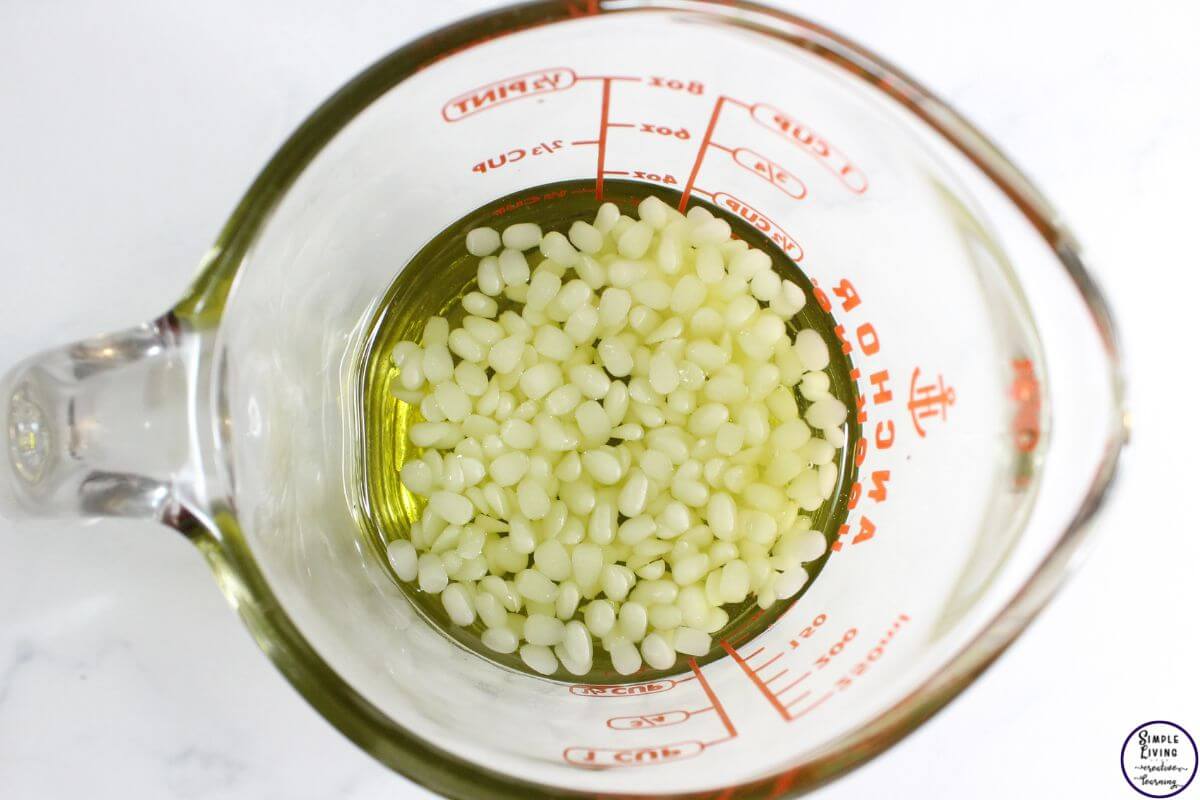
This process could also be done in a double boiler.
Let it cool slightly before adding the essential oil if using and mix through.

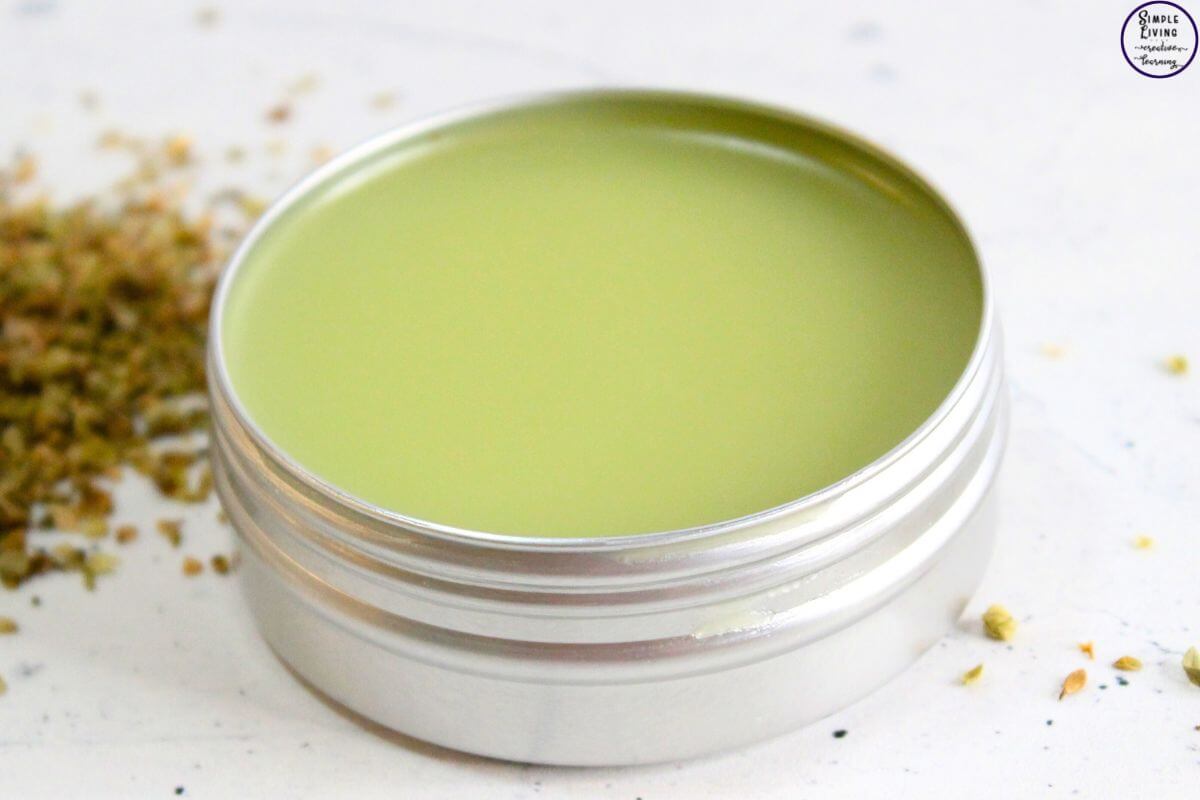
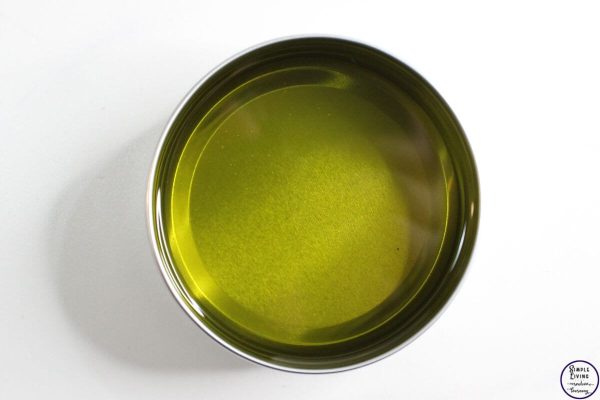
Pour the mixture into small glass jars or tins.
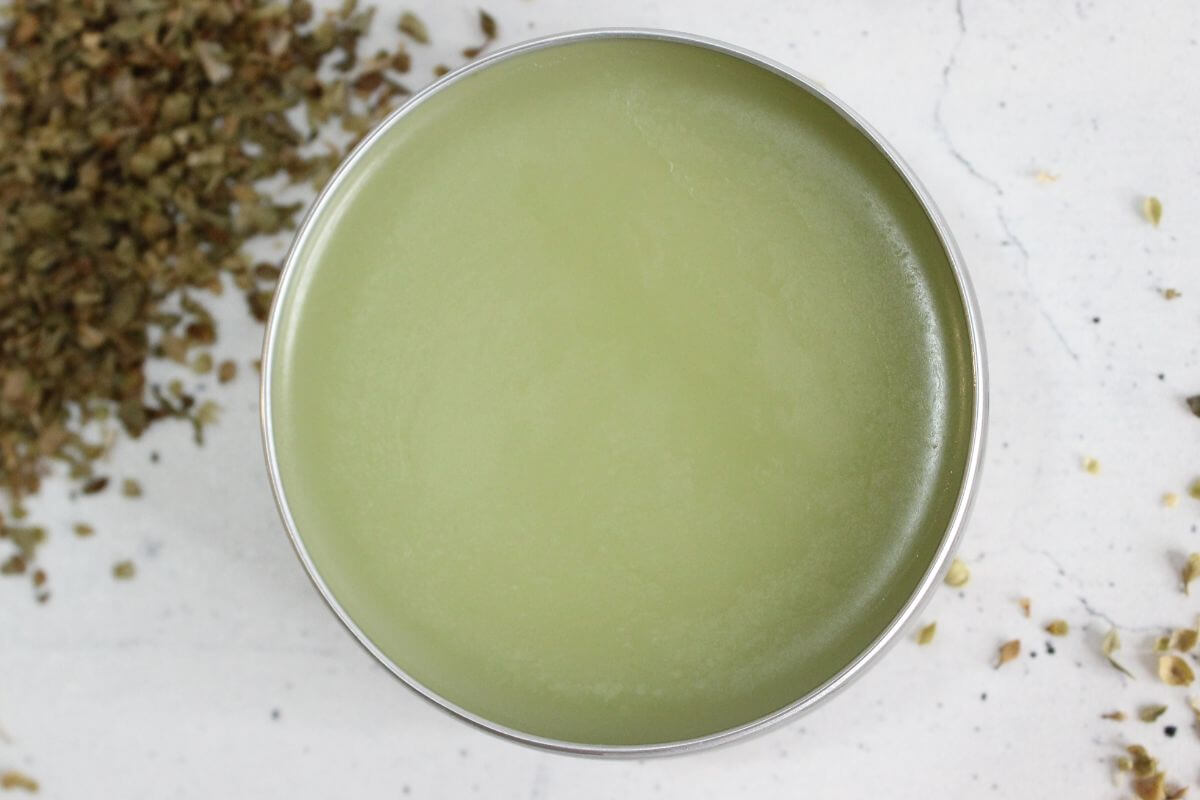
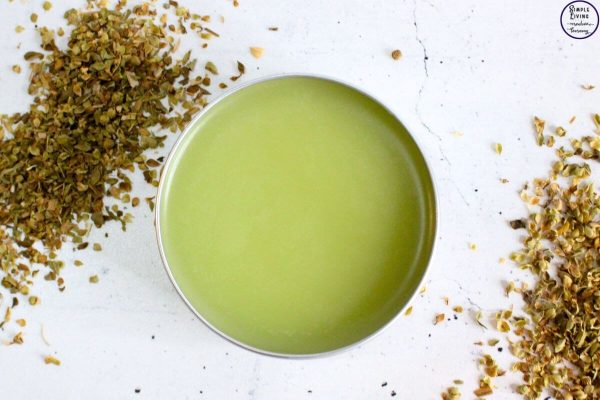
Let the salve cool and set.
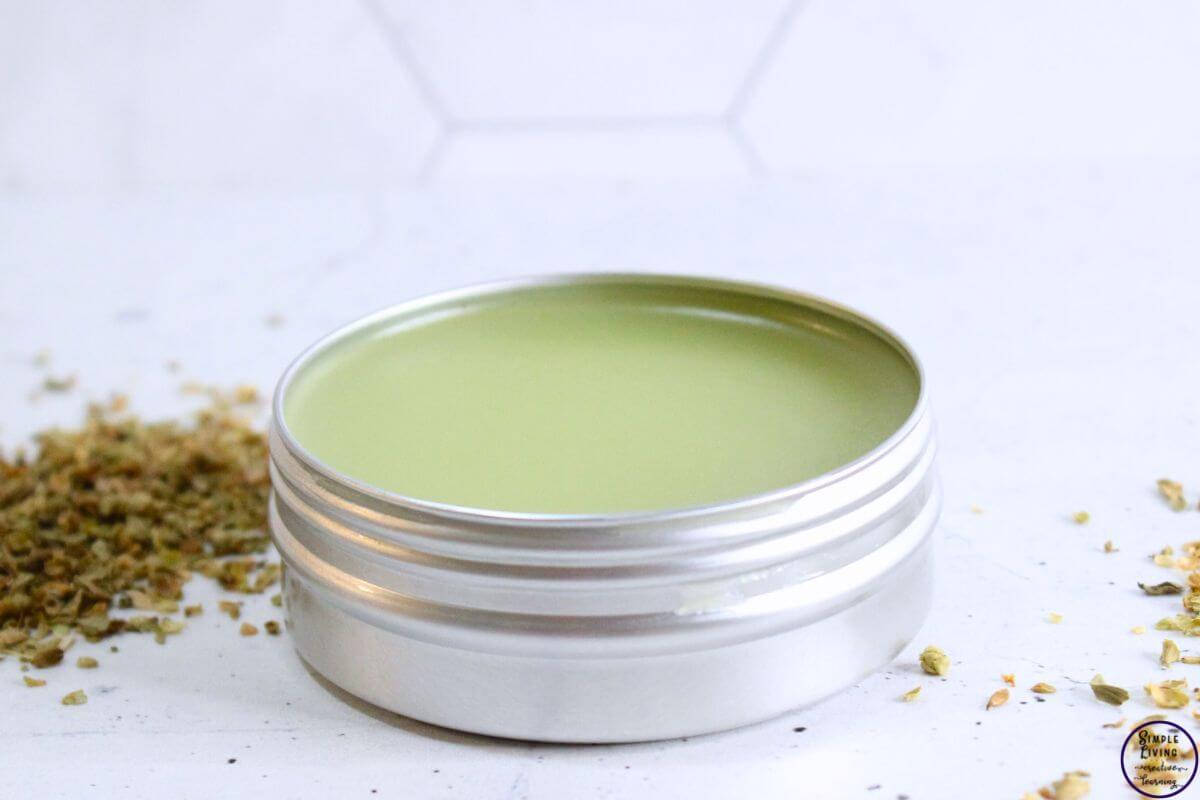
The salve is now ready to label, date and store.
Storing This Salve
Place the salve in dark glass jars or metal tins to protect it from exposure to light and air. I have also used tubes for easier application.
Store in a cool, dark place.
When properly stored, this salve should last up to six months.
Notes
- If you are picking fresh leaves to use in this salve, make sure to harvest them from a pesticide free area.
- Harvest only when you are 100% positive you have the correct plant as there are many lookalikes which are inedible or poisonous.
- Vitamin E is optional, and is often added to salves as an antioxidant to prevent rancidity, as well as for its amazing skin-healing properties. Add 1 teaspoon of vitamin E oil to help preserve your salve even longer!
- You can use any type of carrier oil for the infused oil. This recipe uses avocado oil.
- If you want this to be a vegan recipe, swap out beeswax pellets for candelilla wax.
- Try adding essential oils or other infused oils for a more powerful salve
- I live in a hot climate, so this is made with 3 tablespoons of beeswax to stop it from melting during hot summers, thus making this a harder salve. Use less beeswax if you want a softer balm. To test the consistency of the salve, place a small amount on the back of your hand and see what it does. If it’s too soft, add more beeswax; if it is too hard, add more oil.
More Natural Remedies You Might Like
- Dandelion Salve
- How to Grow a Salve Garden
- Garlic Salve
- Star Anise Salve
- Goldenrod Salve
- Arnica Salve
- Yarrow Salve
- Calendula Facial Cleanser with Honey
- Herbal Antibiotic Ointment
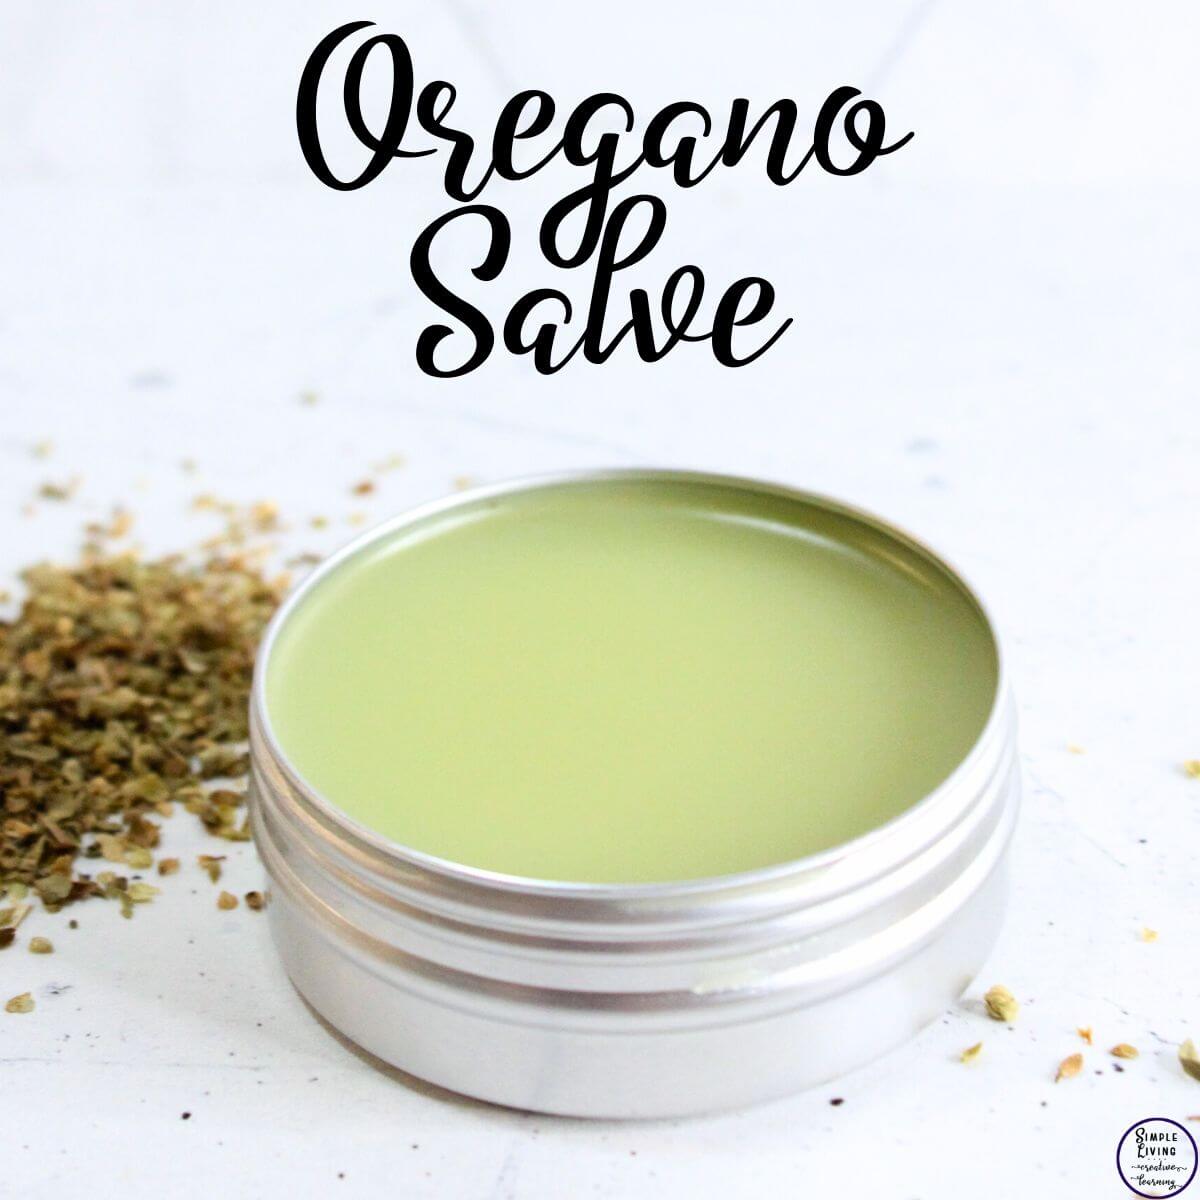
Oregano Salve
Equipment
- 2oz Jars
Ingredients
Oregano Infused Oil
- Dried Oregano
- Carrier Oil Such as Avocado, Extra Virgin Olive Oil, Sweet Almond, Jojoba
Oregano Salve
- 2 Cups Oregano Infused Oil
- ½ Cup Beeswax
- 20 Drops Essential Oil Optional
Instructions
Oregano Infused Oil
- First you will need to infuse the leaves in the carrier oil. If using fresh leaves, let them dry for at least a day or two before infusing.
- Place the dry leaves in a glass jar adding until the jar is just over half full.
- Pour over the avocado oil or other carrier oil until all the dried flowers are covered.
- Put the lid on the jar and store in a dark cupboard for two to four weeks, shaking every couple of days to keep everything submerged.
- Strain the leaves with a strainer, cheesecloth or an unbleached coffee filter.
- The infused oil is now ready to make into a salve.
- If you want to speed up the infusion process, slowly heat the oil in a slow cooker on low heat for 24 – 48 hours. For more information on making infused oils, check this out.
Oregano Salve
- Combine the beeswax and the infused oil in a microwaveable container and heat for 30 seconds at a time in the microwave until the beeswax is completely melted. Stir in between each heat burst.This process could also be done in a double boiler.

- Let it cool slightly before adding the essential oil if using and mix through.
- Pour the mixture into small glass jars or tins.
- Let the salve cool and set.
- The salve is now ready to label, date and store.
Disclaimer: These statements have not been evaluated by the Food & Drug Administration. The information on this site is not intended or implied to be a substitute for professional medical advice, diagnosis or treatment. Never disregard professional medical advice or delay seeking medical treatment because of something you have read on this website.
 Pumpkin Pancakes