
Making delicious homemade fermented carrots and celery is a great fermented vegetables recipe for beginners to start with. Why? Because all you need to do is make your brine, add your ingredients to a jar, and then pour the brine over. Then sit the jar out of the way for a few weeks to ferment!
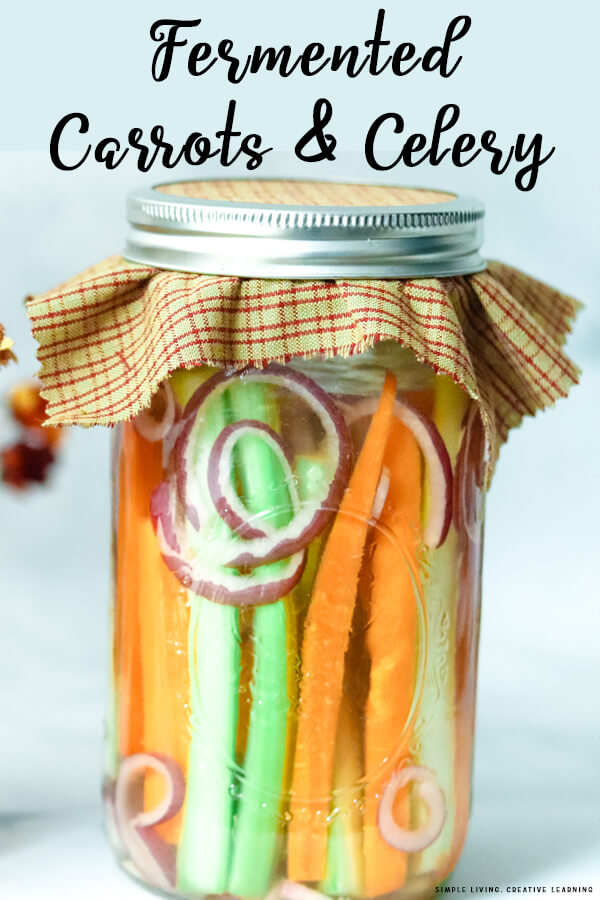
Homemade Fermented Carrots and Celery
Fermented foods provide easy to absorb probiotics to your gut, giving it the bacteria it needs to help sustain a robust immune system as well as a healthy digestive system. Packed with beneficial digestive enzymes and other vitamins, fermented foods are truly amazing.
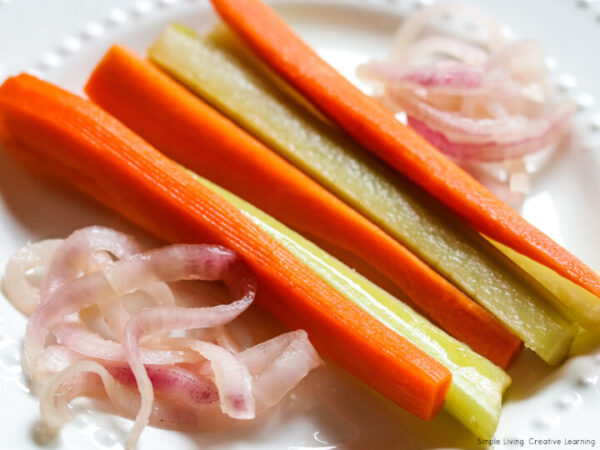
Fermented carrots and celery undergo a transformative process which makes them rich in beneficial bacteria. In this process, the salt kills off the bad bacteria, leaving the good bacteria which converts sugars in lactic acid, creating a lovely, safe environment for preserving the carrots and celery. At the end of the fermentation process, they are a sour-tart preserved vegetable that can be served in salads, with (or on, if grated) sandwiches, a picnic and more.
How to begin eating fermented vegetables
If you have never had fermented vegetables before, start out slowly. If you start out too fast, it can lead to an upset stomach, as you end up with too much good bacteria. So, start slowly, with 1 tablespoon or so a day working up to more slowly.
Serving Suggestions
A great way to serve fermented carrots and celery is with a dip – homemade ranch, honey, guacamole or even hummus.
- 1 lb whole carrots
- 4 stalks of celery
- 1 lime
- ½ medium red onion
- 2 whole garlic cloves
- 1 tsp fresh ginger
- 4 tsp fine sea salt
- 1 quart glass jar, wide mouth preferred
- 1 wide mouth quart jar ring
- additional for making brine: 1 pint jar, lid, and ring
- 6×6 piece of fabric
- glass weight
- water: well, spring, reverse osmosis preferred – if using city water, let water sit in quart jar overnight,uncovered
- labels
If you are looking for a fermenting kit, try this one.
Fermented Carrots and Celery Instructions
Make brine first by adding 4 tsp of fine sea salt into pint jar of cool water (not warm, not cold). Cover and shake vigorously. Set aside and shake a few more times during this process to help the salt dissolve.

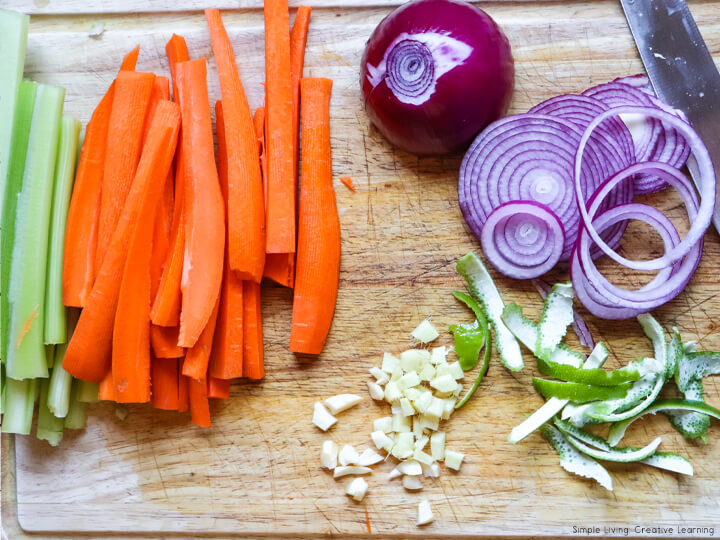
Carrots can be scrubbed or peeled. Celery needs to be rinsed. Cut carrots and celery into lengths that stay an inch below the ring of the quart jar. Carrots will ferment best if they are cut into 8ths lengthwise. Celery can be sliced a little thicker. This allows them to be thin enough to ferment, yet sturdy enough to hold and eat.

Peel and chop fresh ginger. Too small of pieces will float to the top of the brine, which contributes to mold, so a rough chop or dice is good.
Peel and roughly chop garlic.
Peel and slice the red onion into rings.
Cut into the lime peel and pull away large pieces. Slice the peel into long thin strips. Add in ¼ or all of the lime peel strips.
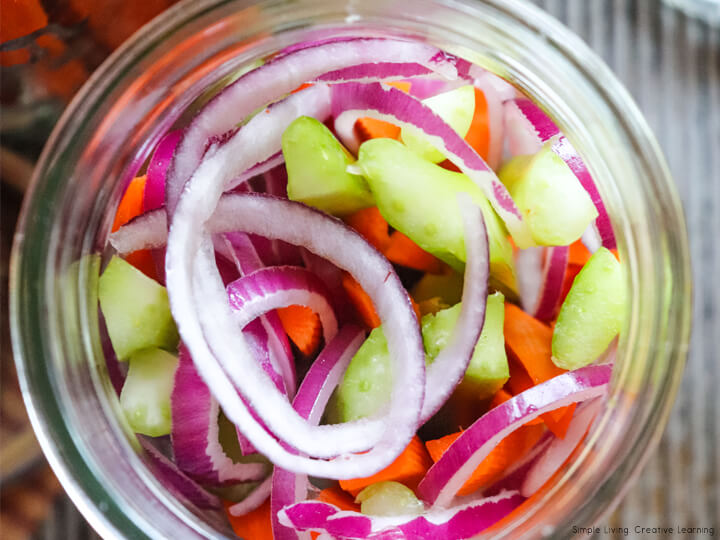
Place the garlic, ginger, onion and lime peel in the bottom of the quart jar. Reserving a few large onion rings for the top of the carrots and celery.

Stack the carrots and celery in the jar lengthwise, tightly! Add reserved red onion on top.
Shake brine again and pour onto the carrots and celery.
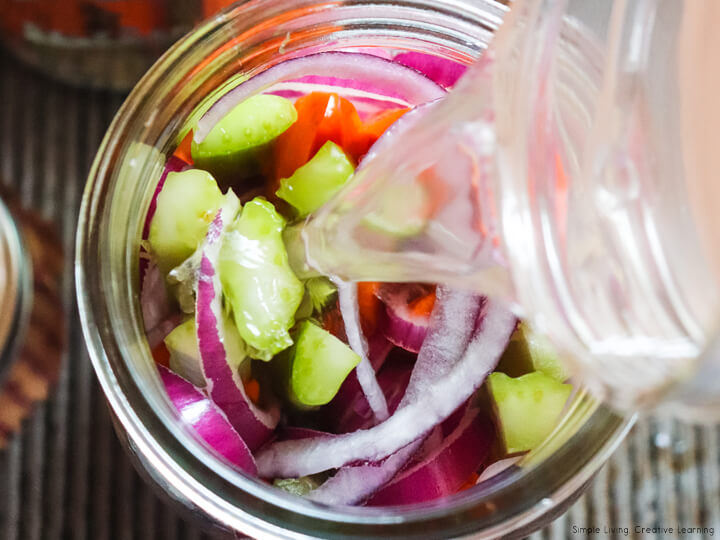
Add glass pebble, cover with fabric, and screw on lid. If you don’t have a glass pebble, a ziploc bag filledwith water can be used, or a small jelly jar or other jar. These are used as weights to keep the carrots below the brine line.

Add a label with the date and ingredients.
Set on counter or in cool space with temps between 60-70˚F (15-21˚C) for 1-2 weeks. Start checking on carrots day 3.

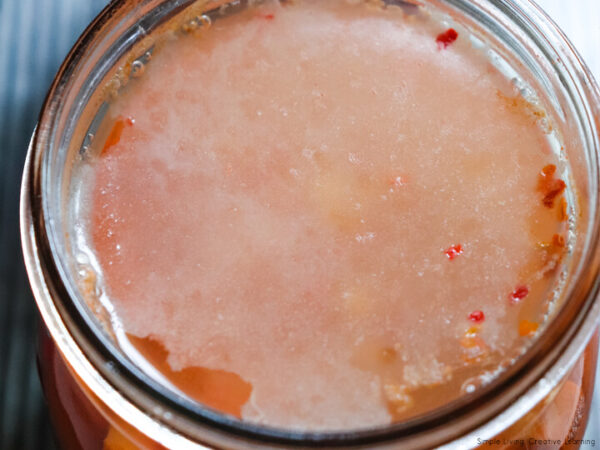
If Kahm yeast develops (see previous photo), which may have a pink hue if pink Himalayan salt is used, use a clean paper towel to completely wipe it out.
Start taste testing day 5 and then again every couple days. When the flavour is just right, seal jar with jar ring and lid and keep in the refrigerator. Ferments can keep in the fridge for several months. The longer you leave them, the more sour they will become. For a milder version, try fermenting for 2 to 3 weeks, for sourer flavours, let continue to ferment for another 2 – 4 weeks before transferring to the fridge.

Serve and enjoy!
Fermentation Notes
Salt: Fine Sea Salt or Himalayan Sea Salt are preferred for fermenting. Iodized salt will stop the fermenting process as will any caking type salts.
Kahm Yeast: is not mould. This yeast is safe to eat, but I prefer to wipe it out with a clean paper towel, as it can alter the taste of the fermented food. It is very easy to do. Just skim the surface with the paper towel until all of the Kahm Yeast is removed. Any white clusters, floating near the surface may be mold. If it has not started to color and has not touched the food, you can remove it and still eat the ferments.
Storing Ferments: Keep the ferments in a cool place between 60-70˚ F (15-21˚C). It does not have to be a dark place. The counter top is fine. I would avoid storing ferments in the basement as they tend to be damp and may have mould spores present. The temperature of ferments matters. Carrots and vegetables ferment faster in a warm kitchen than in a cold one. If it is hot, shorten the fermentation time, if cold, you can lengthen it.
Coverings: Instead of using a piece of cloth, place the silicone top on to the jar and screw on the mason jar lid. Airlocks allow excess gases to escape. If you don’t have an airlock, you will need to make sure to be safe, though carrots don’t usually create enough CO2 to warrant it, burp the jar once daily during the first 3 days. Make sure to keep your carrots and vegetables completely submerged in the brine. If they become exposed to air, it makes them vulnerable to mould.
Brine: Make fresh brine for each new batch of ferments that you make. You can use the leftover brine as a dressing on salads, or even drink in small amounts. When fermenting, the flavouring items that are used in your ferments are being fermented too. They can also be enjoyed as a snack.
Flavourings: This recipe doesn’t have a few additional flavourings. If you want to keep it simple, then you can just use water, salt and carrots. If you want more of a kimchi flavour, add 1 teaspoon (5 ml) of Korean red pepper powder to a batch.
Equipment: Using the correct equipment such as glass weights and a fermentation kit, help prevent contamination of your ferments.
More Recipes
- Fermented Honey Garlic
- Fermented Beets
- Fermented Carrots
- Homemade Ginger Kombucha
- How to Make Scrappy Apple Cider Vinegar
- How to Make a Sourdough Starter

Fermented Carrots and Celery
Equipment
- 1 Quart Glass Jar, Wide mouth Preferred
- 1 Pint Jar, lid and ring, Additional, used for making brine
- 6x6 Fabric Pieces
- 1 Glass Pebble
- Water, well, spring, reverse osmosis preferred – if using city water, let water sit in quart jar overnight
- Labels
Ingredients
- 450g (1 lb) carrots, whole
- 4 stalks celery
- 1 lime
- 1/2 red onion
- 2 whole garlic cloves
- 1 tsp ginger, fresh
- 4 tsp fine sea salt
Instructions
- Make brine first by adding 4 tsp of fine sea salt into pint jar of cool water (not warm, not cold). Cover and shake vigorously. Set aside and shake a few more times during this process to help the salt dissolve.

- Carrots can be scrubbed or peeled. Celery needs to be rinsed. Cut carrots and celery into lengths that stay an inch below the ring of the quart jar. Carrots will ferment best if they are cut into 8ths lengthwise. Celery can be sliced a little thicker. This allows them to be thin enough to ferment, yet sturdy enough to hold and eat.
- Peel and chop fresh ginger. Too small of pieces will float to the top of the brine, which contributes to mold, so a rough chop or dice is good.
- Peel and roughly chop garlic.
- Peel and slice the red onion into rings.
- Cut into the lime peel and pull away large pieces. Slice the peel into long thin strips. Add in ¼ or all of the lime peel strips.
- Place the garlic, ginger, onion and lime peel in the bottom of the quart jar. Reserving a few large onion rings for the top of the carrots and celery.
- Stack the carrots and celery in the jar lengthwise, tightly! Add the reserved red onion rings on top.
- Shake brine again and pour onto the carrots and celery.
- Add glass pebble, cover with fabric, and screw on lid. If you don't have a glass pebble, a ziploc bag filledwith water can be used, or a small jelly jar or other jar. These are used as weights to keep the carrots below the brine line.
- Add a label with the date and ingredients.
- Set on counter or in cool space with temps between 60-70˚F (15-21˚C) for 1-2 weeks. Start checking on carrots day 3.
- If Kahm yeast develops, which may have a pink hue if pink Himalayan salt is used, use a clean paper towel to completely wipe it out.
- Start taste testing day 5 and then again every couple days. When the flavour is just right, seal jar with jar ring and lid and keep in the refrigerator. Ferments can keep in the fridge for several months. The longer you leave them, the more sour they will become. For a milder version, try fermenting for 2 to 3 weeks, for sourer flavours, let continue to ferment for another 2 - 4 weeks before transferring to the fridge.


Notes
- Salt: Fine Sea Salt or Himalayan Sea Salt are preferred for fermenting. Iodized salt will stop the fermenting process as will any caking type salts.
- Kahm Yeast: is not mould. This yeast is safe to eat, though many prefer to wipe it out with a clean paper towel, as it can alter the taste of the fermented food. Removing it is very easy to do. Just skim the surface with the paper towel until all of the Kahm Yeast is removed. Any white clusters, floating near the surface may be mould. If it has not started to color and has not touched the food, you can remove it and still eat the ferments.
- Storing Ferments: Keep the ferments in a cool place between 60-70˚ F or 15-21˚C. It does not have to be a dark place. The counter top is fine. I would avoid storing ferments in the basement as they tend to be damp and may have mould spores present.
- Coverings: Instead of using a piece of cloth, place the silicone top on to the jar and screw on the mason jar lid.
Nutritional information is an estimate and provided as a courtesy. The values may vary according to the ingredients and tools that are used. Please use your preferred nutritional calculator for more detailed information.
 Aesop’s Fables: The Ant and the Grasshopper Printables