• Menu
  • Skip to right header navigation
  • Skip to main content
  • Skip to secondary navigation
  • Skip to primary sidebar

Before Header

Subscribe for Email Updates

logo

Providing printables, encouragement, tips and resources to help busy mums balance homeschooling, homemaking and frugal living.

  • Craft
  • Faith
  • Recipes
    • Recipe Index
  • Homeschooling
    • Free Printables
    • Google Slides ~ How To | Distance Learning
    • Printables By Grade
    • Printables By Subject
  • Homemaking
    • DIY & Frugal Living
  • Wellness
    • Essential Oils

Mobile Menu

  • Craft
  • Faith
  • Recipes
    • Recipe Index
  • Homeschooling
    • Free Printables
    • Google Slides ~ How To | Distance Learning
    • Printables By Grade
    • Printables By Subject
  • Homemaking
    • DIY & Frugal Living
  • Wellness
    • Essential Oils

Fudge in a Bag

This post may contain affiliate links. Please read my full disclosure policy.
I found this recipe on Kidspot and although we all love fudge, I wasn’t really sure what it would taste like.
 
Fudge in a Bag Picture
 

I have never made fudge with cream cheese before, but this was so yummy. We loved it.
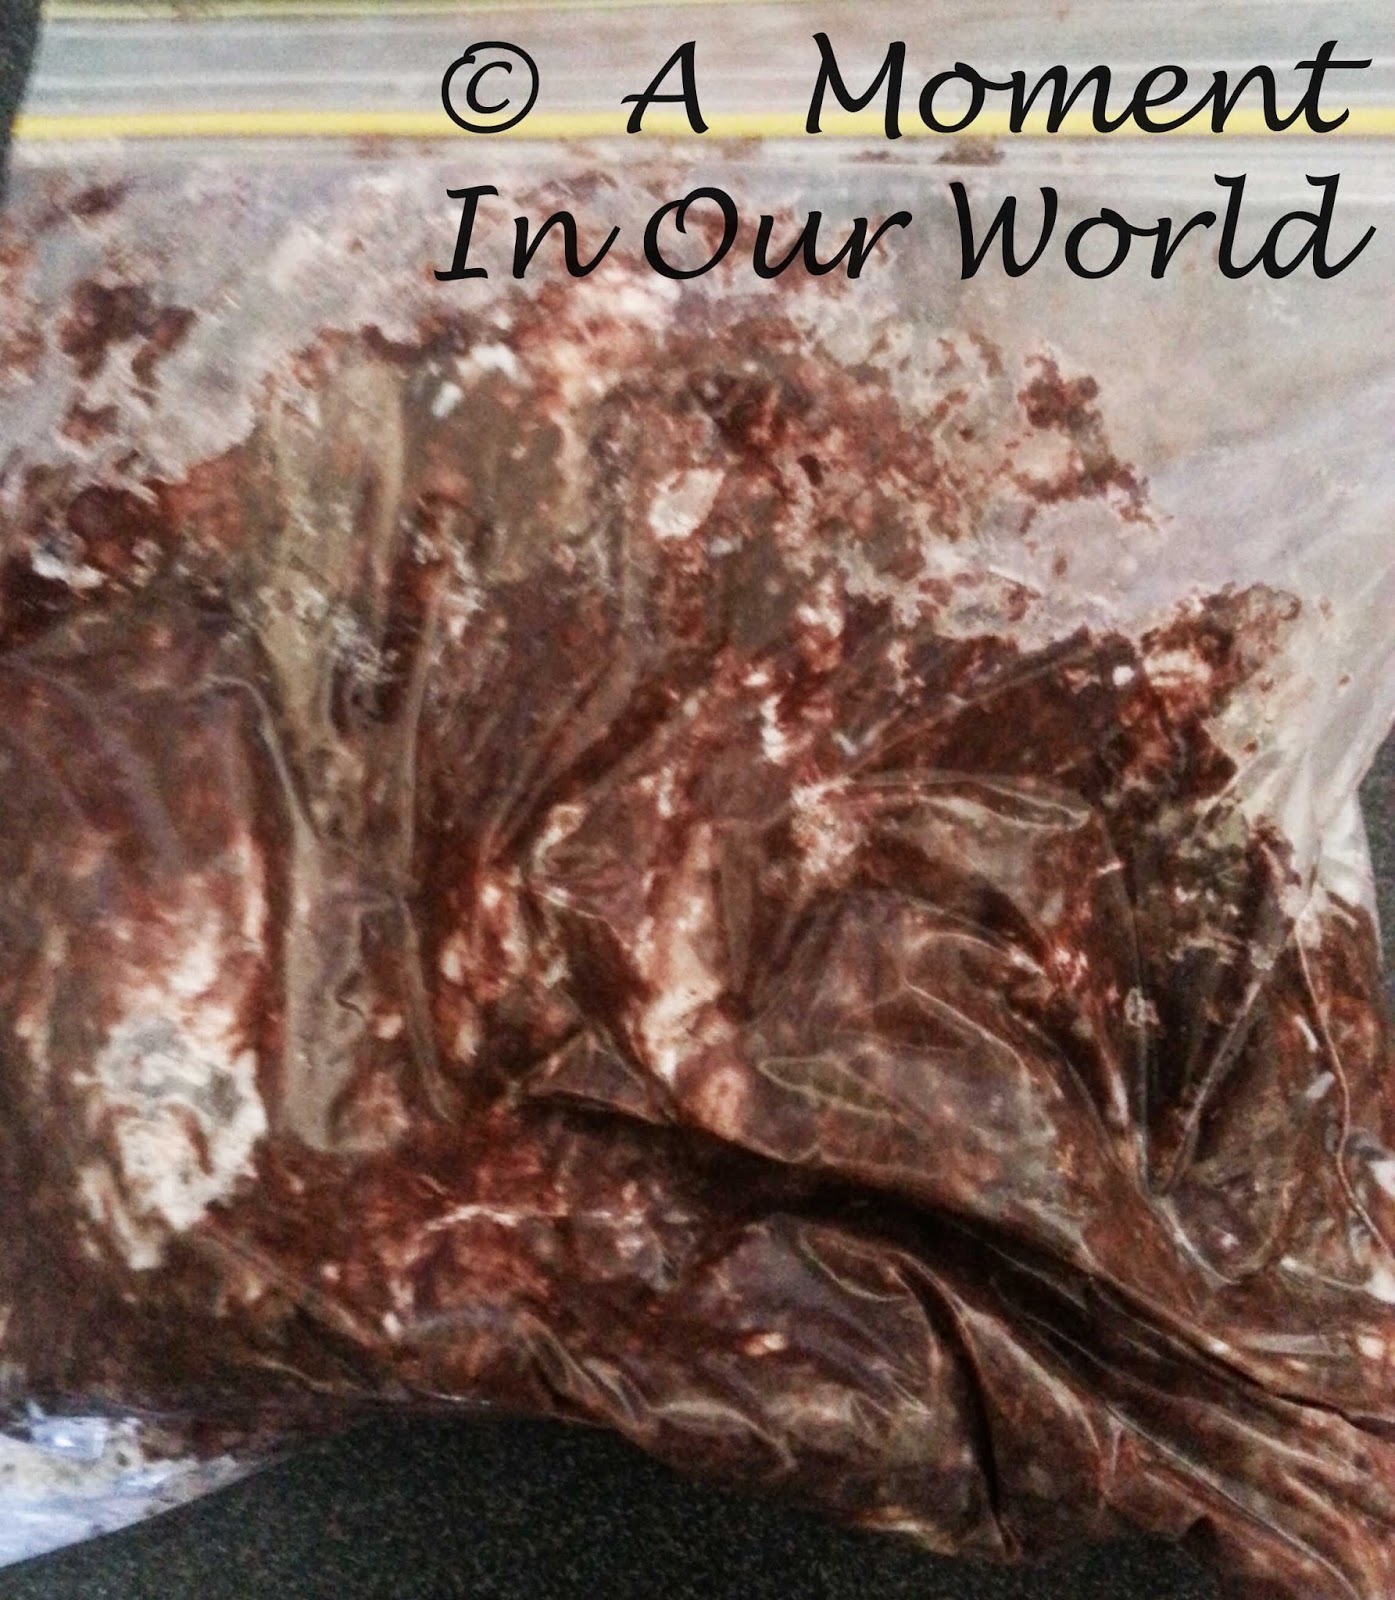
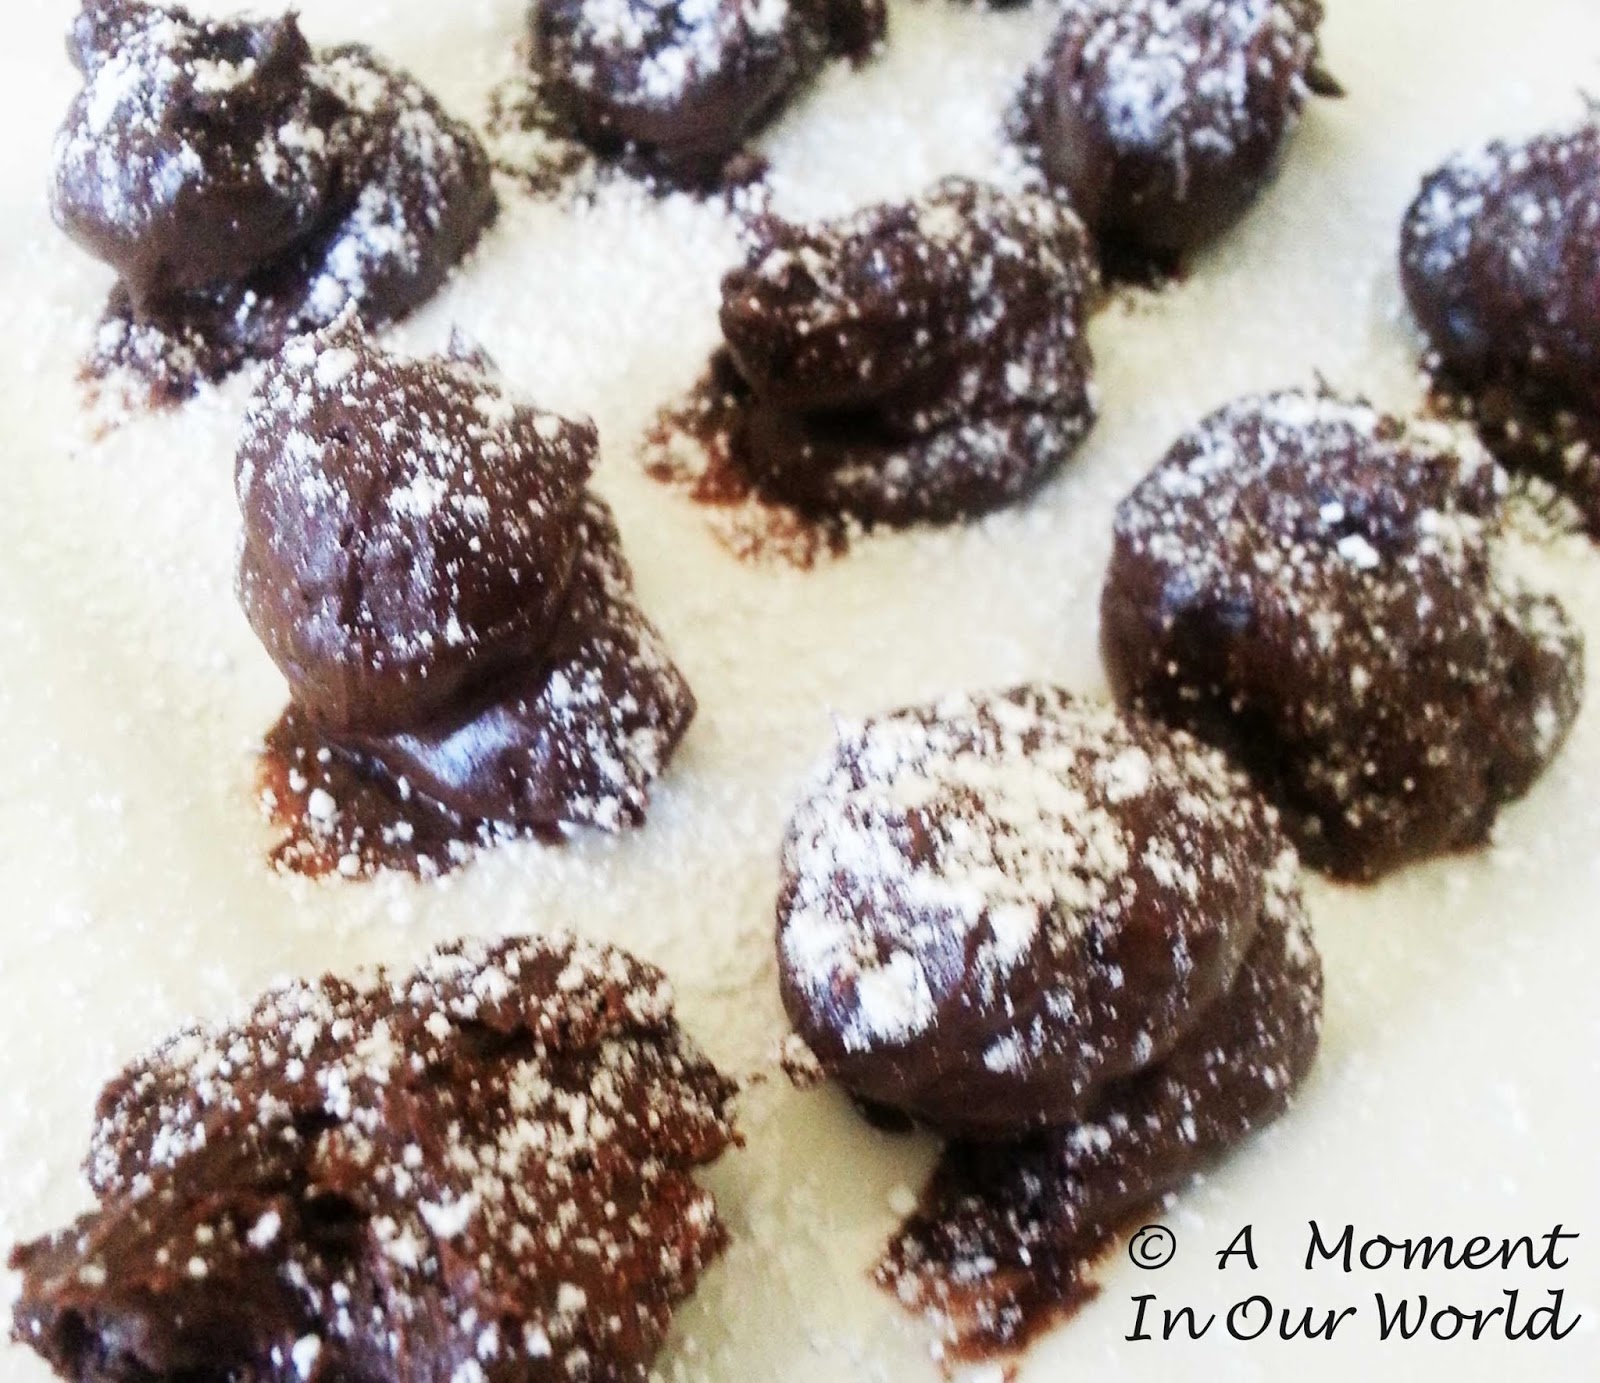
It was a bit sticky when trying to get it out of the bag, so the boys decided to make ‘fudge balls’ with it.  We placed them in the fridge to set and they were fantastic.

Jump to Recipe Print Recipe

We made it again and this time it was not so sticky and we made it into a slice. Yummy!

Fudge in a Bag

Simple Living. Creative Learning
Print Recipe SaveSaved! Pin Recipe

Ingredients
 

  • 100 g cream cheese
  • 3 cups icing sugar
  • 1/2 cup cocoa
  • 2 TBSP butter
  • 2 resealable bags large
Prevent your screen from going dark

Instructions
 

  • Place all ingredients in one of the resealable bags. Place that bag in the second bag and seal the bags.
  • Using your hands, mix the ingredients together.
  • We cut the corner off the bags and squirted out the fudge to make balls.
  • We also used some of the fudge to made squares. Squirt fudge onto a tray lined with baking paper and then using a knife, flatten the top. We put it in the fridge for half an hour to set. Then cut into squares and enjoy.

Notes

Adapted from Kidspot

Nutritional information is an estimate and provided as a courtesy. The values may vary according to the ingredients and tools that are used. Please use your preferred nutritional calculator for more detailed information.

Tried this recipe? Share a pic on Instagram


Category: Homeschooling, Kids Activities, RecipesTag: Activities, Grade 1, Kindergarten, PreK, Preschool

Love Free Printables?

Subscribe to receive weekly emails!

Previous Post: « Manchester Tartlets
Next Post: Snowflake Life Cycle Printables Snowflake Life Cycle Activity»

Reader Interactions

Comments

  1. Beth Gorden

    August 16, 2013 at 10:09 am

    Yum – looks delicious!

    Thanks for linking up to TGIF! Hope to see you linked up again later today =)

    Have a GREAT weekend,
    Beth

    Reply

Leave a Reply Cancel reply

Your email address will not be published. Required fields are marked *

Recipe Rating


Primary Sidebar

Come and Join Us

Support My Work

Love Free Printables?

Subscribe to receive weekly emails!

Categories

AMAZON ASSOCIATES DISCLOSURE

Simple Living. Creative Learning is a participant in the Amazon Services LLC Associates Program, an affiliate advertising program designed to provide a means for sites to earn advertising fees by advertising and linking to Amazon.com.

  • About
  • Contact
  • Privacy Policy
  • Disclosure
  • Cart
  • My Account

Return to top

Copyright © 2025 · Genesis Framework · Servously · Log in