Homemade Charcoal Salve
This charcoal drawing salve is a wonderful natural remedy to keep on hand for those times when a splinter or small wound needs attention.
Print
Save
Pin
Facebook
Email
Add to Collection
Ingredients
- 3 x 1 oz salve jars with lids
- ¼ cup chopped beeswax or beeswax pastilles
- 2 TBSP coconut oil
- 1 TBSP calendula infused olive oil
- 10 drops Lavender Essential Oil
- 5 drops Tea Tree Essential Oil
- 5 drops Frankincense Essential Oil
- 2 tsp activated charcoal powder
Instructions
- Get your containers all ready, wiping them clean and making sure there is no loose debris or dust in them, and lay them in a good spot for cooling later. You won't want to move them while they are cooling, so make sure they are on a place surface, somewhere out of the way. I like to lay a cloth or towel underneath them to catch any spills that may occur.
- Measure out the beeswax to a double boiler and gently melt over medium heat. This will take some time to get heated up, and it gives you a few minutes to prepare a couple of other things while it is.
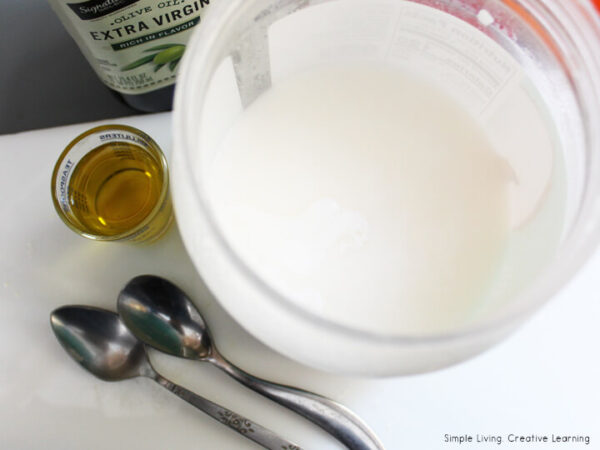
- Then, measure out the coconut oil and olive oil and have those ready to add. The olive oil is easy, but the coconut oil is possibly too thick to easily measure if it has cooled off in storage. If that is the case, just remove the lid and place into the microwave for about 30-60 seconds. This will liquefy the top part of it enough to allow you to easily pour it out and measure.
- Check on the beeswax and using a metal spoon, stir it gently from time to time as it melts, so that it doesn't burn. Beeswax is great for you and it has wonderful properties that are ruined if it burns, so make sure to keep an eye on it. As it is melting, beeswax likes to gather in clumps which need to be separate so that it melts evenly. I use 2 spoons when melting wax so that I have one to scrape the wax off the other with after stirring.

- Once the wax starts to look clear around edges, it will start melting fairly quickly at this point. Set the heat to a low simmer and stir it every few minutes as needed. Once it is melted and all clear, add in the olive oil and stir, and then add the coconut oil. Let that melt for a minute and then stir it well.

- Remove the salve from the heat and gently add your essential oils if using. All 3 of these oils are a thin consistency, so be cautious when adding the drops so as not to over-do it.

- Stir the salve mixture between the oils.
- Measure and add in the charcoal powder. Add in one teaspoon at a time and stir in between. If you do this slowly, it is easier to get it to dissolve throughout the mixture. The charcoal likes to clump up a bit and you may need to take the back of the spoon and mash it some against the side of the pot to get it to mix in better.
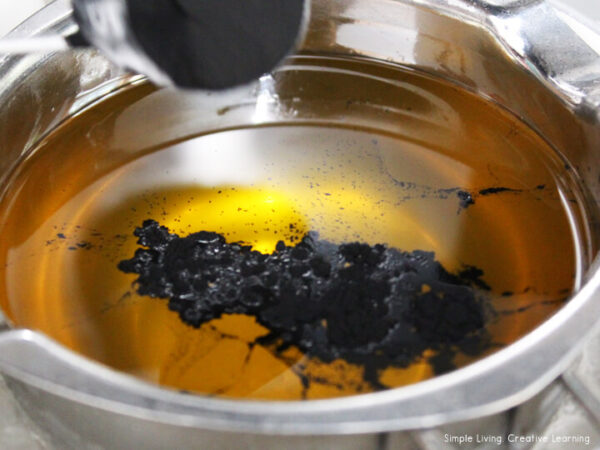
- You need all the powder to be mixed in thoroughly before you can pour, or the powder will rise to the top of the salve and make a mess for you later. Once mixed well, check to see if it seems all liquefied and thin.

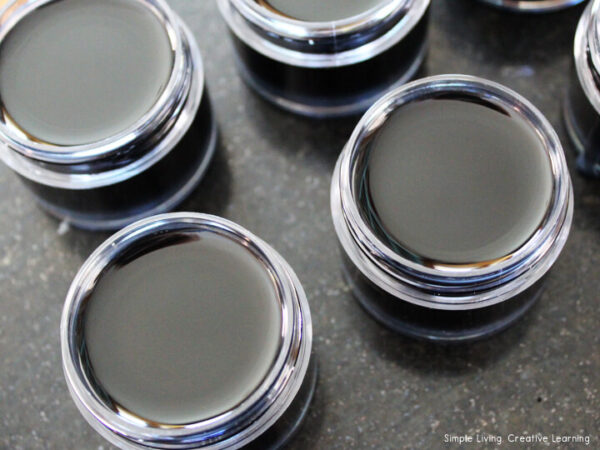
- When it is, you are ready to pour into your containers. Pour the mixture into your containers in a slowly and steady stream until the salve comes to just a bit below the lip of the container. If you are doing multiples like I did, I like to fill a little lower down to start until I see how much I have, and then go back and top it off if I can, so that they all have the same amount in them.
- As the salve cool they will thicken back up and the black colour will fade a bit to a darkish grey. This is how you can tell when they are nearly cooled too. Do not move the containers until they have been cooling for at least an hour, though they may need a little more depending on the size of the jars that you use.

- To test to see if they are ready, lift one up and feel the bottom centre. If it feels cool, you are safe to put the lids on.
- Now you can label them and add them to your first aid kit!
- To apply the salve for a cut, wound, boil, insect bite, splinter or skin irritation, take a pea-sized amount and gently rub it in. I recommend using a bandaid / bandage over it for a few hours or even overnight to help the salve work. When you remove the bandage, the splitter should be easier to remove. The skin irritations should be healing as well. Repeat this process as necessary. One thing to note is that the charcoal can stain, so using a bandaid or bandage helps reduce the risk of staining things like clothes and furniture.
Tried this recipe?Check out Share a pic on Instagram!