• Menu
  • Skip to right header navigation
  • Skip to main content
  • Skip to secondary navigation
  • Skip to primary sidebar

Before Header

Subscribe for Email Updates

logo

Providing printables, encouragement, tips and resources to help busy mums balance homeschooling, homemaking and frugal living.

  • Craft
  • Faith
  • Recipes
    • Recipe Index
  • Homeschooling
    • Free Printables
    • Google Slides ~ How To | Distance Learning
    • Printables By Grade
    • Printables By Subject
  • Homemaking
    • DIY & Frugal Living
  • Wellness
    • Essential Oils

Mobile Menu

  • Craft
  • Faith
  • Recipes
    • Recipe Index
  • Homeschooling
    • Free Printables
    • Google Slides ~ How To | Distance Learning
    • Printables By Grade
    • Printables By Subject
  • Homemaking
    • DIY & Frugal Living
  • Wellness
    • Essential Oils

Straw Weaving

This post may contain affiliate links. Please read my full disclosure policy.
  • Share
  • Tweet

Here’s an easy and fun way for children of all ages to learn to weave.

They can turn their straw weaving into bookmarks or bracelets.


Straw Weaving 5


To complete a straw weaving, you will need:

straws

masking tape

scissors

wool

Straw Weaving

To Make your Straw Weaving

1.  Cut lengths of wool that are about 4 inches longer than your straws.  If you are using 4 straws, cut 4 lengths, if you are using 5, cut 5 lengths.

2. Thread one length of wool through each straw and tie a knot at one end of the straws to keep the wool from going through.

3. Using masking tape, tape the top end of the straws together.

4. Tie the end of the roll of wool around the top of one of the end straws.

Straw Weaving 1

Pictured: Steps 1 to 4 

5. Slowly thread the wool in and out of each of the straws. Be careful not to pull the wool too tight.

6. When you get to the end of the straws (or the length you want), tie off the end of the wool onto one of the outside straws. 

If you wish to change colours of wool, just tie one end of the wool you are using onto the next colour you want to use.

Straw Weaving 2


Pictured: Steps 5 and 6

7.  Take the tape off the straws. While holding the top knot, slowly push your weaving up to the top.

Straw Weaving 3

Pictured: Step 7

8. Slowly pull the straws out and tie another knot at the bottom end.


Straw Weaving 4

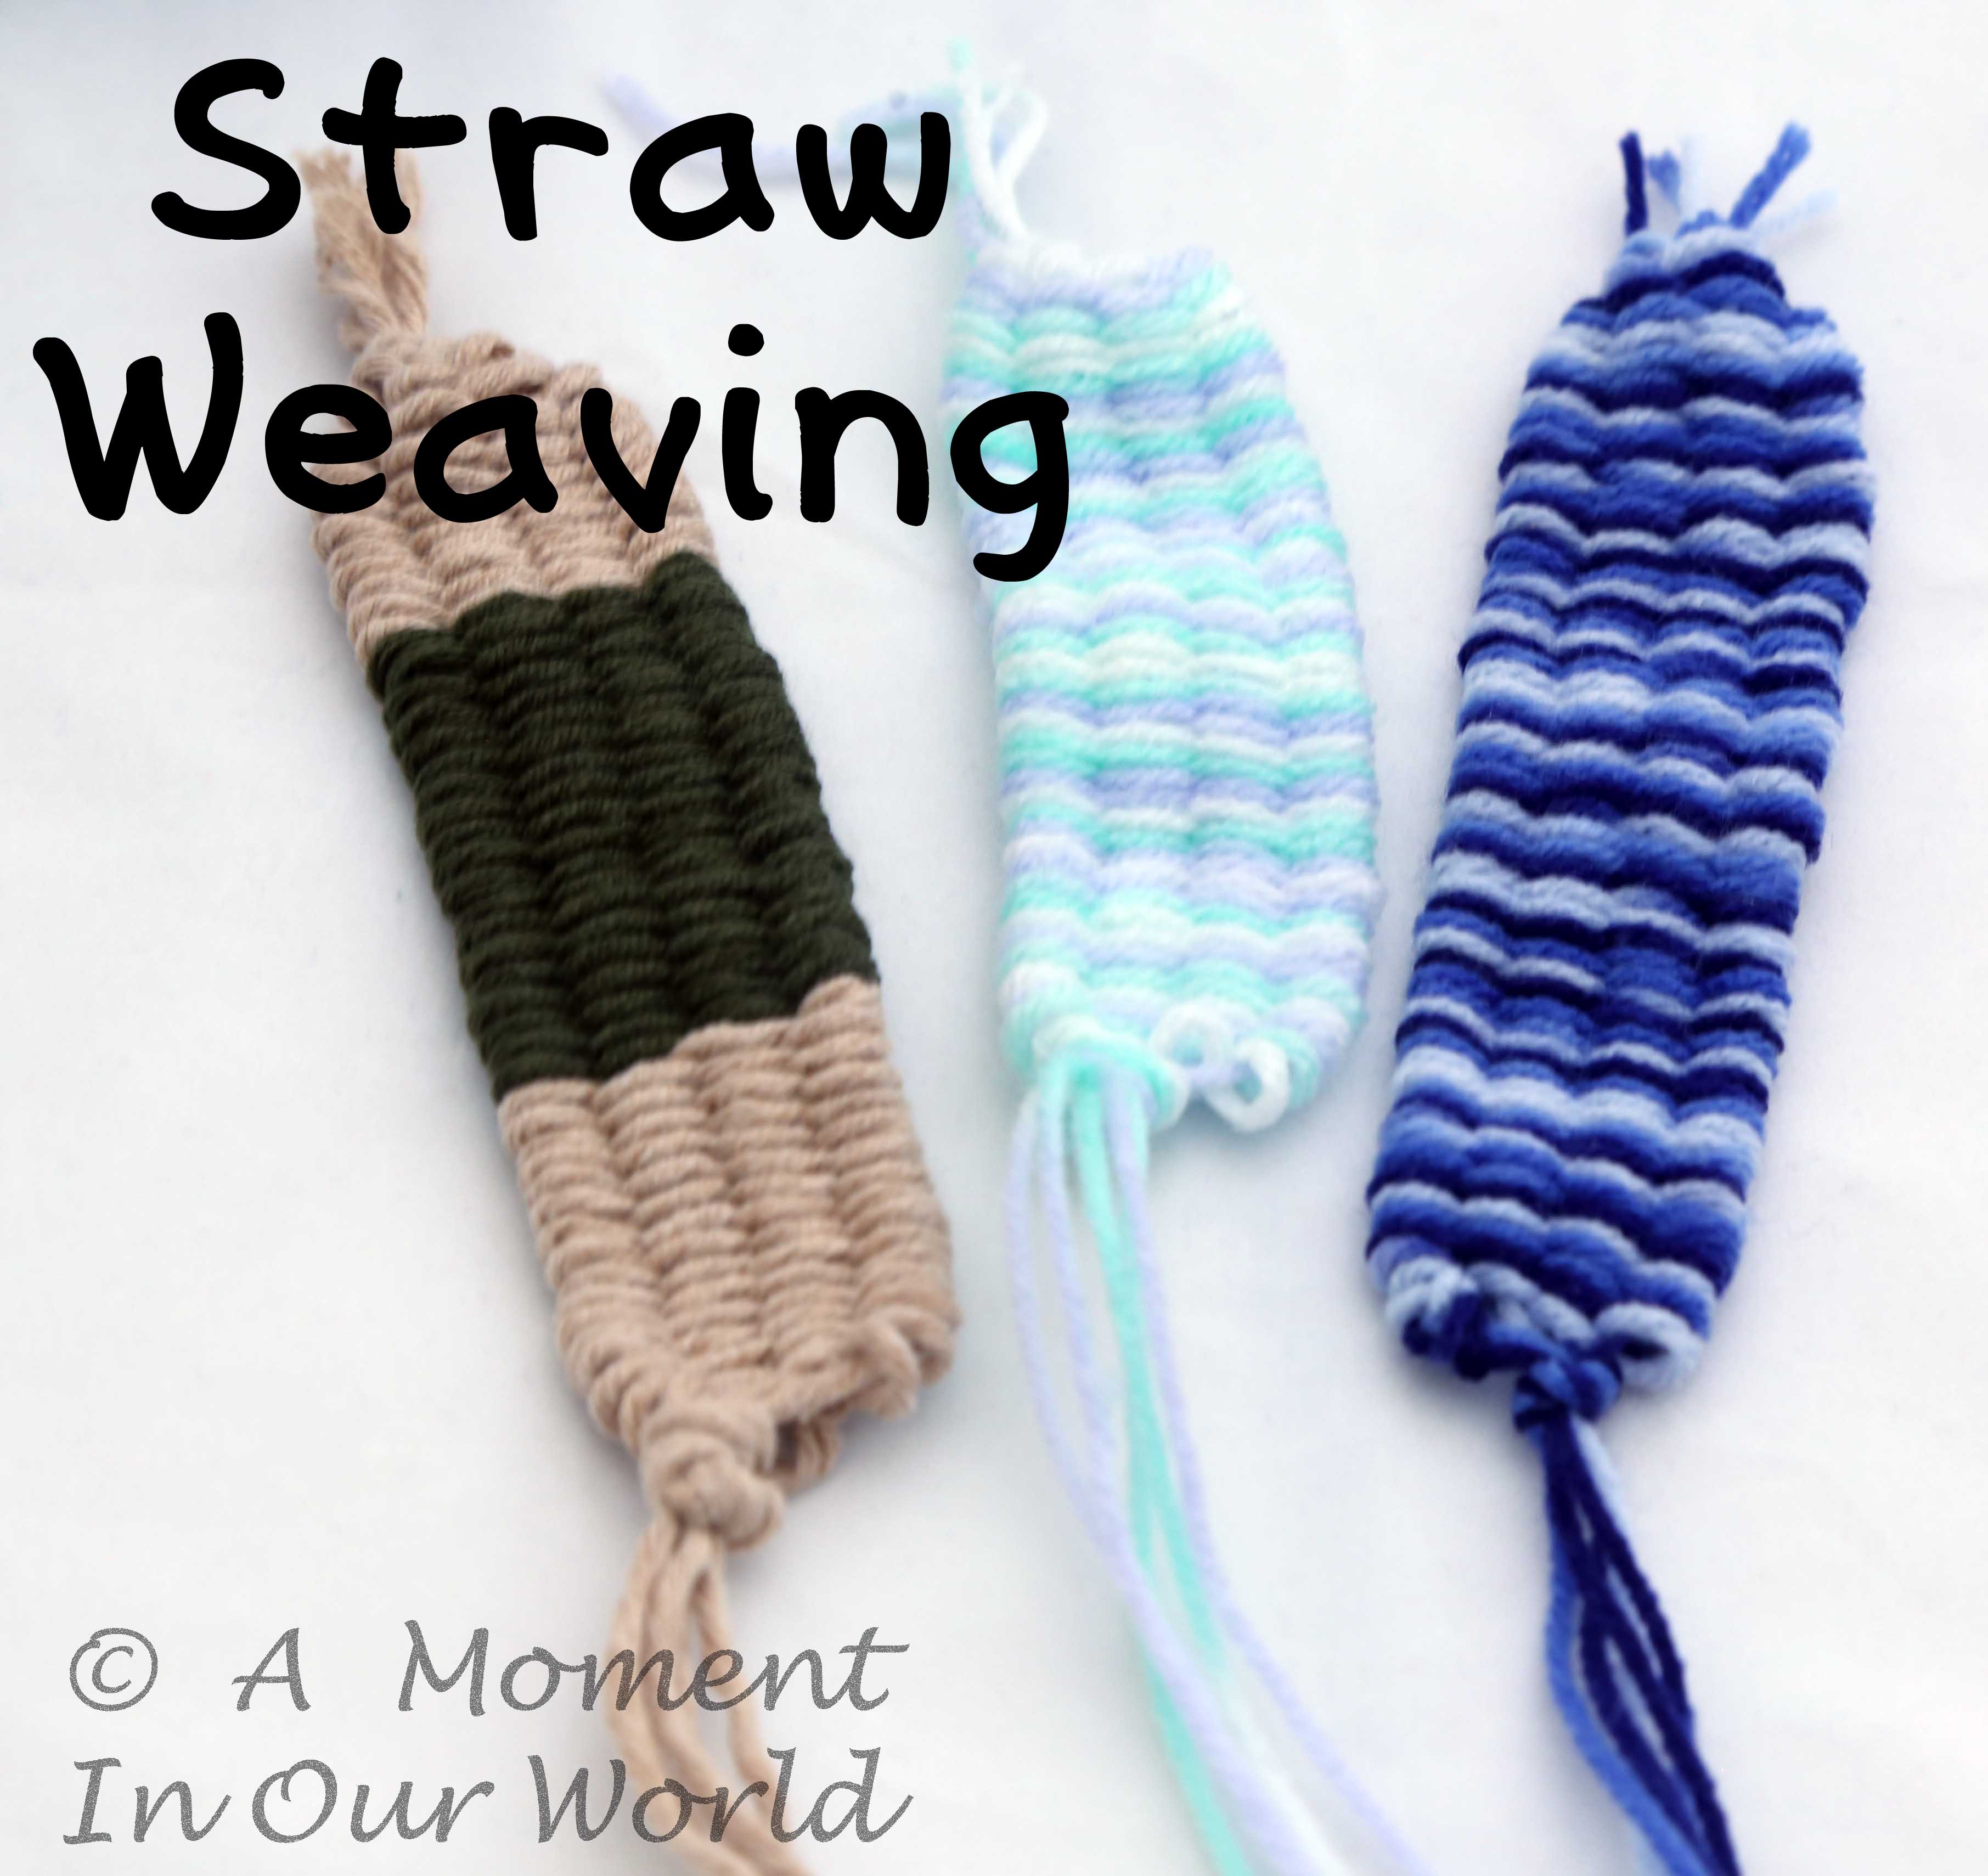
There you have it. Your very own straw weaving. This could be used as a bookmark. If you wish to make a bracelet, tie the two ends together.


  • Share
  • Tweet

Category: Craft, Homeschooling, Kids ActivitiesTag: Activities, Craft, Grade 1, Kindergarten, PreK, Preschool

Love Free Printables?

Subscribe to receive weekly emails!

Previous Post: « Review: Conquering Your Kitchen
Next Post: Paint Like Picasso »

Reader Interactions

Leave a Reply Cancel reply

Your email address will not be published. Required fields are marked *

Recipe Rating


Primary Sidebar

Come and Join Us

Support My Work

Love Free Printables?

Subscribe to receive weekly emails!

Categories

AMAZON ASSOCIATES DISCLOSURE

Simple Living. Creative Learning is a participant in the Amazon Services LLC Associates Program, an affiliate advertising program designed to provide a means for sites to earn advertising fees by advertising and linking to Amazon.com.

  • About
  • Contact
  • Privacy Policy
  • Disclosure
  • Cart
  • My Account

Return to top

Copyright © 2013-2020 · Genesis Framework · WordPress · Log in