• Menu
  • Skip to right header navigation
  • Skip to main content
  • Skip to secondary navigation
  • Skip to primary sidebar

Before Header

Subscribe for Email Updates

logo

Providing printables, encouragement, tips and resources to help busy mums balance homeschooling, homemaking and frugal living.

  • Craft
  • Faith
  • Recipes
    • Recipe Index
  • Homeschooling
    • Free Printables
    • Google Slides ~ How To | Distance Learning
    • Printables By Grade
    • Printables By Subject
  • Homemaking
    • DIY & Frugal Living
  • Wellness
    • Essential Oils

Mobile Menu

  • Craft
  • Faith
  • Recipes
    • Recipe Index
  • Homeschooling
    • Free Printables
    • Google Slides ~ How To | Distance Learning
    • Printables By Grade
    • Printables By Subject
  • Homemaking
    • DIY & Frugal Living
  • Wellness
    • Essential Oils

Sewing Hems (Keeping the Original Hem)

This post may contain affiliate links. Please read my full disclosure policy.
  • Share
  • Tweet
With winter coming, we have had to update our wardrobes as we have all either grown up or out in the last couple of months. We always have a problem with the length of long pants and jeans that we buy. I am short and they are always too long for me. We bought R some long pants and they fit him around the waist, but again, they are too long, same as hubby’s. Poor B hardly got any new pants, he was just given R’s hand-me-downs, which I did only buy last year.I am not much good at sewing, unlike my grandmas, and I dread having to take up everything.
UNTIL NOW!!I found this tutorial at Sew-much-ado and gave it a go.


It was easy to follow and worked great. It didn’t take long to do either.

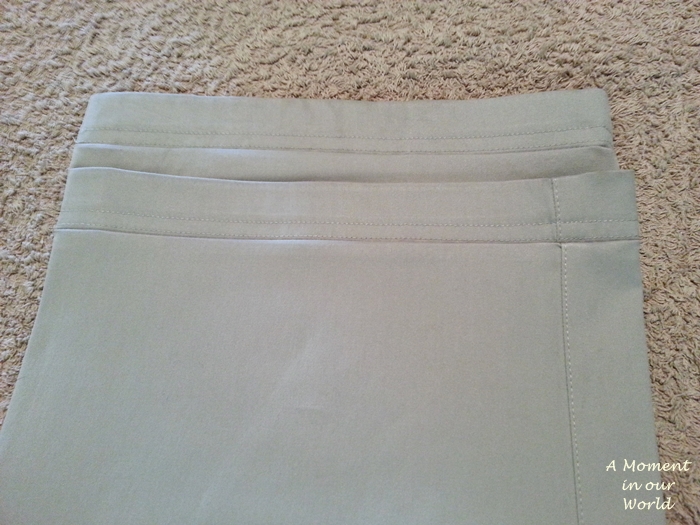
After putting on the pants and working out how much they needed to be taken up, all you had to do was divide that number by 2 (eg. hubby’s pants needed to be taken up 8cm, divide by 2 gives you 4cm.).

I measured up 4cm not including the original hem and pinned the right sides together. I then put the zip foot (This was new to me. I have never heard of a zip foot, and didn’t know that one had actually come with the sewing machine when I bought it and it also was extremely easy to change the feet, which I had never done before.)

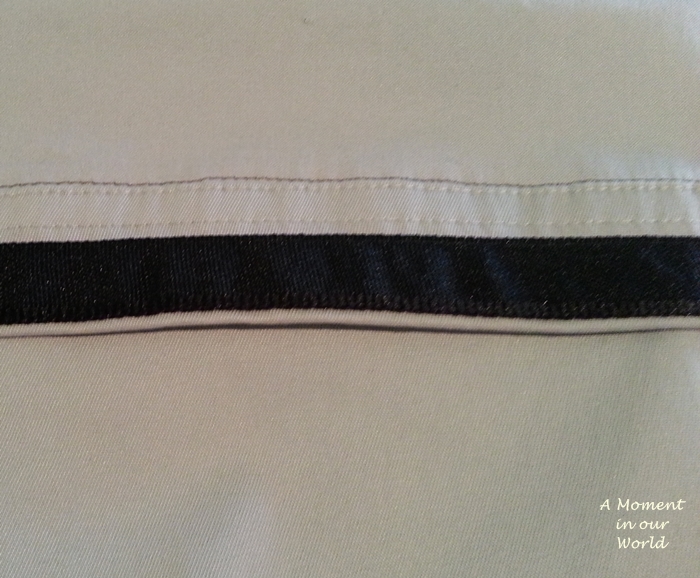
I stitched (through both layers) right next to the original hem around both hems.

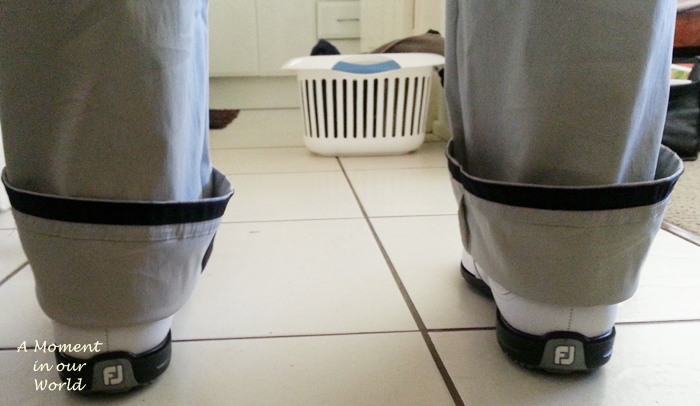
When done, I turned the folded edges in and tried them on – well hubby tried these ones on. They fitted great.

Then I trimmed off the excess fabric and zigzagged the raw edges so they wouldn’t fray.

Then I turned them in the right way, gave them an iron and we were done!!!

Yeah. It’s amazing what you can do when you find the right instructions!!

Other Sewing Projects

  • How to Sew a Felt Alphabet
  • Upcycled Mens Decoupage Planters
  • DIY Needle Felt Book
  • DIY Reusable Beeswax Wraps
  • Felt Leaf Sleeping Bags
  • Super Easy Cushion Cover
  • Sewing Hems & Keeping the Original
  • How to Sew a Face Mask
  • Share
  • Tweet

Category: Craft, HomemakingTag: Craft, Family

Love Free Printables?

Subscribe to receive weekly emails!

Previous Post: «Ladybug Number Mats Ladybug Number Mats 1-20
Next Post: Egg Inertia (Amazing Egg) Science Experiment »

Reader Interactions

Leave a Reply Cancel reply

Your email address will not be published. Required fields are marked *

Recipe Rating


Primary Sidebar

Come and Join Us

Support My Work

Love Free Printables?

Subscribe to receive weekly emails!

Categories

AMAZON ASSOCIATES DISCLOSURE

Simple Living. Creative Learning is a participant in the Amazon Services LLC Associates Program, an affiliate advertising program designed to provide a means for sites to earn advertising fees by advertising and linking to Amazon.com.

  • About
  • Contact
  • Privacy Policy
  • Disclosure
  • Cart
  • My Account

Return to top

Copyright © 2013-2020 · Genesis Framework · WordPress · Log in