

Rosella (Hibiscus) Cheesecake
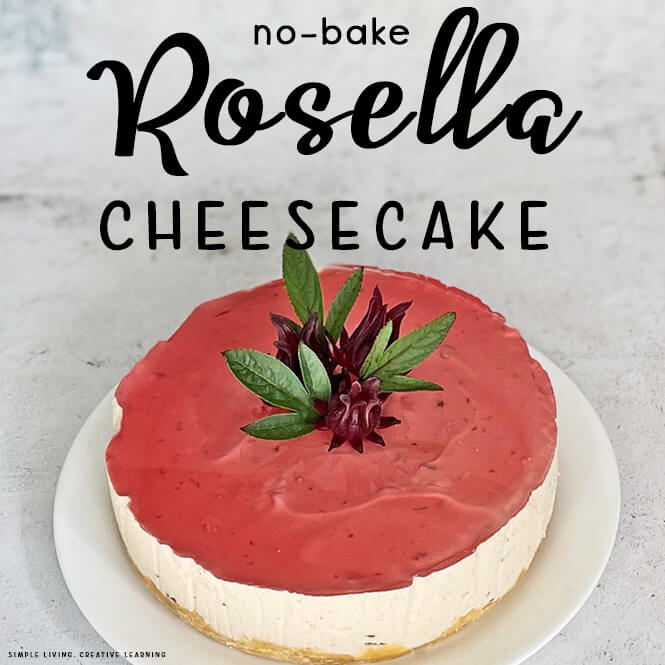
This awesome rosella (hibiscus) cheesecake not only looks amazing with the red topping, but it also tastes delicious! With only two ingredients in the base, that is then set aside in the fridge until the filling is ready, it is quite quick and easy to make.

After making a rosella jelly and letting it set on top of the cheesecake, I added a couple of de-seeded rosellas with a few washed and dried rosella leaves to the top of the cheesecake for decoration. You could also make candied rosellas to use as decorations for the top of this cheesecake.
To make this cheesecake, you will need to make or have access to:
I have made these and always had them on hand, ready when I want to make a rosella dish.

I added 150g of Rosella jam to the cheesecake filling. This is not a lot and adds a small amount of flavour that isn’t very strong. You could add a little more if you want a stronger flavour.
We grow and dry our own rosellas to use in these recipes, though dried rosella (hibiscus) can be purchased from many speciality stores.
More Cheesecake Recipes
- Tim Tam Cheesecake
- Raspberry and White Chocolate Cheesecake
- Blueberry Cheesecake
- Caramilk Cheesecake Slice
- Mango Cheesecake
- Cherry Ripe Cheesecake
- Jelly Cheesecake Slice
- No Bake Lemon Cheesecake
- Mars Bar Cheesecake
- Anzac Cheesecake
Rosella (Hibiscus) Cheesecake
Ingredients
Base
- 200 g sweet biscuits, crushed
- 100 g butter, melted
Cheesecake Filling
- 500 g cream cheese, softened
- 3/4 cup caster sugar
- 3 tsp gelatin dissolved in 1/4 cup boiling water
- 2 TBSP lemon juice
- 1 cup cream, lightly whipped
- 150 g rosella jam
Jelly Topping
- 3 tsp gelatin dissolved in 1/4 cup boiling water
- 50 g water
- 100 g rosella syrup
- 10 g sugar
Instructions
Base
- Line a 20cm springform round cake pan with baking paper.
- Combine the base ingredients - the crushed biscuits and the melted butter in a large bowl and press into the prepared pan. Refrigerate while making filling.
Cheesecake Filling
- Dissolve the gelatine in the boiling water and set aside to cool until needed.
- Using an electric mixer or a stand mixer, beat the cream cheese and the sugar until smooth.
- Fold in the gelatin mixture, lemon juice and cream.
- Fold through the rosella jam.
- Pour the filling into the prepared crust and refrigerate while making the jelly topping.
Jelly Topping
- Dissolve the gelatine in the boiling water and set aside to cool until needed.
- In a small saucepan, gently heat the rosella syrup, sugar and water over low heat.
- When the sugar is dissolved, add the gelatin mixture until combined.
- Remove from heat and allow to cool, but not set.
- When cool, gently pour over the top of the cheesecake.
- Place the cheesecake back in the fridge for at least 4 hours to set completely.
Nutrition
Nutritional information is an estimate and provided as a courtesy. The values may vary according to the ingredients and tools that are used. Please use your preferred nutritional calculator for more detailed information.
 Ladybug Counting Mats