

Resurrection Eggs
Supplies for Creating Resurrection Eggs
- clean egg carton
- 12 plastic eggs
- permanent marker
- Day 1 – small leaf
- Day 2 – three coins
- Day 3 – piece of towel
- Day 4 – piece of bread
- Day 5 – flower
- Day 6 – piece of string
- Day 7 – thorn or piece of purple cloth
- Day 8 – three small nails
- Day 9 – small toothpick – can paint tip red
- Day 10 – small piece of white cloth or mix of spices
- Day 11 – small stone
- Day 12 – empty
Create your Resurrection Eggs
Write the numbers from 1 through 12 on each of the eggs with a permanent, so that you know what order to open them.
Download the Resurrection Eggs Printables (sign up at the bottom of this post to receive your printables) and in there you will find three different strips you can choose from to add to your eggs:
- Coloured pictures with writing
- Black and white pictures with writing
- Just the writing
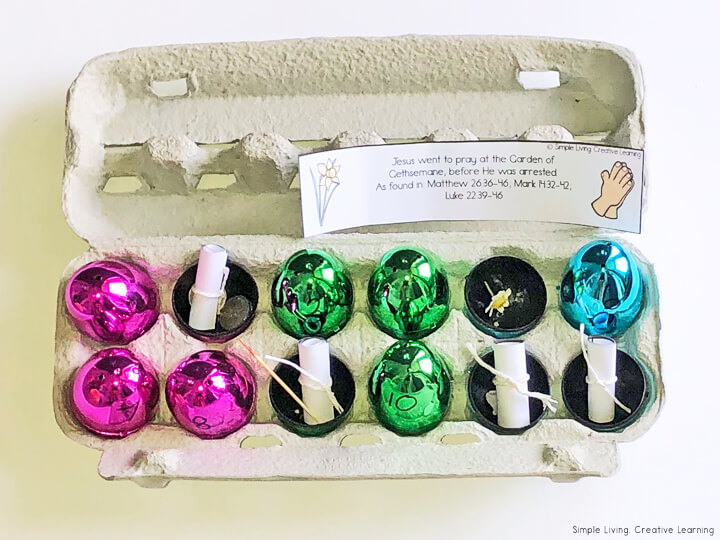
Place the strip in the correct numbered egg as well as the item.
Also included in the printable pack are small squares with the items on them if you want to cut them out and use instead of proper items – this is a good idea for young children who like to put things in their mouths. I would recommend laminating these squares before use.
Place all the eggs with their contents back into the egg carton and you are ready!
Open all the eggs at once and read the story of the death and resurrection of Jesus or, open one egg a day for the 12 days leading up to Easter Sunday.
NOTE: Some objects such as the nails, coins and toothpicks aren’t appropriate for small children to play with unsupervised! Feel free to substitute any items, use the square printables or only let your little ones play with adult supervision.
Resurrection Lapbook
This lapbook is a hands-on way for children to create their own printable version of the Resurrection Eggs.
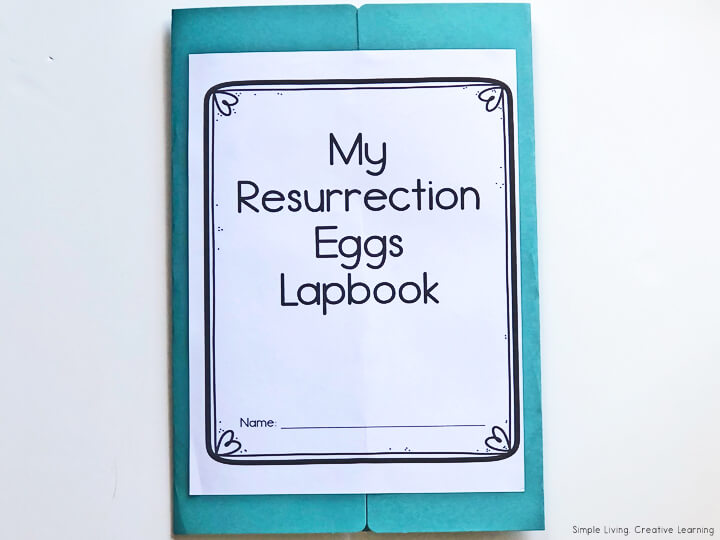

To create the lapbook, print out the eggs and the inserts. You can choose between the coloured version or the black and white version. If you choose the black and white version, allow your children to decorate the eggs before they paste them into their lapbook.
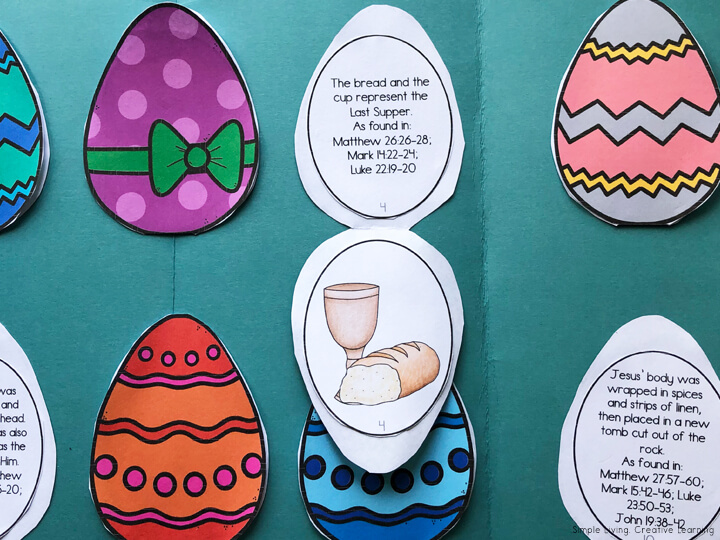
To create this Lapbook
- Cut out the eggs, leaving the part that are touching together.
- Fold the eggs in half, with the coloured/patterned part at the front.
- Open the egg, paste the insert onto the egg.
- Paste the plain part of the egg into the lapbook.
Other Easter Themed Activities & Printables
- Easter Counting Cards
- Easter Rocky Road
- No Bake Bird’s Nest Treats
- Printable Easter Planner
- Easter Activity Grades 1 – 3
- Easter Tracing and Cutting Strips
- Dyeing Easter Eggs Sequencing Printables
- The Easter Story Printables
- Jesus is Alive! Printables
- Easter Activity Pack – Preschool
- Easter Multiplication Worksheets
- Easter Subtraction Worksheets
- Easter Addition Worksheets
- Easter CVC Baskets
- Make your own Blueberry Dyed Eggs
- Easter Egg Basket Craft Activity
- How to Naturally Dye Eggs for Easter
- Easter Dessert Board
- Easter Activity Pack ~ Grades 1 – 3
- Easter Colour By Code
- Easter Tracing and Cutting Strips
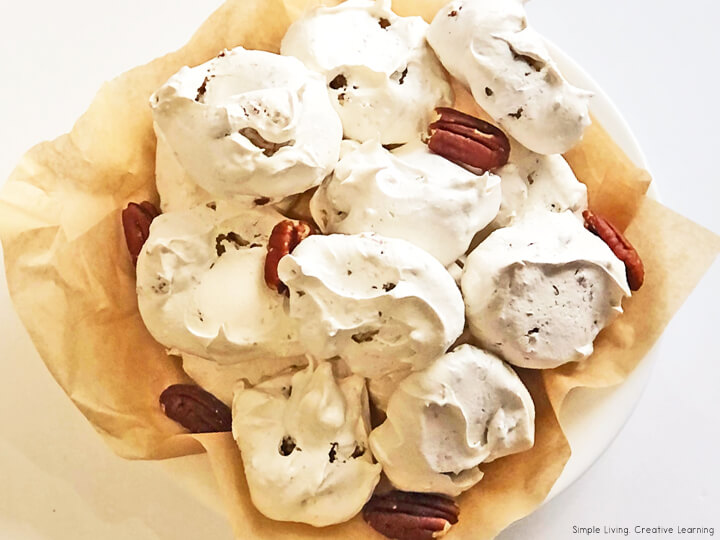
Resurrection Cookies
Another great way to learn the story of Jesus’ death and Resurrection is by making Resurrection Cookies with your kids. This is a fun, hands-on way to learn the Easter story. Each step and ingredient of the recipe represents a part of the story. The final product, a cookie, is a representation of the empty tomb that was found on Easter morning.
I use pecans in our cookies, though if you have young children or a nut allergy, use chocolate chips.
To make some Resurrection Cookies, have all the ingredients and supplies out ready as well as a Bible. you will want to mix as much air into your meringue as possible, as the stiffer and fluffier your meringue is, the puffier your cookies will be. This will result in more air being trapped inside, creating a bigger empty tomb effect.
Ingredients
- 1 cup whole pecans or chocolate chips
- 1 teaspoon white vinegar
- 3 egg whites
- ¼ teaspoon salt
- 1 cup white sugar
Instructions
- Preheat oven to 150˚C or 300˚F.
- Line two baking trays with baking paper and set aside.
- Read John 19:1-3
- Place the cup of pecans / chocolate chips into a ziplock bag and place them on top of a folded tea towel.
- Let the children beat them with their hands, a wooden spoon or rolling pin to break them into small pieces.
- Once all are broken, set them aside to use later and explain that after Jesus was arrested, he was beaten by the Roman Soldiers.
- Read John 19:28-30
- Let the children smell the vinegar as they measure out 1 teaspoon of it and place it in a mixing bowl.
- Explain to them that when Jesus was thirsty on the cross, He was given vinegar to drink.
- Read John 10:10-11
- Add the three egg whites to the vinegar. Eggs represent life. Explain that by Jesus giving His life, He gave us eternal life.
- Read Luke 23:27
- Sprinkle a little salt onto a plate. Let the children smell and taste a little of it. Explain that this salt represents the salty tears shed by Jesus’ followers, as well as the bitterness of our own sin.
- Add a ¼ teaspoon of salt to the bowl.
- Read Psalm 34:8 and John 3:16
- Have the children measure out one cup of white sugar and add it to the bowl.
- Explain that the sweetest part of the story is that Jesus died because He loves us.
- Read Isaiah 1:18 and John 3:16
- Using an electric mixer, beat the mixture until very stiff peaks form. This can take up to 15 minutes.
- Explain that the colour of the mixture – white – represents the purity in God’s eyes and those whose sins have been cleansed by Jesus.
- Read Matthew 27:57-60
- Fold through the broken pecans / chocolate chips.
- Form the cookies by dropping a teaspoonful onto the prepared tray.
- Explain that each mound represents the rocky tomb where Jesus’ body was laid.
- Read Matthew 27:65-66
- Place the cookies into the oven and close the door.
- Turn the oven off and give each child a piece of tape to seal the oven door shut.
- Explain how Jesus’ tomb was sealed with a rock.
- Prepare to go to bed for the night.
- Explain to the children, that though they may feel sad to leave the cookies in the oven overnight, Jesus’ followers were in despair when the tomb was sealed.
- Before going to bed, read John 16:20 and 22
- On the morning of the Resurrection, open the oven and give everyone acookie! Notice how the surface is cracked. Take a bite. The cookies are hollow!
- Just like the first Resurrection day, Jesus’ followers were amazed to find the tomb open and empty.
- The next morning, while eating your cookies, read Matthew 28:1-9.
Note – The stiffer and fluffier your meringue is, the puffier your cookies will be. This will result in more air being trapped inside, creating a bigger empty tomb effect.

Resurrection Cookies
Ingredients
- 1 cup pecans or chocolate chips
- 1 tsp white vinegar
- 3 egg whites
- 1/4 tsp salt
- 1 cup white sugar
Instructions
- Preheat oven to 150˚C or 300˚F.
- Line two baking trays with baking paper and set aside.
- Read John 19:1-3
- Place the cup of pecans / chocolate chips into a ziplock bag and place them on top of a folded tea towel. Let the children beat them with their hands, a wooden spoon or rolling pin to break them into small pieces.
- Once all are broken, set them aside to use later and explain that after Jesus was arrested, he was beaten by the Roman Soldiers.
- Read John 19:28-30
- Let the children smell the vinegar as they measure out 1 teaspoon of it and place it in a mixing bowl.
- Explain to them that when Jesus was thirsty on the cross, He was given vinegar to drink.
- Read John 10:10-11
- Add the three egg whites to the vinegar. Eggs represent life. Explain that by Jesus giving His life, He gave us eternal life.
- Read Luke 23:27
- Sprinkle a little salt onto a plate. Let the children smell and taste a little of it. Explain that this salt represents the salty tears shed by Jesus’ followers, as well as the bitterness of our own sin.
- Add a ¼ teaspoon of salt to the bowl.
- Read Psalm 34:8 and John 3:16
- Have the children measure out one cup of white sugar and add it to the bowl.
- Explain that the sweetest part of the story is that Jesus died because He loves us.
- Read Isaiah 1:18 and John 3:16
- Using an electric mixer, beat the mixture until very stiff peaks form. This can take up to 15 minutes.
- Explain that the colour of the mixture – white – represents the purity in God’s eyes and those whose sins have been cleansed by Jesus.
- Read Matthew 27:57-60
- Fold through the broken pecans / chocolate chips.•Form the cookies by dropping a teaspoonful onto the prepared tray.
- Explain that each mound represents the rocky tomb where Jesus’ body was laid.
- Read Matthew 27:65-66
- Place the cookies into the oven and close the door.
- Turn the oven off and give each child a piece of tape to seal the oven door shut.
- Explain how Jesus’ tomb was sealed with a rock.
- Prepare to go to bed for the night. Explain to the children, that though they may feel sad to leave the cookies in the oven overnight, Jesus’ followers were in despair when the tomb was sealed.
- Before going to bed, read John 16:20 and 22
- On the morning of the Resurrection, open the oven and give everyone a cookie! Notice how the surface is cracked. Take a bite. The cookies are hollow!
- Just like the first Resurrection day, Jesus’ followers were amazed to find the tomb open and empty.
- While eating your cookies, read Matthew 28:1-9.
- Note – The stiffer and fluffier your meringue is, the puffier your cookies will be. This will result in more air being trapped inside, creating a bigger empty tomb effect.
Nutrition
Nutritional information is an estimate and provided as a courtesy. The values may vary according to the ingredients and tools that are used. Please use your preferred nutritional calculator for more detailed information.
Kids will enjoy learning about the death and resurrection of Jesus with these fun Resurrection Activities for Kids.
Grab the printables you will need for these activities by signing up below:
 M and M’s Christmas Poem