
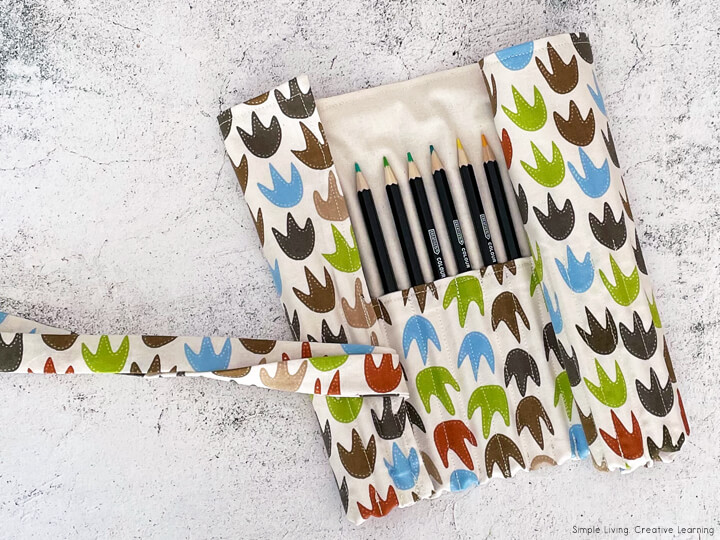
A great way to store pencils for travelling is in a pencil roll case. If you have your own sewing machine, you can easily sew one of these pencil roll cases in the size that you want or need, so long as you have the correct length of fabric. It is not that hard, just a little time consuming with all the sewing to separate the pencils. Read on to learn how to sew your own pencil roll cases.

Sewing Pencil Roll Cases
Before you begin, you will need a few supplies:
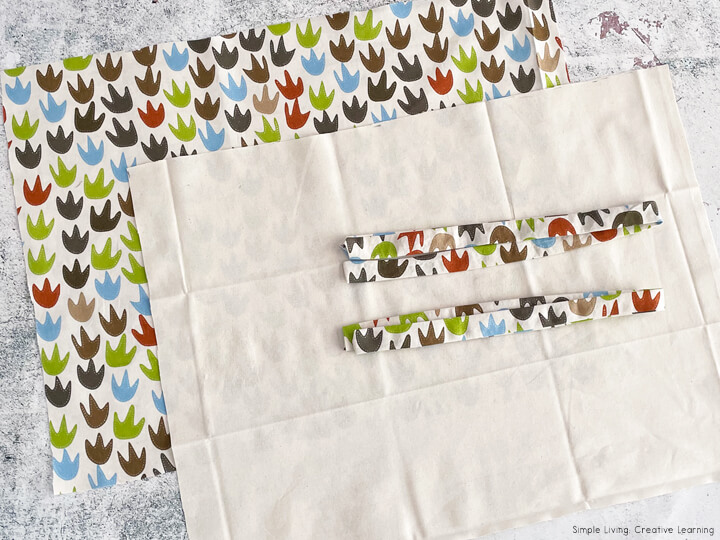
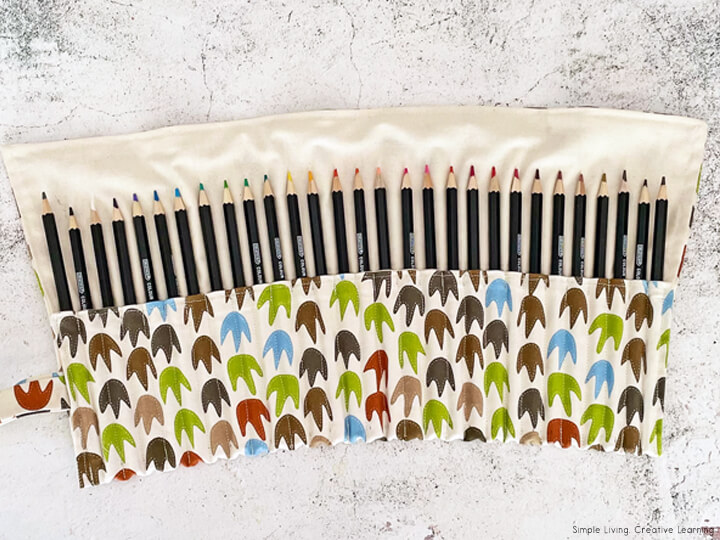
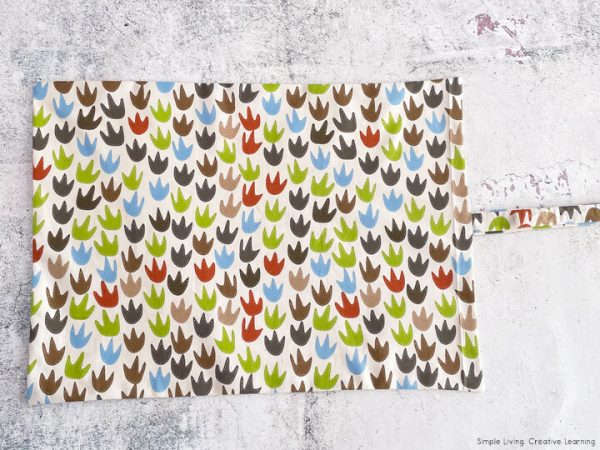
- Fabric – I used a pattern for the outside and a matching plain colour for the inside. This roll holds 29 pencils. For each extra pencil you want to hold, add another 1.6 cm or ⅝ inch. The fabric size at the start was 56 cm by 35 1/2cm or 22 in by 14 in, which left a little seam allowance.
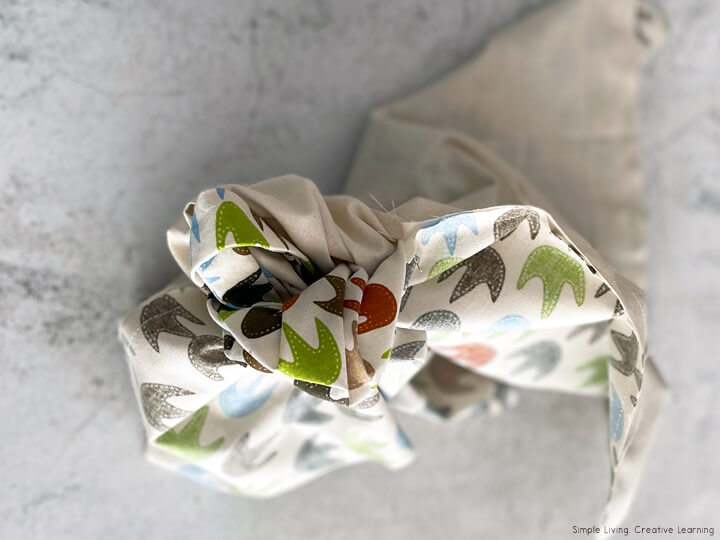
- Ribbon, bias tape, or strips of fabric for the ties. I created by ties from the matching pattern fabric by cutting two strips that were 5cm or 2 inch wide strip and 53cm or 21 inches long. I folded the strip longwise over with the two pattern sides meeting. I then sewed a straight stitch along the two long sides and one of the shorter sides, leaving the other shorter side to pull the strip through, turning it the right side out. I then attached the raw edge side to the side in the pencil case – see instructions below. This was quite a long tie, so you could make it shorter if you wish – around 38 cm or 15 inches.
Roll Up Pencil Case
To sew a roll up pencil case, first cut out your fabric into the size that you need for your size pencil case. This roll holds 29 pencils. For each extra pencil you want to hold, add another 1.6 cm or ⅝ inch. The fabric size at the start was 56 cm by 35 1/2cm or 22 in by 14 in, which left a little seam allowance.
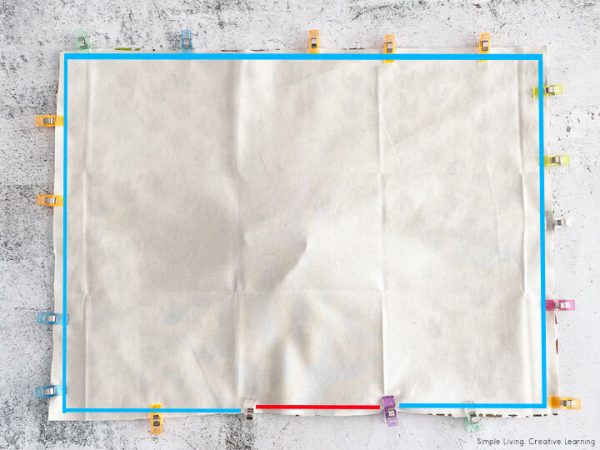
After ironing your fabric, place the right sides of the fabric together. Pull back the top layer on one of the sides and pin the edge of your ties (ribbon, bias etc.) about half way down , before pinning the rest of the fabric edges together.

Sew a straight stitch all around the edges using a 1.3cm or ½ inch seam, except for a small strip at the bottom of the fabric. Leave this open to pull the fabric through to turn it in the right way. Make sure that you don’t catch any of your tie in the seams as you sew, except for the one edge where it is supposed to be sewn. As can be seen in the picture below, I sewed on the blue lines and left the red line open.

Then clip the corners and turn the fabric right side out.
Iron the pencil case, especially around the edges. Then topstitch the edges again, closing the hole.

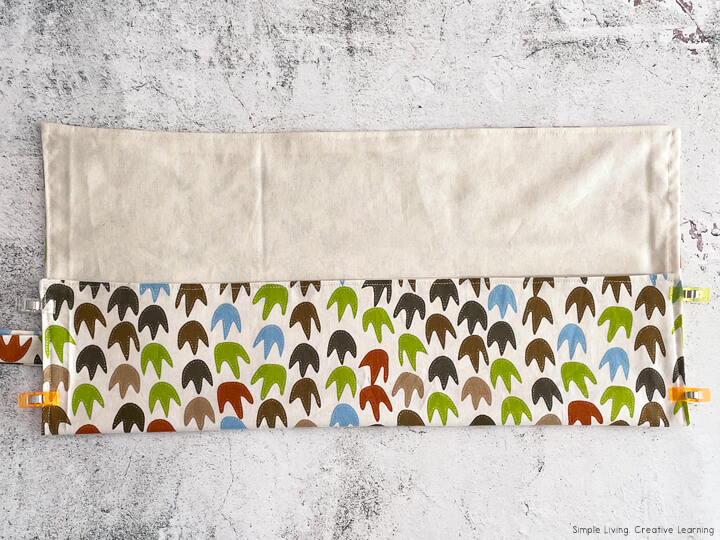
Lay the fabric with the inside of the case facing up, and fold the long edge up to form a pocket. This pocket can be made to the side you desire. Mine was around 12 cm deep. Stitch the two sides to hold the pocket in place.
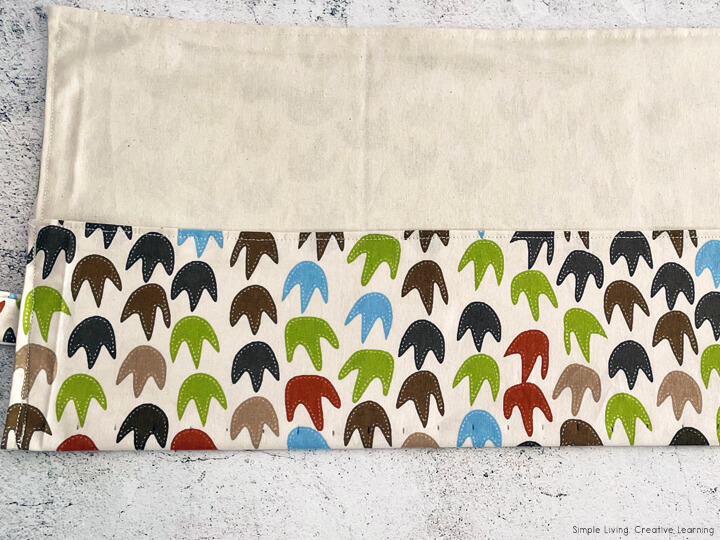
Measure and mark vertical lines on the bottom printed fabric for the pockets for the pencils. Mine were 1.6cm or ⅝ inch wide. Topstitch along the lines to create the slots, making sure to backstitch at the beginning and end of each line.
Carefully place your pencils into the slots.

And there you have it! A lovely roll up pencil case! You could even use these for paintbrushes or crayons, though you may need to adjust the size of the slots.
Other Sewing Projects
- How to Sew a Felt Alphabet
- Upcycled Mens Decoupage Planters
- DIY Needle Felt Book
- DIY Reusable Beeswax Wraps
- Felt Leaf Sleeping Bags
- Super Easy Cushion Cover
- Sewing Hems & Keeping the Original
- How to Sew a Face Mask
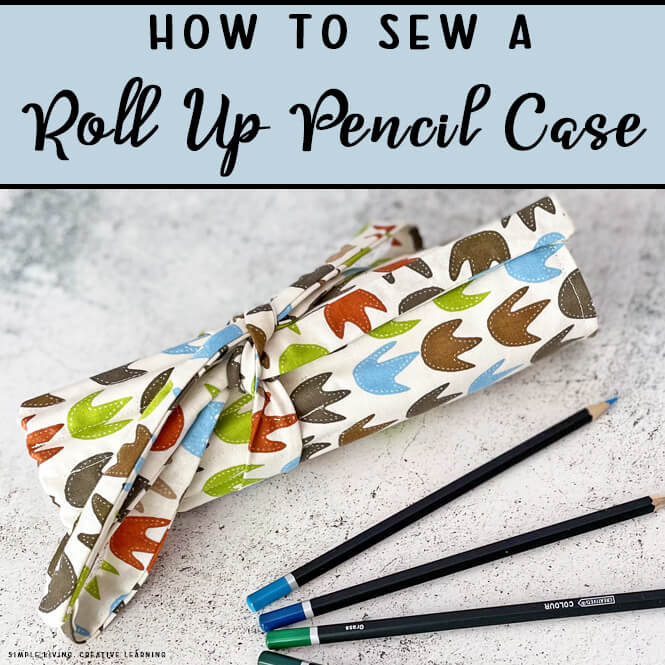
How to Sew a Roll Up Pencil Case
Ingredients
- Fabric - I used a pattern for the outside and a matching plain colour for the inside. This roll holds 29 pencils. For each extra pencil you want to hold, add another 1.6 cm or ⅝ inch. The fabric size at the start was 56 cm by 35 1/2cm or 22 in by 14 in, which left a little seam allowance.
- Ribbon, bias tape, or strips of fabric for the ties. I created by ties from the matching pattern fabric by cutting two strips that were 5cm or 2 inch wide strip and 53cm or 21 inches long. I folded the strip longwise over with the two pattern sides meeting. I then sewed a straight stitch along the two long sides and one of the shorter sides, leaving the other shorter side to pull the strip through, turning it the right side out. I then attached the raw edge side to the side in the pencil case - see instructions below. This was quite a long tie, so you could make it shorter if you wish - around 38 cm or 15 inches.
- Matching Thread
- Pins or Sewing Clips
- Pair of Scissors
- Sewing Machine
Instructions
- To sew a roll up pencil case, first cut out your fabric into the size that you need for your size pencil case. This roll holds 29 pencils. For each extra pencil you want to hold, add another 1.6 cm or ⅝ inch. The fabric size at the start was 56 cm by 35 1/2cm or 22 in by 14 in, which left a little seam allowance.

- After ironing your fabric, place the right sides of the fabric together. Pull back the top layer on one of the sides and pin the edge of your ties (ribbon, bias etc.) about half way down , before pinning the rest of the fabric edges together.
- Sew a straight stitch all around the edges using a 1.3cm or ½ inch seam, except for a small strip at the bottom of the fabric. Leave this open to pull the fabric through to turn it in the right way. Make sure that you don't catch any of your tie in the seams as you sew, except for the one edge where it is supposed to be sewn. As can be seen in the picture below, I sewed on the blue lines and left the red line open.
- Then clip the corners and turn the fabric right side out.
- Iron the pencil case, espeically around the edges. Then topstitch the edges again, closing the hole.
- Lay the fabric with the inside of the case facing up, and fold the long edge up to form a pocket. This pocket can be made to the side you desire. Mine was around 12 cm deep. Stitch the two sides to hold the pocket in place.
- Measure and mark vertical lines on the bottom printed fabric for the pockets for the pencils. Mine were 1.6cm or ⅝ inch wide. Topstitch along the lines to create the slots, making sure to backstitch at the beginning and end of each line.
- Carefully place your pencils into the slots.
- And there you have it! A lovely roll up pencil case!


 How to Make Homemade Chicken Stock