
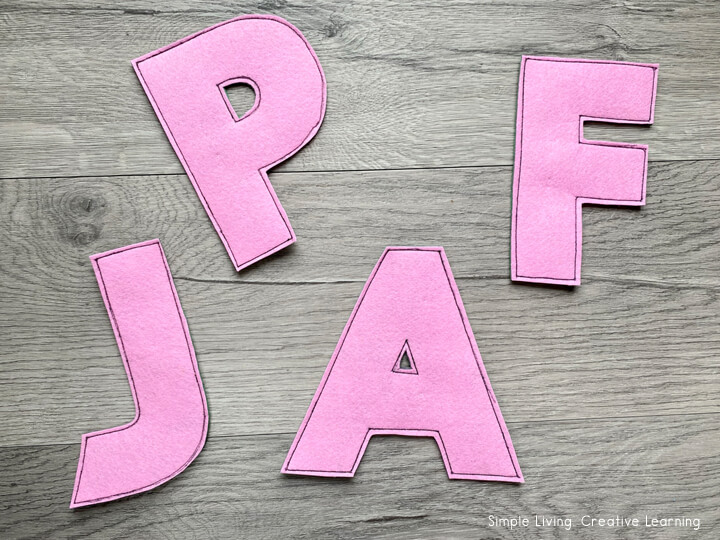
These gorgeous alphabet letters are an engaging, hands-on activity that can be used with young children, to help them learn the letters of the alphabet. Read on to learn how easy it is to sew a felt alphabet.

Sew Felt Alphabet Letters
To make these felt alphabet letters, you will need:

- Felt Sheets
- Coordinating Thread
- Washable Markers
- Straight Pins
- Scissors
- Detail Scissors
- Printable Template
To sew these felt alphabet letters, you will need to:
- Grab the pdf file and print out the letter template. Cardstock would be better for durability.
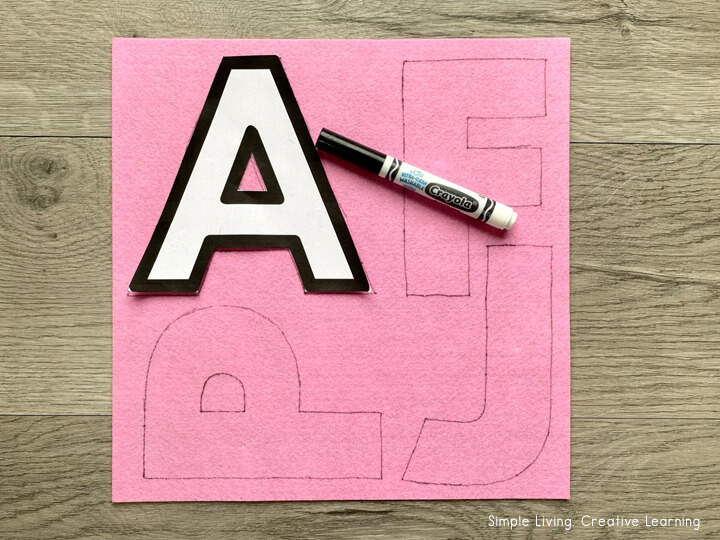
- Place the template letter onto the colour of felt that you would like the face of the letter and trace around it with a washable marker.

- Stack the felt sheet with letters on top of two more sheets of felt. Consider using less attractive colours for the middle layer because it won’t be seen.
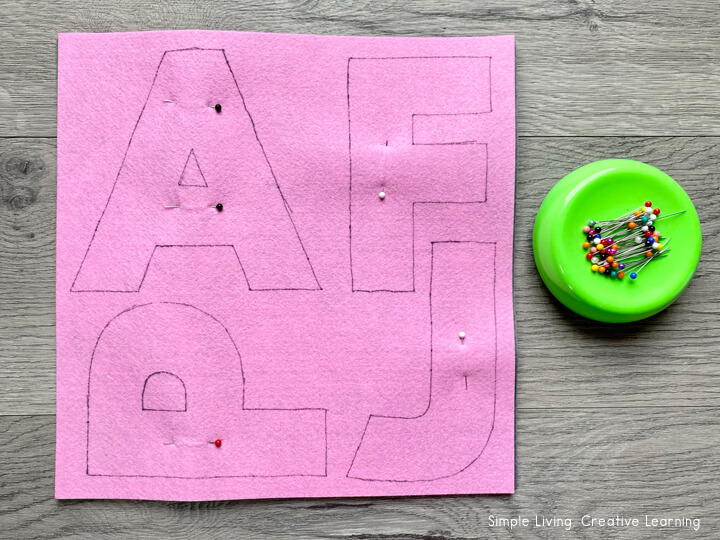
- Place several straight pins through all three layers of felt, avoiding the traced lines.
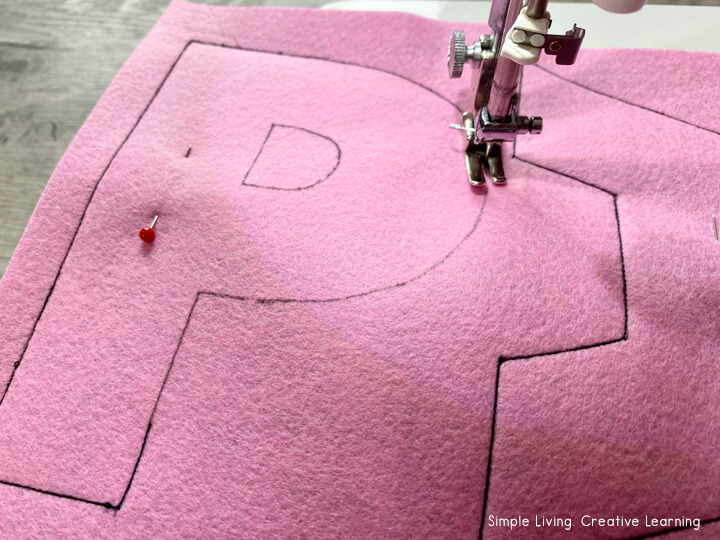
- Sew along the lines of the traced letters. You can use a straight sewing foot or a free motion foot. If using a straight foot, life the presser foot at each corner and turn the felt to continue sewing. Stitch slowly when going around curves.
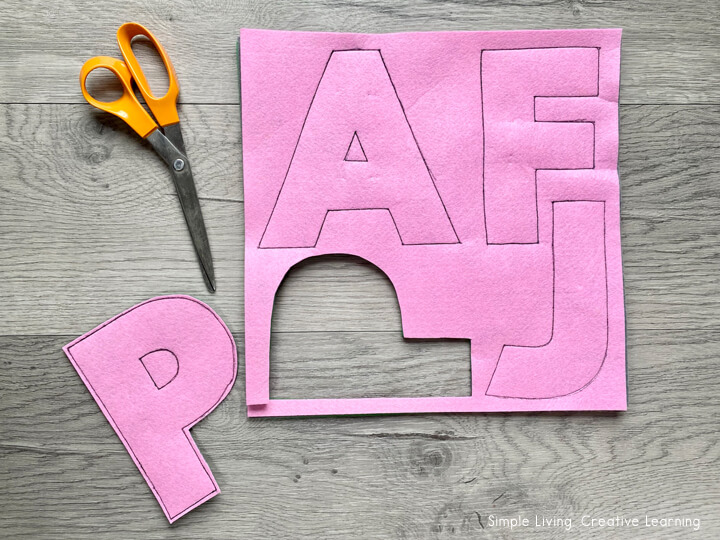
- Remove the straight pins and cut out each letter ⅛” outside the stitched lines.

- Use smaller detail scissors to cut out any spaces within the letters.
- Wash and dry the letters on a delicate cycle with low heat. This will erase the marker lines.
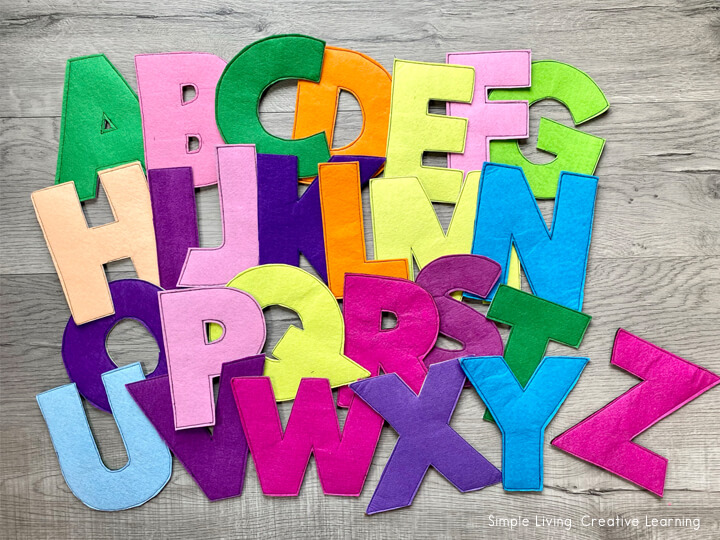
- Continue for as many letters as you’d like to form the entire alphabet or a specific word/phrase.

TIPS
- Print letter template on cardstock if you plan to use them more than once.
- Do not use heat soluble pens (like the ones meant for sewing). Heat from an iron will melt felt.
- Sew as much as you’d like within each letter. Using a free motion foot is a great way to create designs, much like quilting.
Using Felt Alphabet Letters
There are many ways that these letters can be used. They are great for little ones just learning to recognise the uppercase letters of the alphabet or in those learning CVC words or spelling.
They can also be used in conjunction with these fun alphabet printables and activities.
- Alphabet Sensory Bottle
- Alphabet Tracing Worksheets
- Alphabet Dot Book
- Alphabet Cut and Paste Book
- Apple Alphabet Letter Matching Cards
- Watercolour Alphabet Posters
- Dice for Fine Motor Skills
- Build a CVC Word
- CVC Pencil Puzzles
Other Sewing Projects
- Upcycled Mens Decoupage Planters
- DIY Needle Felt Book
- DIY Reusable Beeswax Wraps
- Felt Leaf Sleeping Bags
- Super Easy Cushion Cover
- Sewing Hems & Keeping the Original
- How to Sew a Face Mask

Sew Felt Alphabet Letters
Learn how to sew felt alphabet letters that can be used with young children, to help them learn the letters of the alphabet and so much more.
Print
Save
Pin
Facebook
Email
Add to Collection
Ingredients
- Felt Sheets
- Coordinating Thread
- Wasable Markers
- Straight Pins
- Scissors
- Detail Scissors
- Printable Template
Instructions
- Download the pdf file and print out the letter template. Cardstock would be better for durability.
- Place the template letter onto the colour of felt that you would like the face of the letter and trace around it with a washable marker.
- Stack the felt sheet with letters on top of two more sheets of felt. Consider using less attractive colors for the middle layer because it won’t be seen.
- Place several straight pins through all three layers of felt, leaving room near the traced lines.
- Sew along the lines of the traced letters. You can use a straight sewing foot or a free motion foot. If using a straight foot, lift the presser foot at each corner and turn the felt to continue sewing. Stitch slowly when going around curves. TIP: Sew as much as you’d like within each letter. Using a free motion foot is a great way to create designs, much like quilting.
- Remove the straight pins.
- Cut out each letter ⅛” outside the stitched lines.
- Use smaller detail scissors to cut out any spaces within the letters.
- Wash and dry the letters on a delicate cycle with low heat. This will erase the marker lines.
- Continue for as many letters as you’d like to form the entire alphabet or a specific word/phrase.
Tried this recipe?Check out Share a pic on Instagram!
 1920s Research Flip Book