
Learn how to dye eggs with Kool-Aid this Easter! It is quick, easy and so much fun, kids will enjoy helping decorate eggs this way!
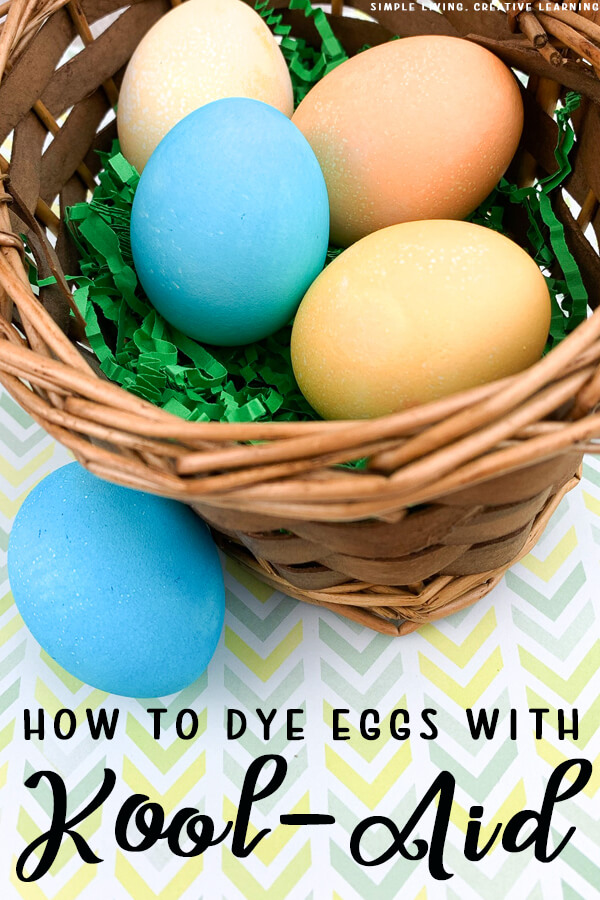
Dye Eggs with Kool-Aid
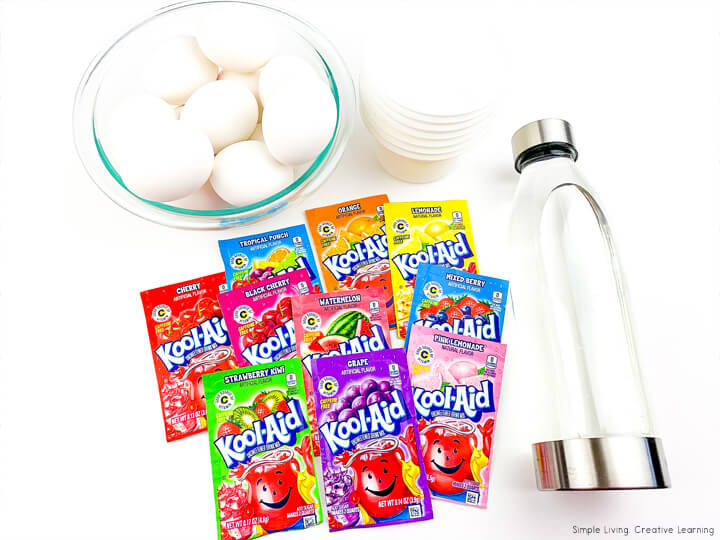
To dye eggs with Kool-aid, you will need:
- Kool-Aid Packets – mix of the flavours you want
- Small Containers – big enough for an egg to be submerged under liquid.
- Water
- Paper towel lined tray
- Spoon
For those in Australia, you can get Kool-Aid from Candytime (I have one in a shopping centre nearby or online) or Amazon
Method
Pour water into each container, filling until about ¾ full.

Add one full packet of Kool-Aid mix to each container of water.
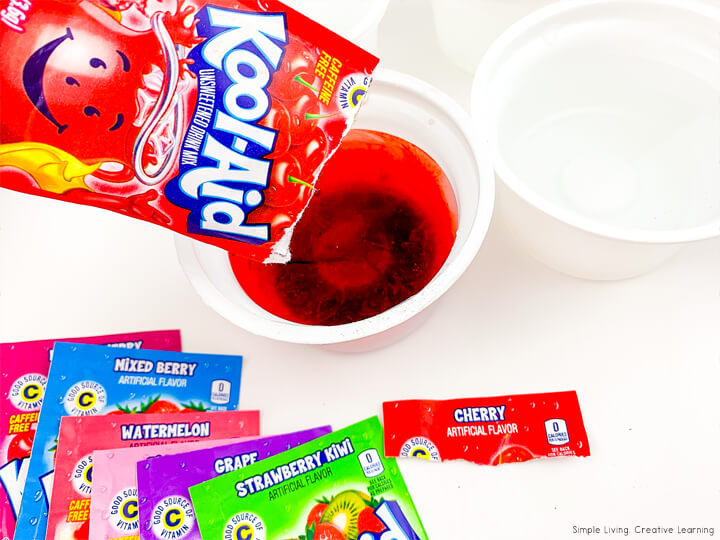
Stir well with the spoon. Try not to mix the darker colours with the lighter colours when stirring other colours (use a paper towel to wipe off the spoon or wash it under the tap between mixing!)

Place an egg into each cup of Kool-Aid mix. If you want your eggs to be lighter and not as speckled, leave the egg in for about a minute or less, checking the egg until desired colour is achieved.

When done, place the egg on the paper towel lined tray. Roll the egg around occasionally to avoid the paper towel leaving a print on the egg on one side. Do not rub the egg.

You could experiment by leaving the eggs all in the Kool-aid for different times to see how they turn out!

Notes
- For a speckled look, leave the egg in longer.
- When you take the egg out, you may notice a film around the egg. This is ok! Gently place the egg onto the paper towel and allow the egg to dry. Do not rub the egg, or the film will smear! If this happens, wash the egg off (the film will wash off) and re-dye the egg. Place the egg onto the paper towel carefully. Once dried, the egg will have a nice speckled look that does not smear.
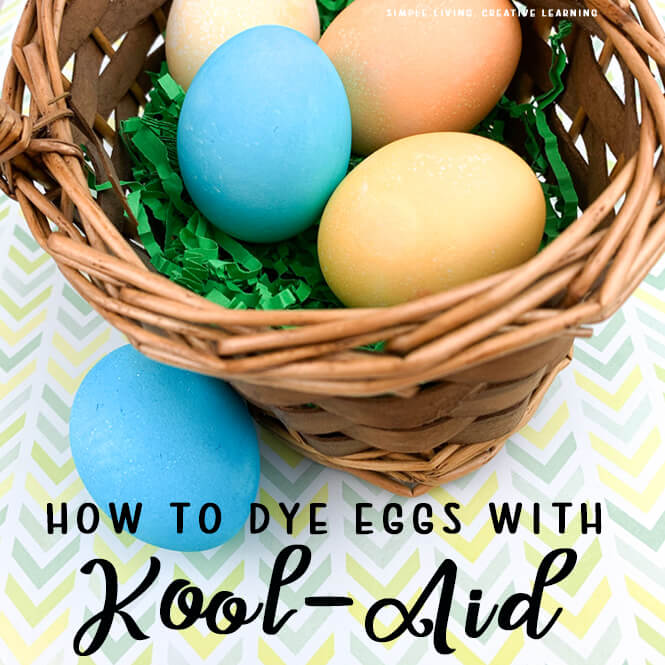
- For this project, I did a variety of both the lighter method and the speckled method.
- Some eggs may float towards the surface. It just means they are not as fresh as the other ones. Just move them around during the dyeing process with a spoon to get an even colour.

How to Dye Eggs with Kool-Aid
Ingredients
- Kool-Aid Packets - mix of the flavours you want
- Small Containers - big enough for an egg to be submerged under liquid
- Water
- Paper towel lined tray
- Spoon
Instructions
- Pour water into each container, filling until about ¾ full.
- Add one full packet of Kool-Aid mix to each container of water. Stir well with the spoon. Try not to mix the darker colours with the lighter colours when stirring other colours (use a paper towel to wipe off the spoon or wash it under the tap between mixing!)
- Place an egg into each cup of Kool-Aid mix. If you want your eggs to be lighter and not as speckled, leave the egg in for about a minute or less, checking the egg until desired colour is achieved.
- When done, place the egg on the paper towel lined tray. Roll the egg around occasionally to avoid the paper towel leaving a print on the egg on one side. Do not rub the egg.
Notes
- For a speckled look, leave the egg in longer.
- When you take the egg out, you may notice a film around the egg. This is ok! Gently place the egg onto the paper towel and allow the egg to dry. Do not rub the egg, or the film will smear! If this happens, wash the egg off (the film will wash off) and re-dye the egg. Place the egg onto the paper towel carefully. Once dried, the egg will have a nice speckled look that does not smear.
- For this project, I did a variety of both the lighter method and the speckled method.
- Some eggs may float towards the surface. It just means they are not as fresh as the other ones. Just move them around during the dyeing process with a spoon to get an even colour
 Movie Night Snack Board