
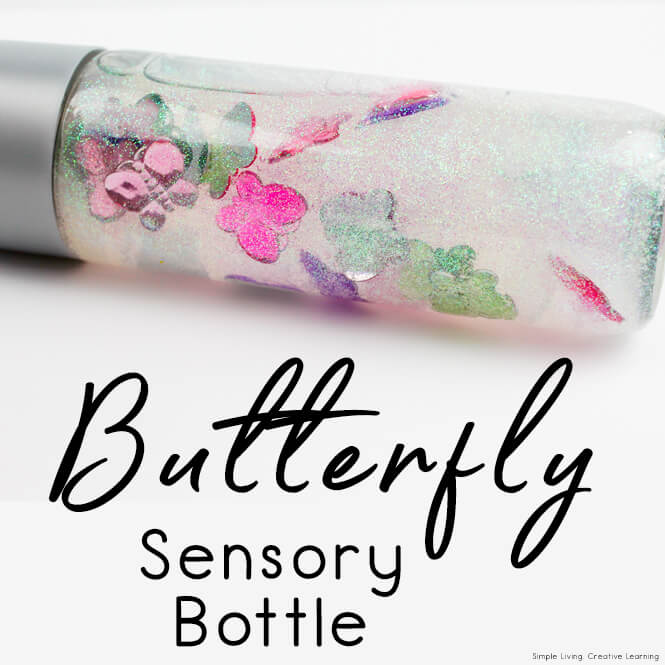
Sensory bottles are super easy to make and lots of fun to play with, as well as being great for calming your child. This Butterfly Sensory Bottle is a fun, no-mess sensory play activity which can also be used in teaching about butterflies, used as a calm down tool or even a timer.

Sensory Bottles
Sensory bottles are made by adding different materials to a jar or bottle. These materials provide a variety of sensations and stimulate areas of the brain when in use. These bottles can be filled with a liquid or a solid material such as rice.
They can also contain objects of different sizes and textures, that make noises, or provide educational learning on a particular topic. These themed sensory bottles provide a wonderful opportunity for learning for children.
By providing sensory bottles for children to use, these discovery bottles provide:
- Calming and relaxation for children
- An opportunity to work on fine motor skills
- Help children work on hand-eye coordination
- A safe environment for children to explore and develop curiosity
- Are helpful for those with ADHD, Autism, Sensory Processing Disorder and more
Butterfly Sensory Bottle
To make this gorgeous Sensory Bottle, you will need:
- 12 oz. Sensory Bottle (This is a VOSS bottle in the pictures)
- 1 x 5 oz. bottle of Elmer’s Clear Glue
- 1 package Butterfly gems
- 1 TBSP Iridescent Glitter
- water

More Sensory Activities
- How to Dye Rice for Sensory Play
- Honey Slime
- Sand Slime
- Autumn Glitter Slime
- Alphabet Sensory Bottle
- Ocean Sensory Bottle
- Magnetic Sensory Bottle
- Pirate Treasure Sensory Bottle
Making this Bottle
First, gather all your supplies – an empty sensory bottle, the glue, the butterfly gems, glitter and water.

Take the lid off your bottle and pour in the glue.

Next, add glitter and butterfly gems.

Slowly, add water into the bottle until it is full.

Close the bottle well and shake the contents of the bottle until all contents are mixed together well.
You can glue the lid on with a hot glue gun if you wish.

Children will have fun tipping the bottom up and down, watching the butterflies floating around and sinking to the bottom.
This sensory bottle can be used as part of a butterfly study, a timer, a calm down tool and more.
You may also like these butterfly activities”
- Butterfly Identification Pack
- Butterfly Notebooking Pages
- Butterfly Counting Mats
- Butterfly Life Cycle Cards
- Butterfly Unit
- Butterfly Printable Pack
Butterfly Sensory Bottle
Ingredients
- 12 oz Sensory Bottle
- 5 oz Clear Elmer's Glue
- 1 packet Butterfly Gems
- 1 TBSP Iridescent Glitter
- Water
Instructions
- First, gather all your supplies - an empty sensory bottle, the glue, the butterfly gems, glitter and water.
- Take the lid off your bottle and pour in the glue.

- Next, add glitter and butterfly gems.
- Slowly, add water into the bottle until it is full.
- Close the bottle well and shake the contents of the bottle until all contents are mixed together well.
- You can glue the lid on with a hot glue gun if you wish.


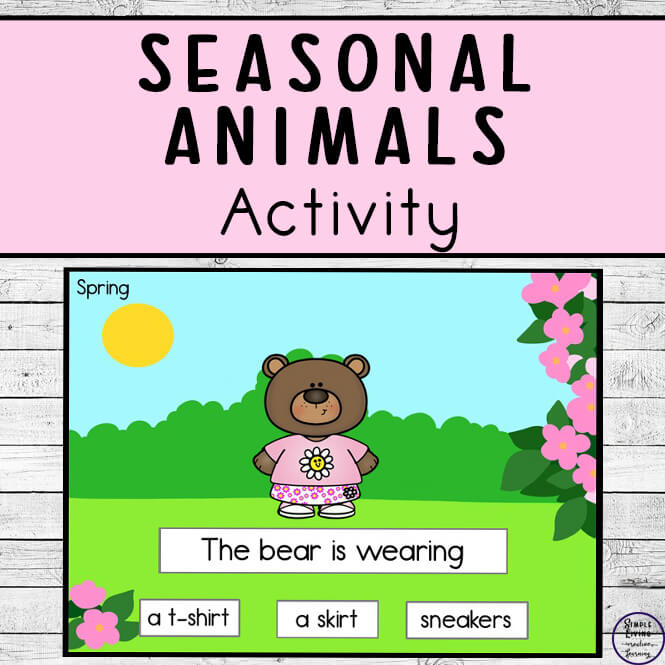 Seasonal Animals Outfits Activity